Adjusting the Limit Flag Stop
If the Wazer is jittering or having issues homing, the limit switches flags within the gantry bellows are likely not triggering the switches. This guide will show you how to properly adjust the flags to ensure contact with the limiter switches.
Tools Needed
Bare Hands
Zip Tie
Procedure
1 Make sure the Wazer is THOROUGHLY clean, all debris, abrasive, water, etc. should be cleaned from the bellows and surrounding area
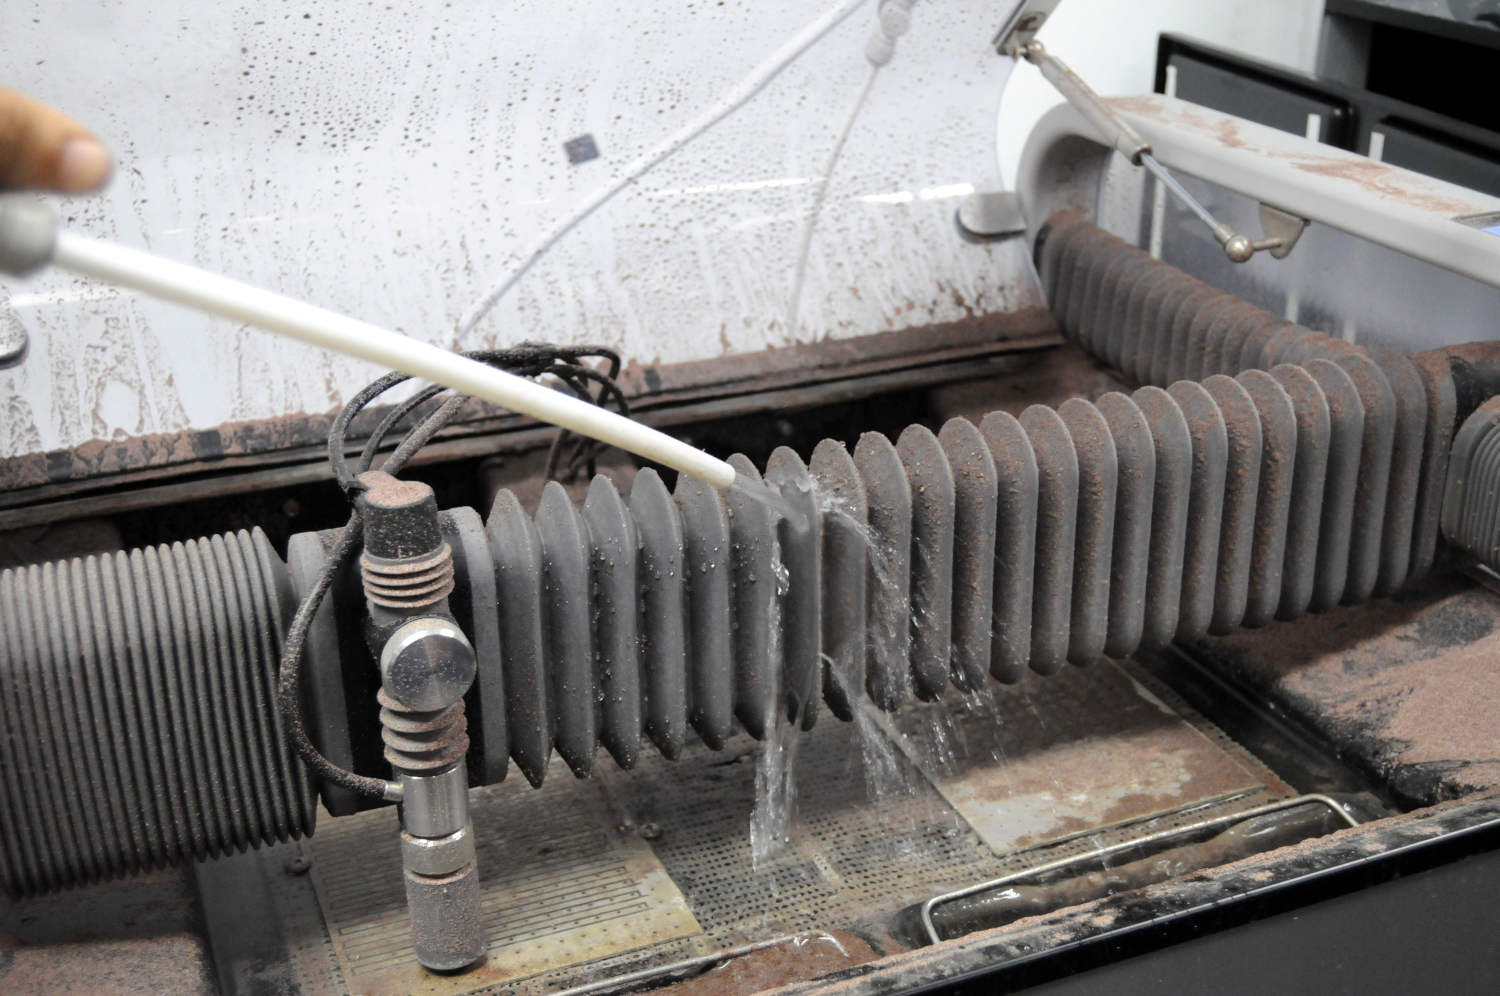
*We recommend using a trash bag to cover the door window to prevent any abrasive from falling. It is really difficult to perfectly clean the door window and if abrasive falls onto the linear rails it can potentially damage the linear bearings.
2 Firmly grasp the end of the bellows on X axis gantry and pull in a steady gentle motion
NOTE: Rough motion or tool usage can puncture the bellows material and could void the warranty
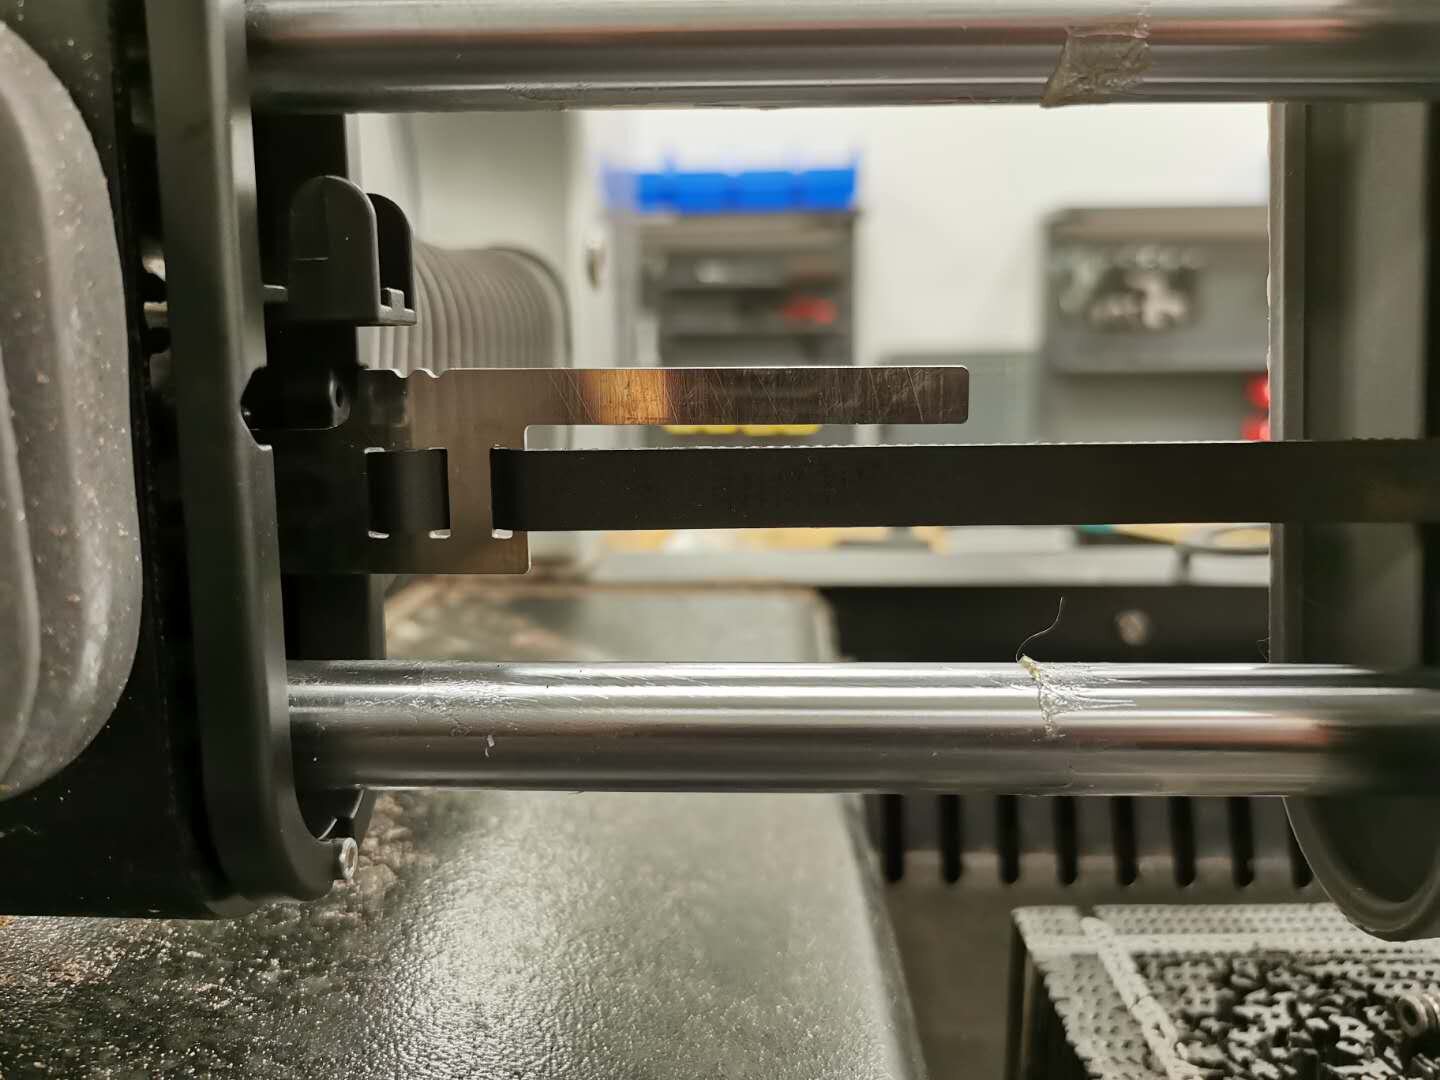
3 Note any severe displacement on the flag
4 Verify that the limiter switch responds to finger touch. You should hear a distinctive click when the switch is depressed.
5 Do a test of motion of the head to see if the switch comes toward the flag and gets activated. You should be able to hear a faint click as the switch is actuated. If there is no click the flag is probably too far back. If you do get a click but homing still fails then the flag tip is too far forward. You want to note if the head moves smoothly or if there are any rough spots or significant resistance. Please contact support if this is the case.
6 The ideal flag contact point is about 1 mm from the edge of the open side of the switch.
7 If the limit flag is bent to a certain direction and cannot touch the limit switch lever arm, please bend the limit flag to the opposite direction slightly.
7 Replace the rubber seal so that it sits firmly in place with no gaps.
8 Repeat steps 2 - 7 on the other X-axis switch, listening again for the switch to actuate. Note this limit switch is not used for homing but is important for safety as it limits the X maximum.
8a. Make sure the limit flag is not drooping. Drooped limit flag may cause the belt to warp and cause constant belt slip.
9 Repeat this process for the Y-axis switches, Note that the limit switches are on the right side Y-axis.
10 Re-seat the bellow on the Y-axis. You will find that the back side of the bellow is difficult to get seated as access is blocked by the side window. The easiest way to get it fully seated is to use a zip tie and to apply pressure from the outside to seat the seal