How to User WAZER Hand Tools

OVERVIEW
WAZER is a very capable fabrication machine. It is able to produce a final cut results with little or no post-processing.
However, imperfections are inevitable in some of the cuts. Imperfections such as burrs on the backside of the cut, or tabs that holds parts to the blank, or slight deformation due to material internal stress, need to be addressed by a few steps of finishing.
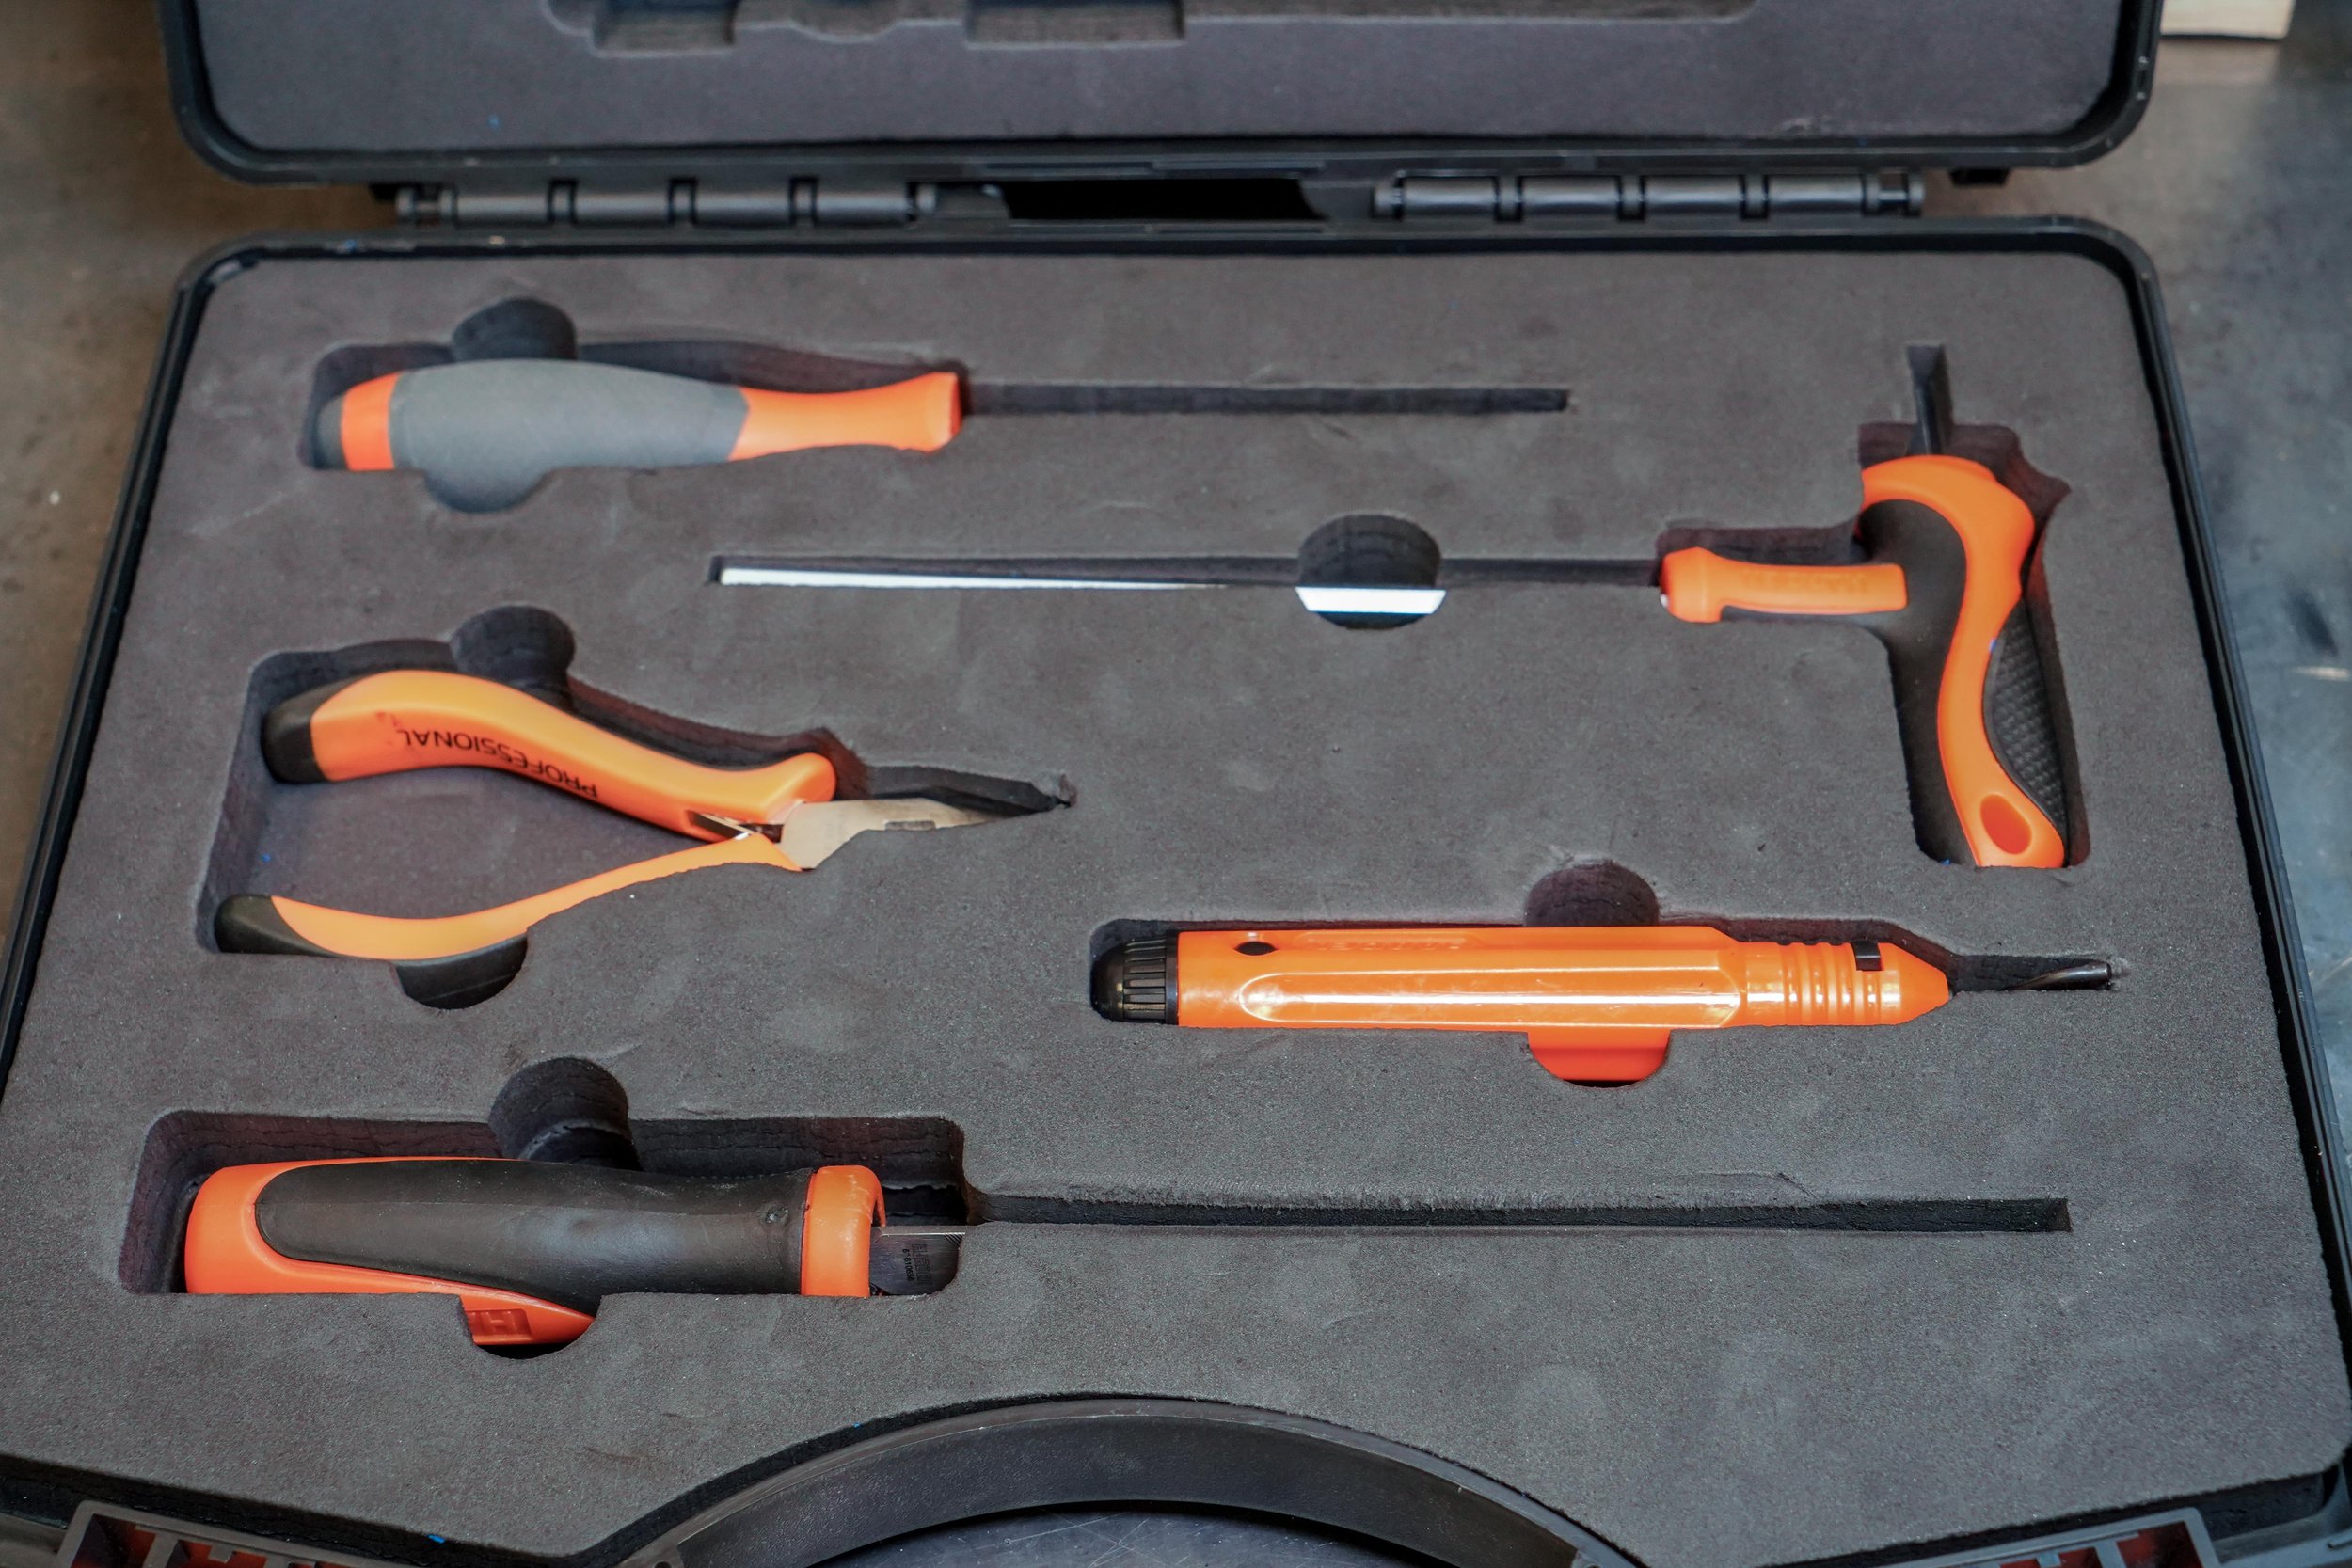
To aid your post-processing, WAZER includes some quick-start post-processing tools in the black tool case. This lesson aims to provide a crash course on how to use those included tools.
For more advanced post processing techniques, please stay tuned to other lessons.
Tools to be covered in this lesson:
Pliers
Deburring Tool
File
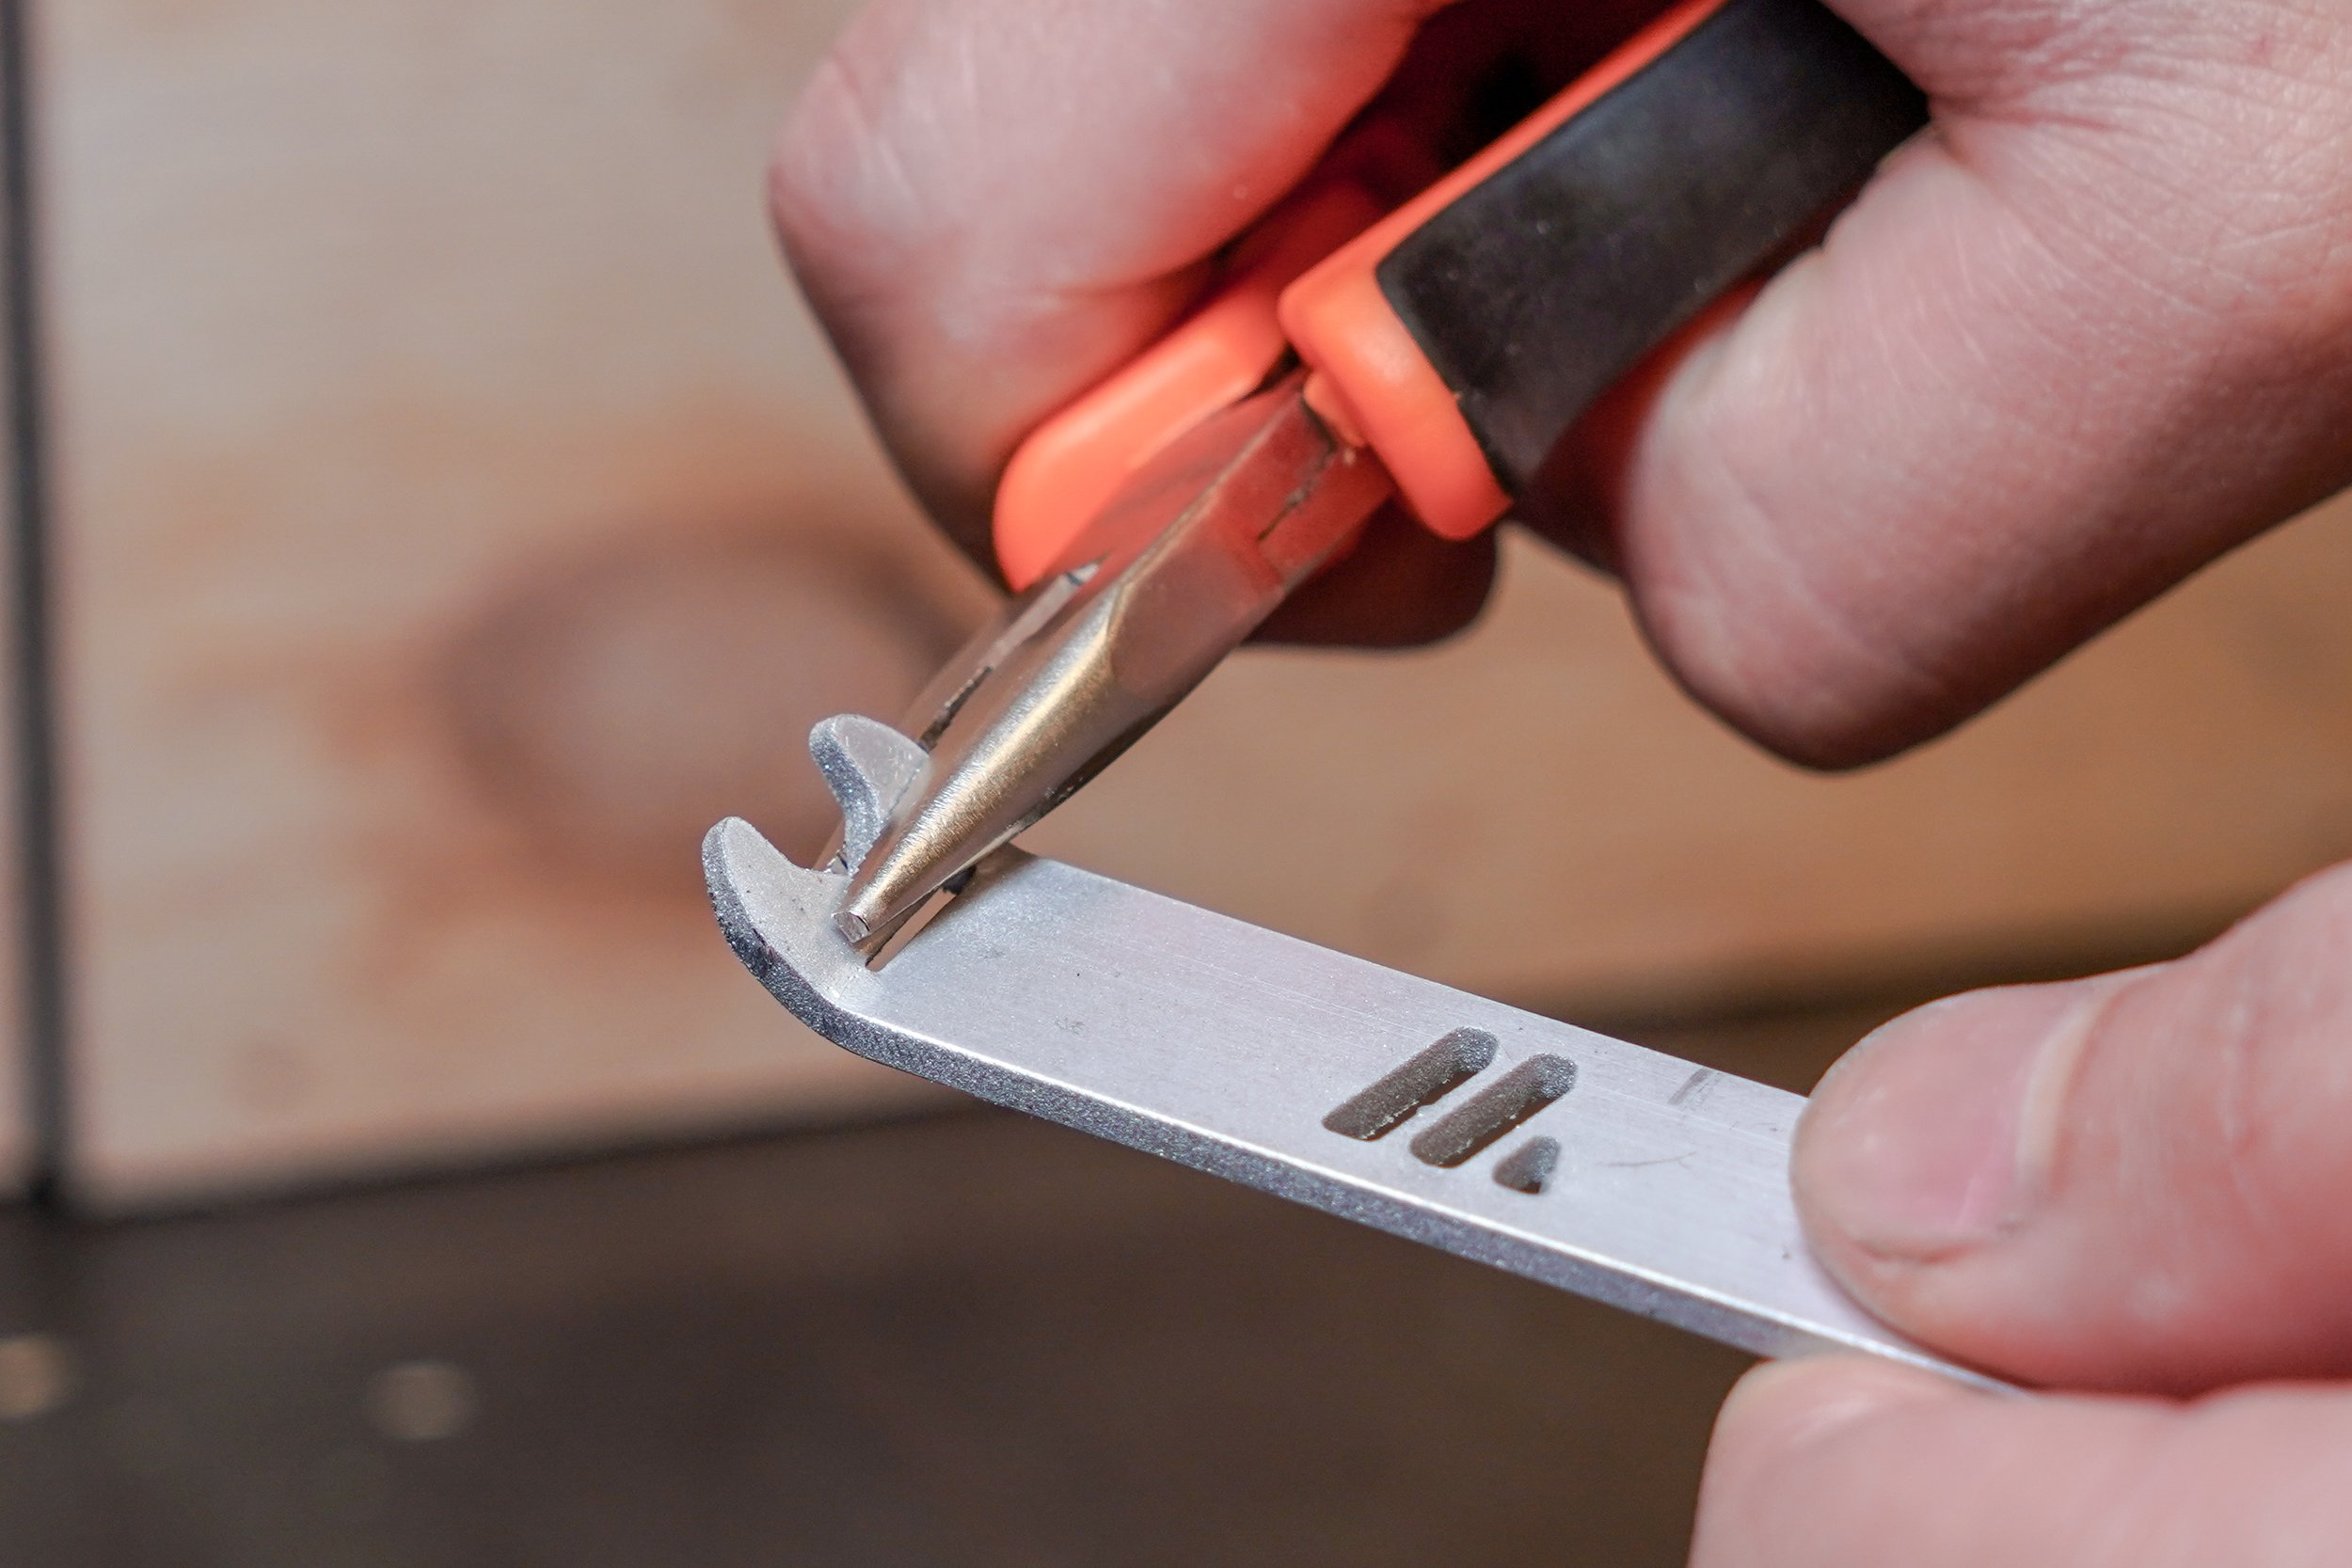
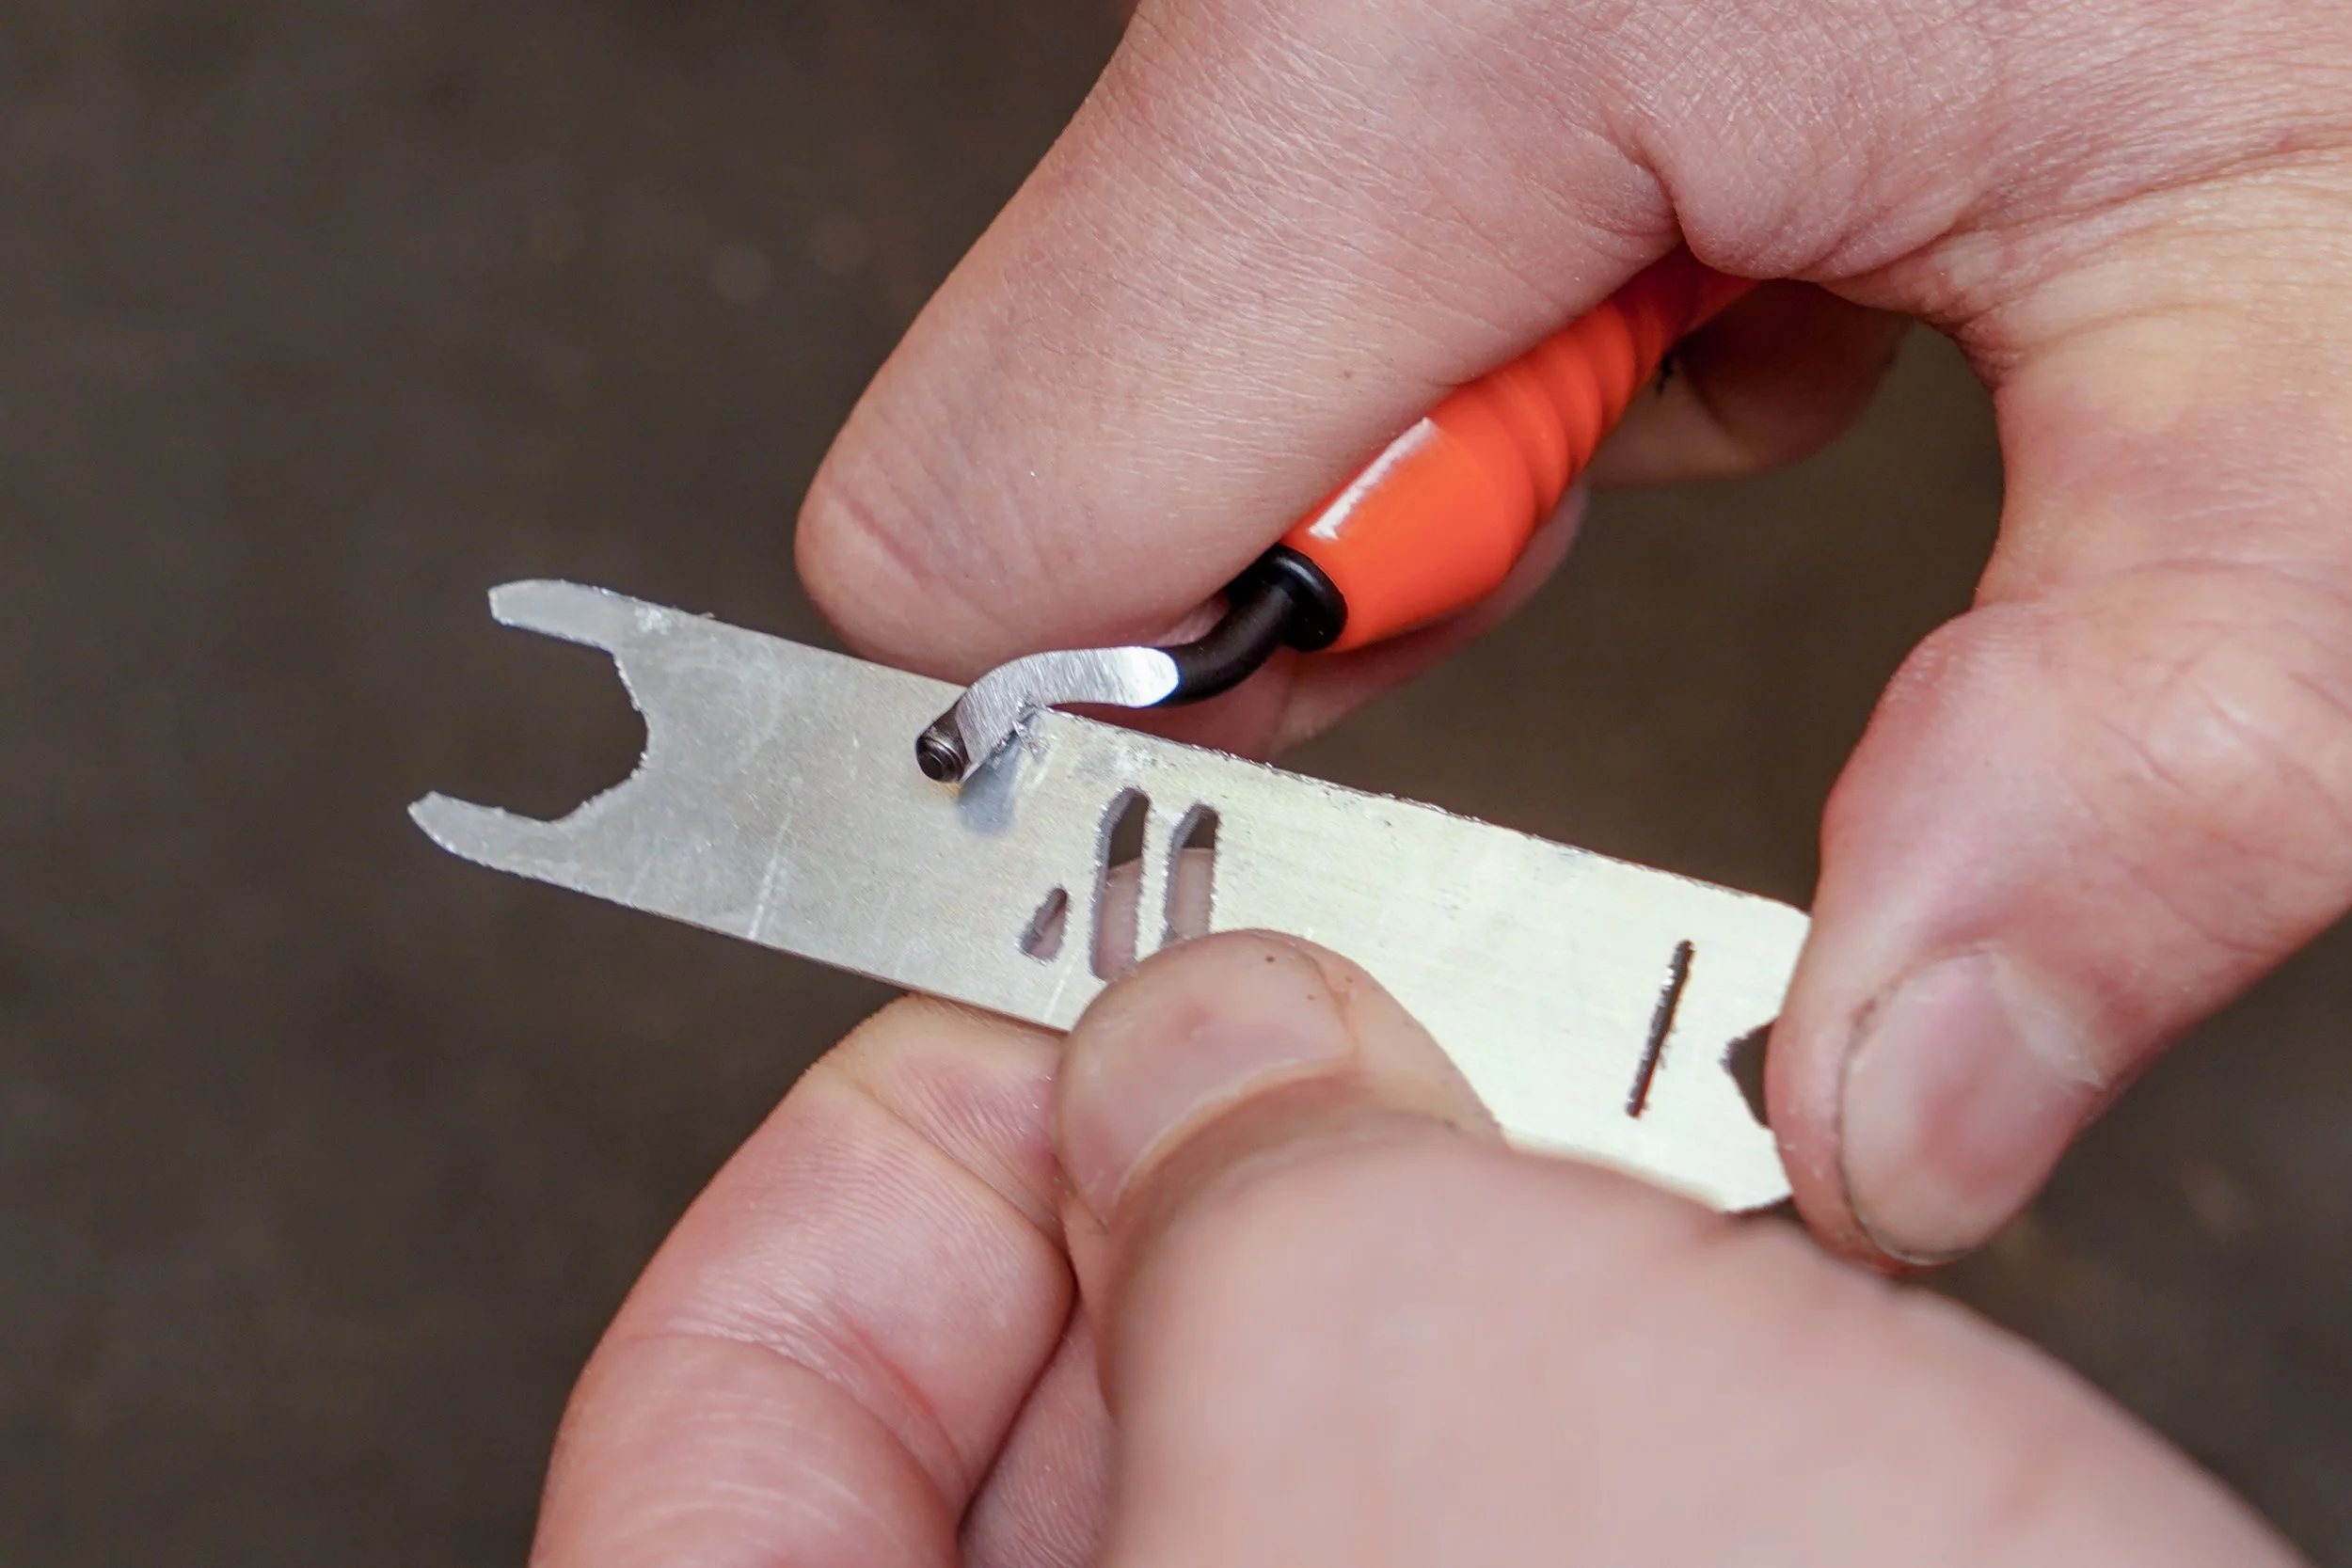
Tool 1: The Deburring Tool
The job of the deburring tool, as the name suggested, is to remove “burrs” from the finished cuts. “Burrs“ are left over strips of materials attached to the cut out parts. In water jet cutting, it normally forms at the back side of the cut material, perpendicular to the back side.
Burrs are always unwanted, and sometimes hazardous. Its presence affects negatively on the precision of the parts, and its sharp edges are the root causes for many workshop slashes. Thus it is advisable to remove the burr as soon as possible.
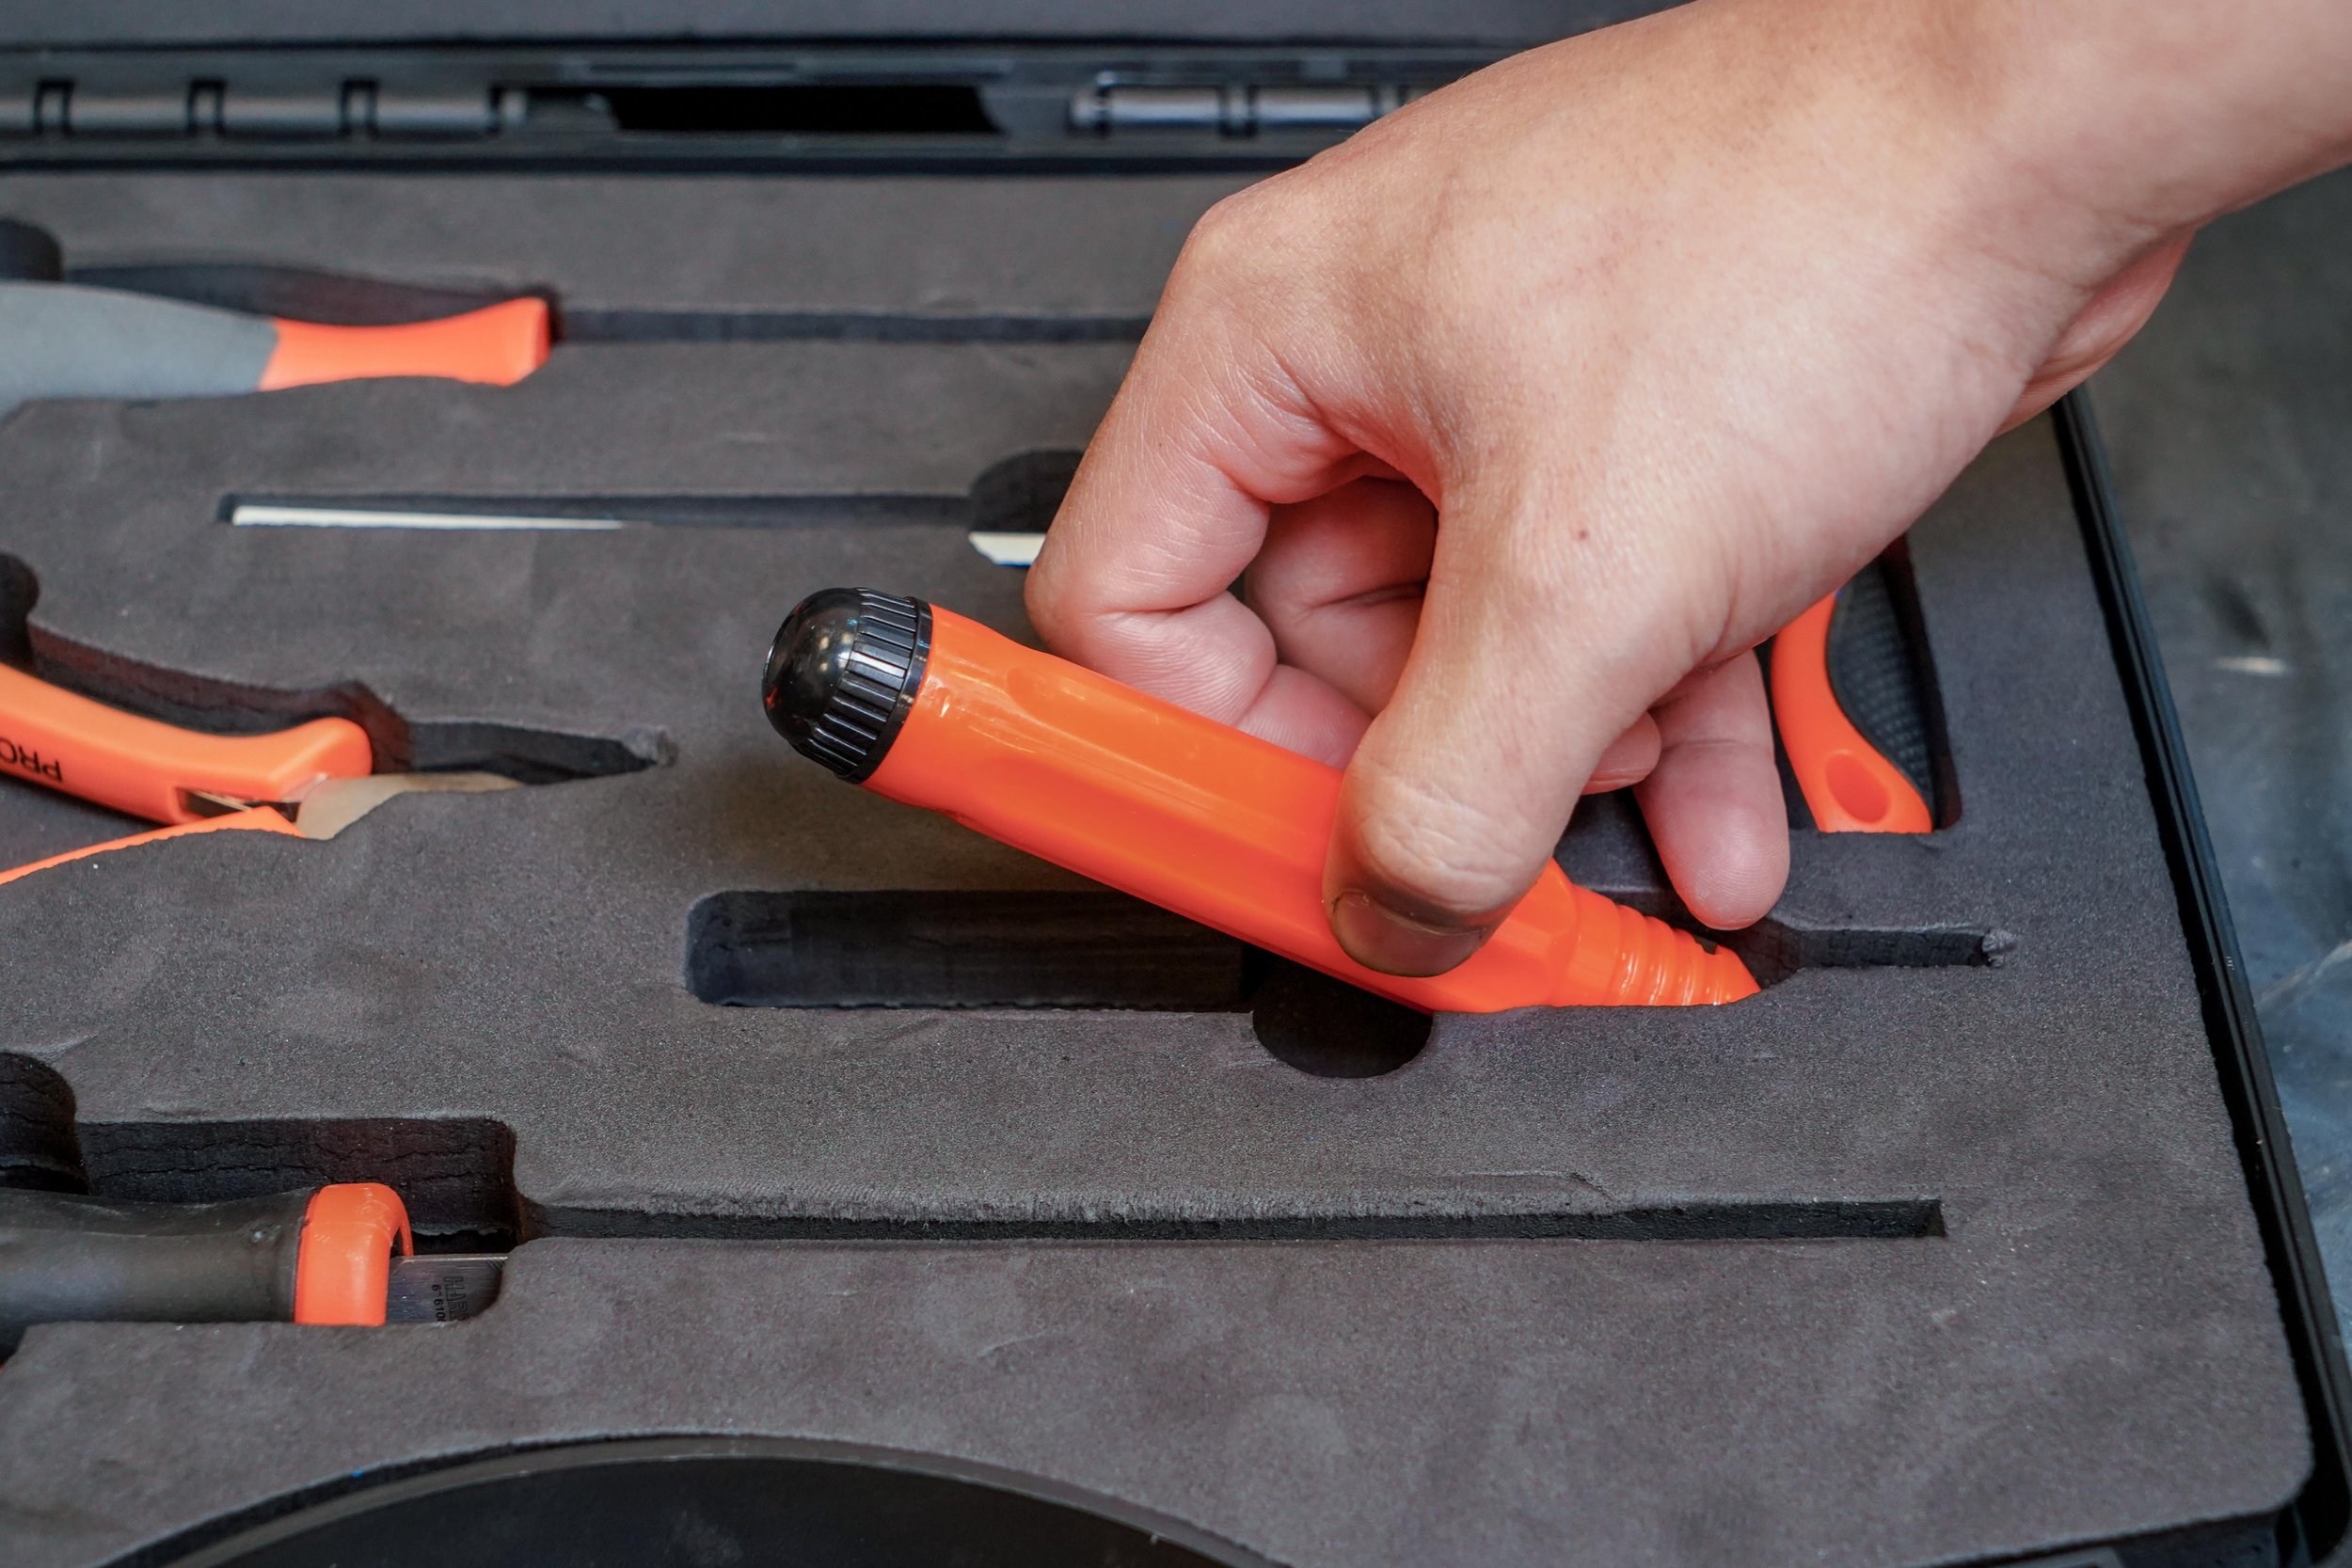
The tool presented here is a swivel head deburring tool, or simply as “deburring tool“.
How it works? Simply put, the curved section hooks into the burr, and user scraps the burrs away from the part with a single motion. The curved section is on a swivel head, so it can always hook on the burrs, and can reach be used in tight spots like the inside of a circular cut out.
While clearing burrs on small and intricate parts, you may hold the de-burring tool as a peeler, use your thumb to control the force and motion to achieve the best result.
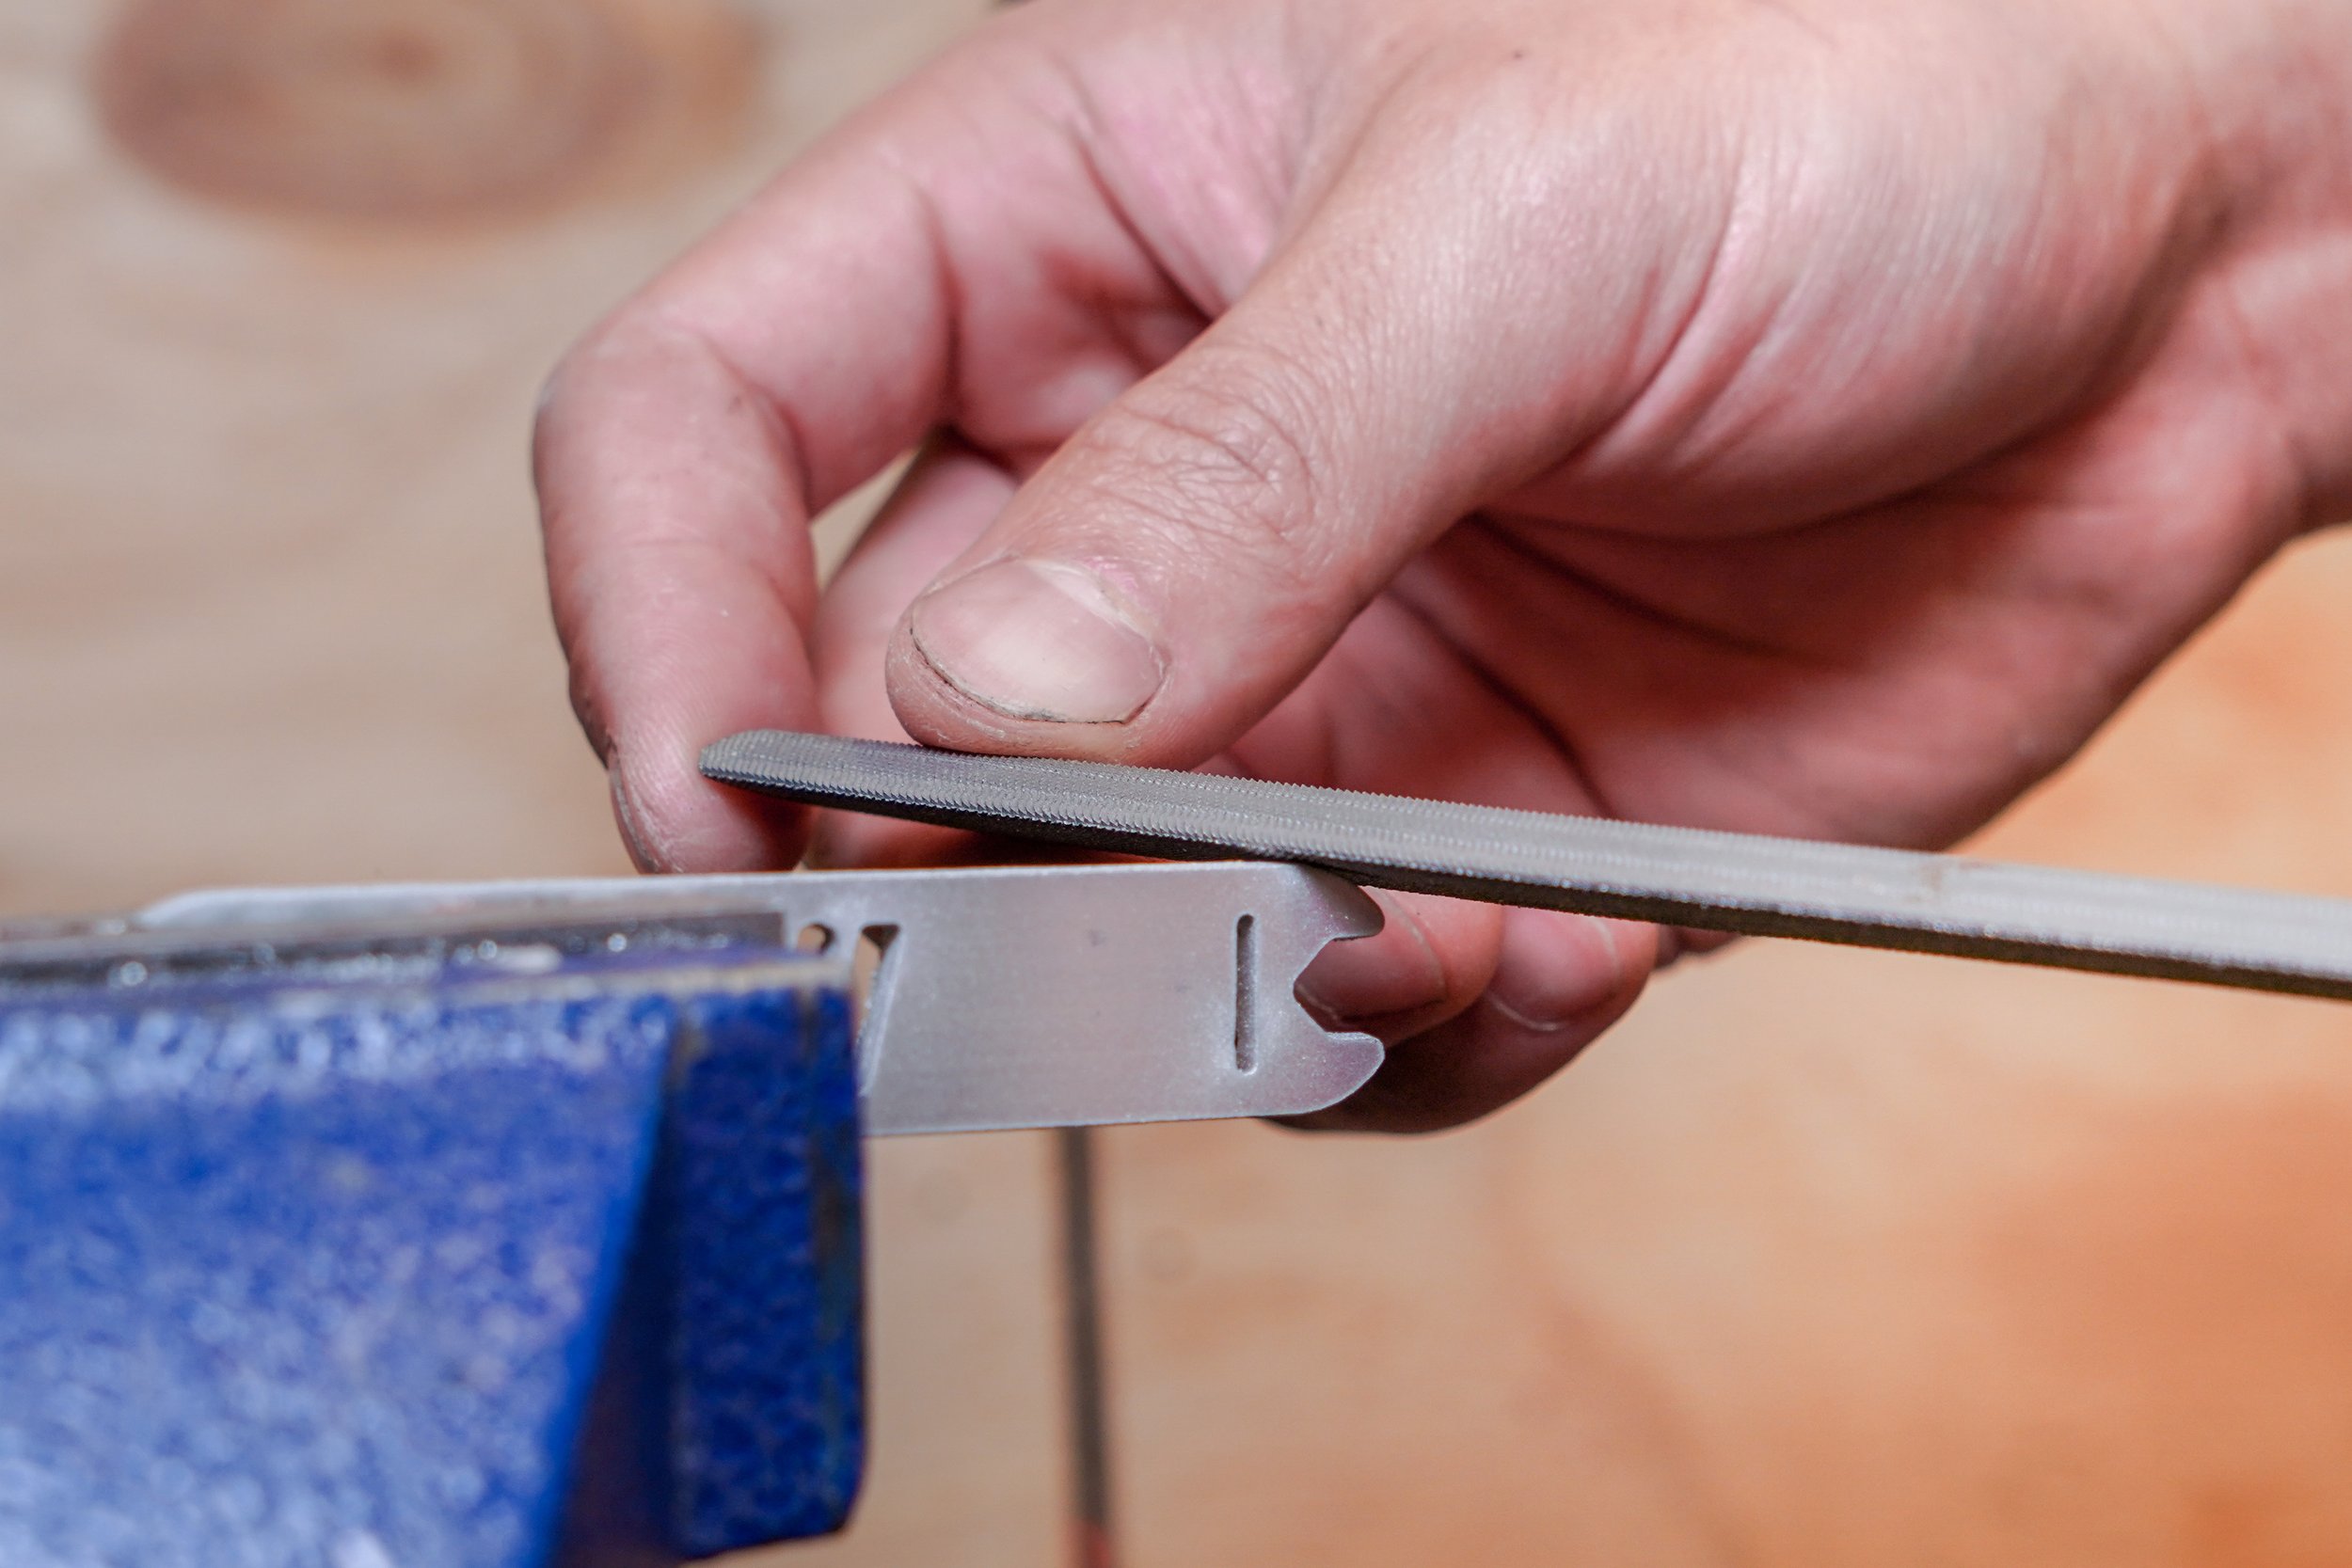
Tool 2: The File
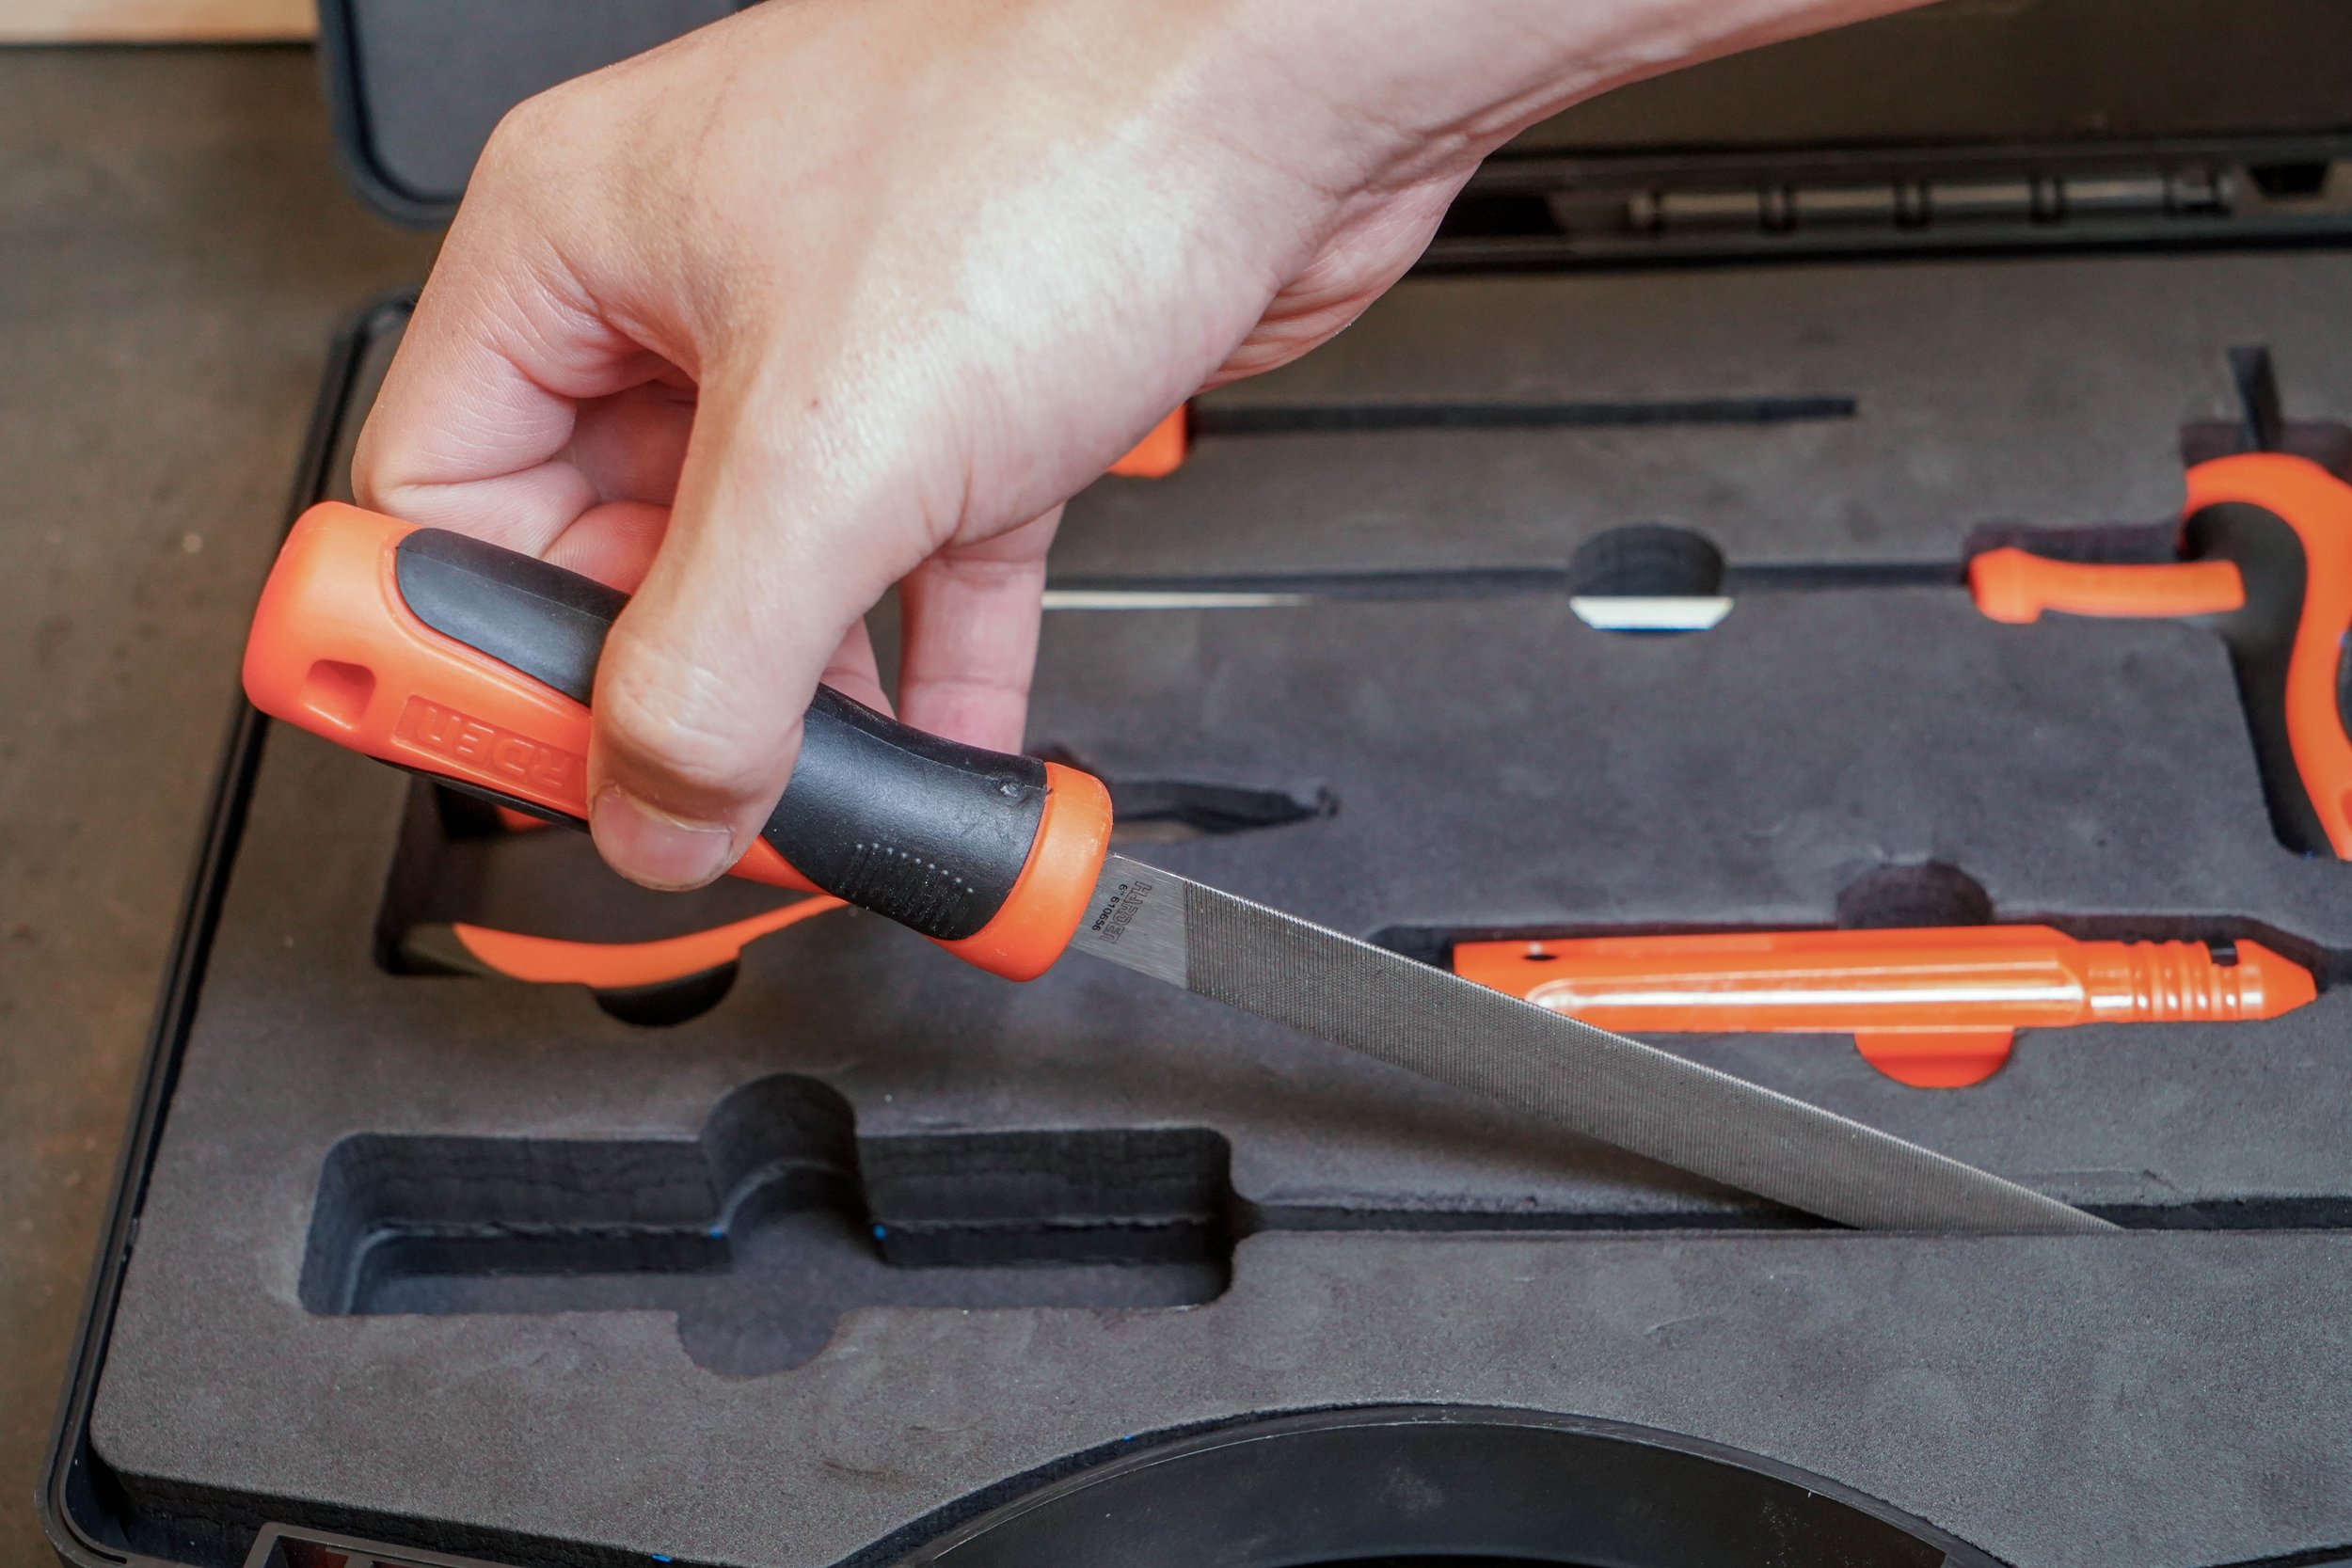
Files are common hand tools found in any work shop. Their serrated surface can be very helpful in removing any protrusions from a flat surface by grinding them down.
One good use of the file is to file away the protrusion caused by tabs. Tabs are connections between cut-out and blanks purposefully left for holding the cut-out down. After removing the cut-out from the blanks, there is usually a small protrusion left. Using the file and attach the protrusion head-on is the quickest way to remove it.
As you may know, there are may types of files out there. The one provided in the WAZER tool box is a general purpose file that is effective on most metallic materials, and also can be used for wood work. It is not recommended for glass or stone work, please use specialty files for those hard and brittle materials.
You may also use the file to remove burrs. It is a intricate activity and work best with large parts.
Apart from grinding down protrusion and removing burrs, files can also help to set the contour of the parts to meet your design.
For example, the welcome “Multitool“ can be better used as a screw extractor, if the smaller fork can be shaped into a chisel profile. For more information about the welcome “multitool“, please refer to the guided project section.
Tool 3: The Pliers
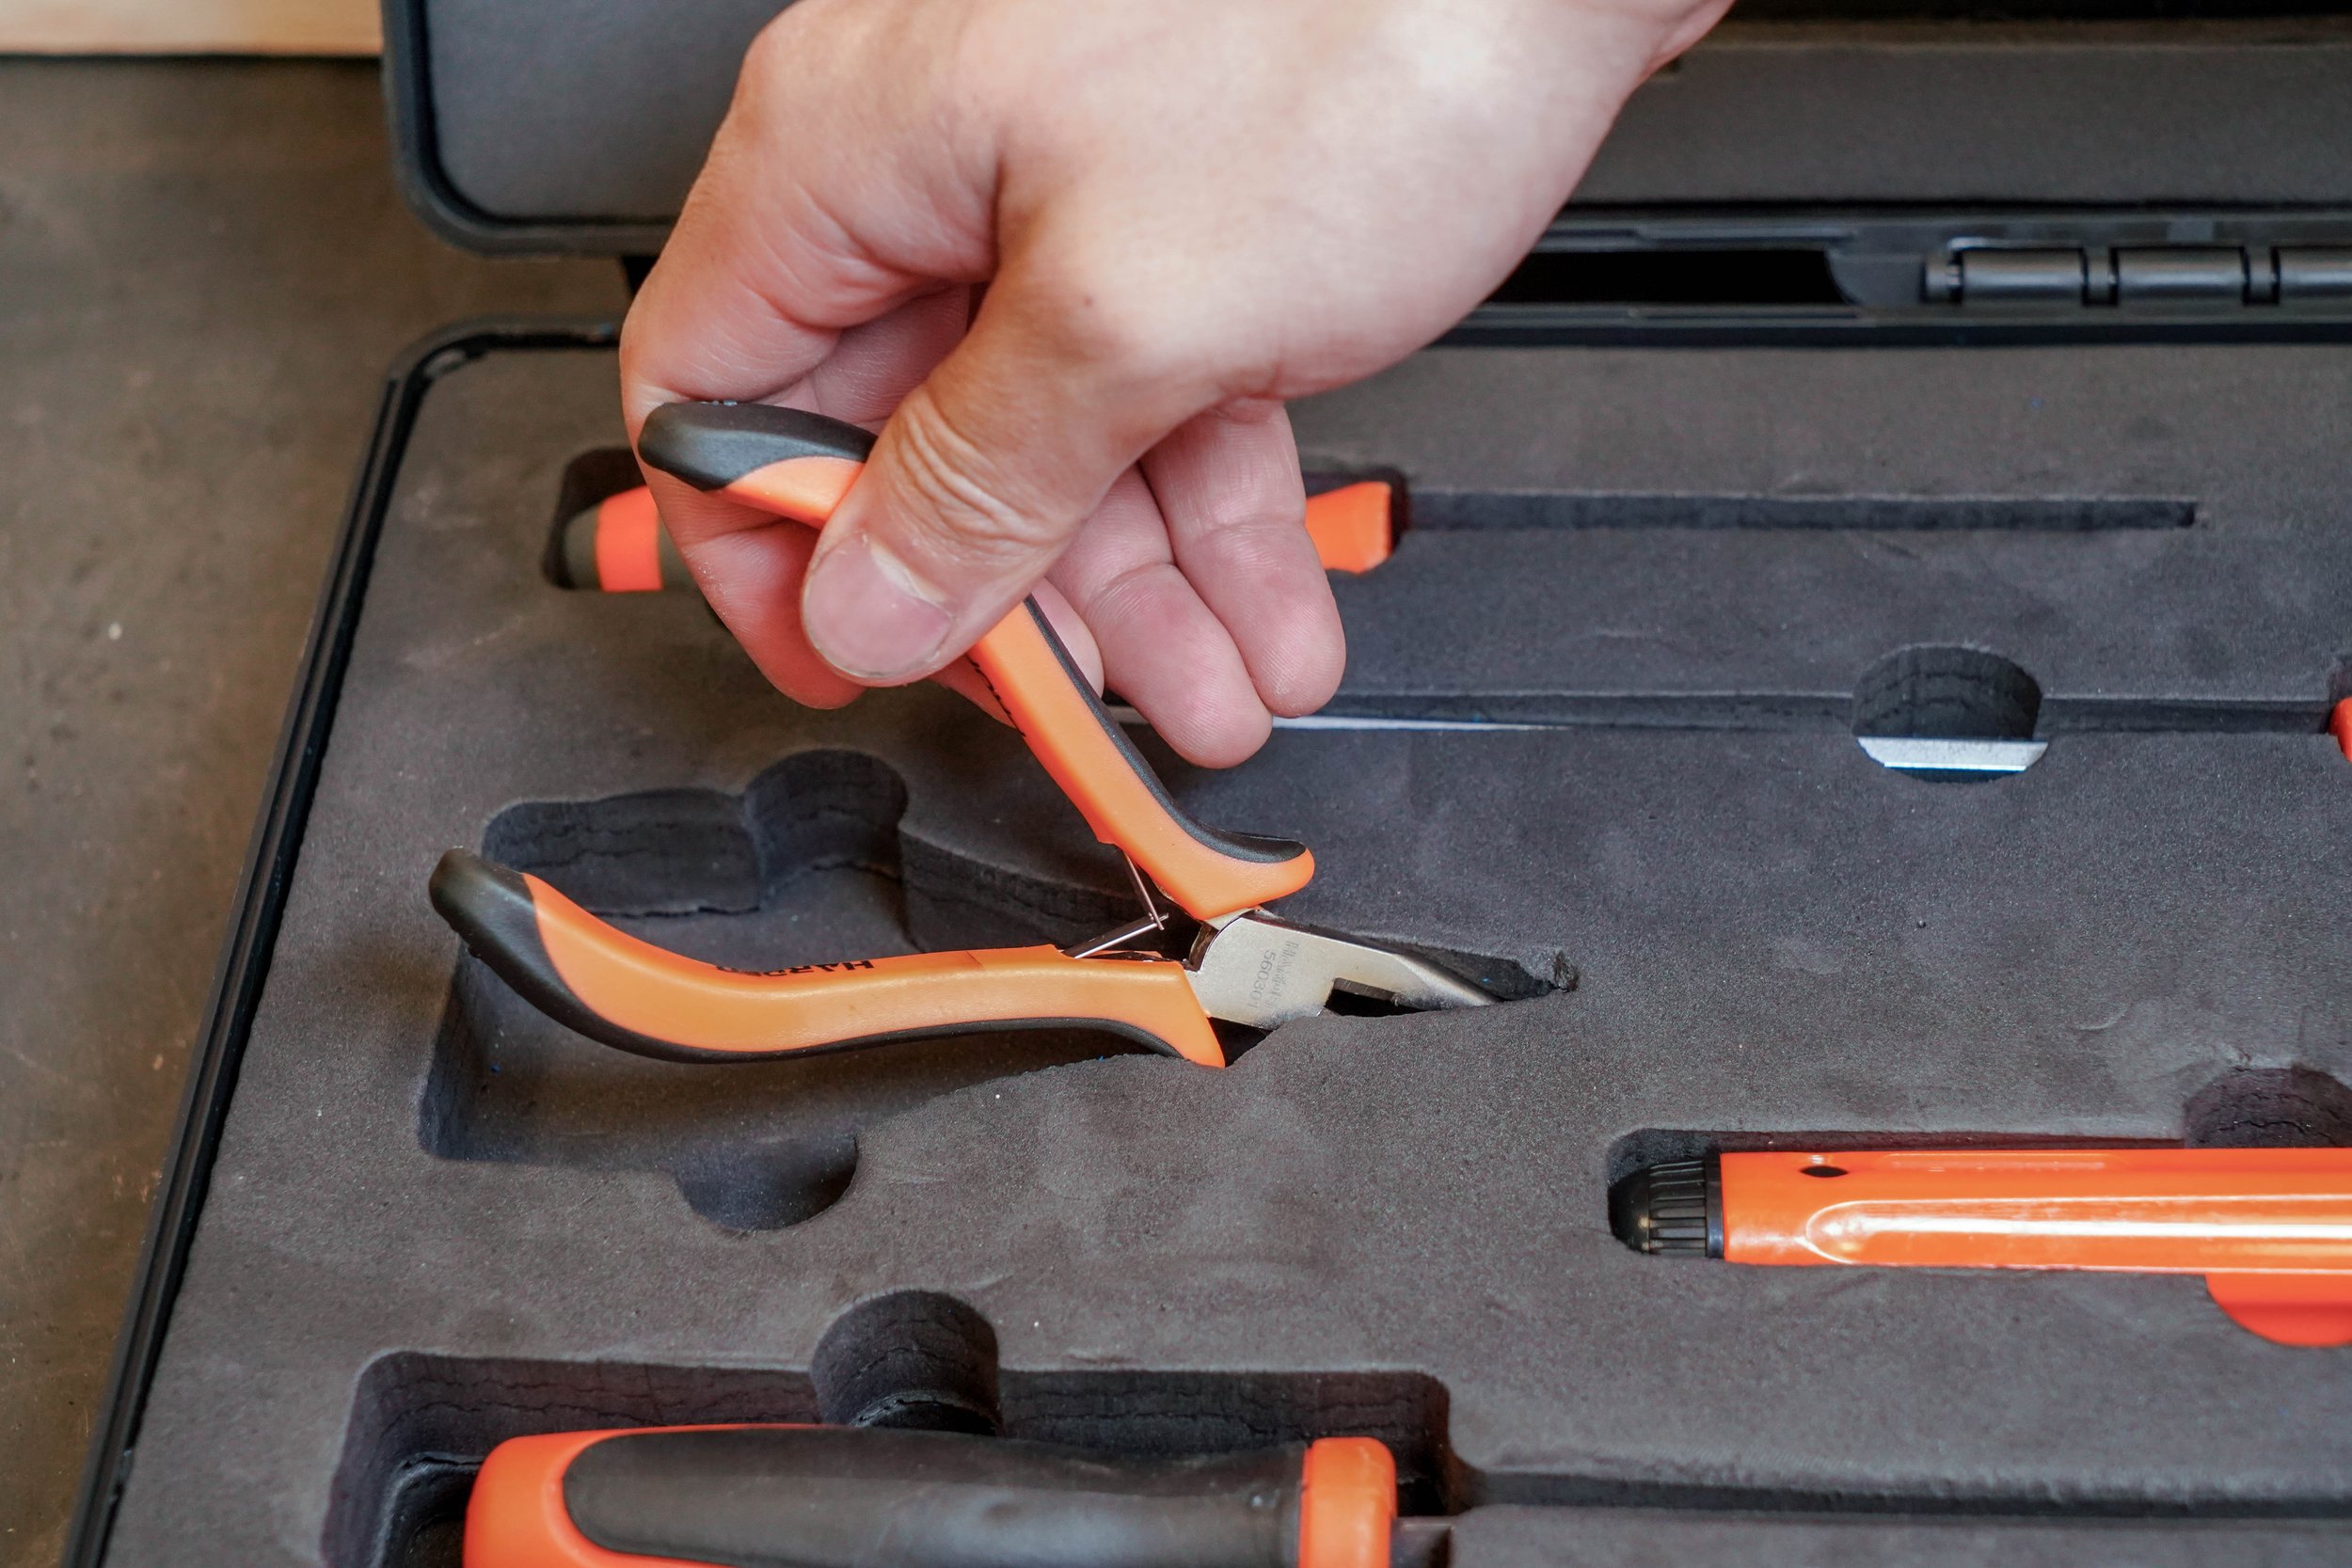
The pair of pliers provided in the WAZER tool case is also a general purpose type. Its profile is between the flat nose Lineman pliers and needle nose pliers. You may use the pliers to pick out finished cut-out from the blank after a cut, or pry out stuck screws from the cut bed. But in this lesson we shall focus on its two potential uses in post-processing: bending and shearing.
There are many reasons you would like to bend the cut pieces after cutting. For example, the residual stress exist in the material may cause the cut-out pieces to warp. This is common in some metallic materials due to fabrication methods.
Another reason to bend the cut pieces is to put them into desired shapes. For a quick and small bend, a pair of pliers are the best tool. For any large or precise bends, please use the specialty tool designed for this job, so you may achieve the best bend result.
Another function of the pair of pliers included in the tool case would be shearing, or snipping.
There is a section on the plier that has the capability of snipping thin strip of metal or wires. If you would like to remove some large unwanted protrusions, such as those from tabs, the pliers can be very helpful.
Conclusion
Those are only a portion of methods how these three post-processing tools can be used. Of course, this lesson is intended as a quick crash course for those tools. The capabilities and uses cases of those tools in real life are unlimited. Let us know what are the innovative ways you have tried.