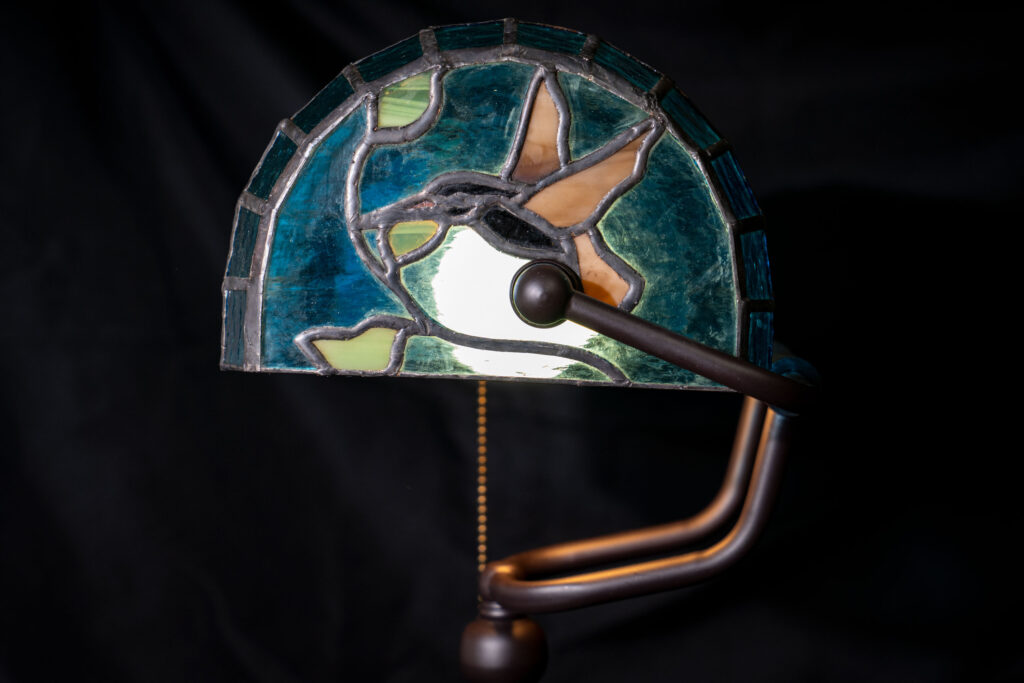
While there are some artists who feel the only way to create “art” is to do it by hand, that makes it difficult to make multiple copies of a piece, or to create a piece to meet exact specifications. To demonstrate that art could still be made with the assistance of a machine, I chose to create a simple Tiffany style desk lamp from glass using the WAZER small-format waterjet. The WAZER is an exceptional tool for cutting glass, and it relieves hours of repetitive work, while creating shapes that are impossible to cut by hand. While my design is not quite that complicated, it does benefit from the exceptional accuracy of the waterjet, and I could easily make a dozen of them to sell or give to friends-each looking exactly the same.
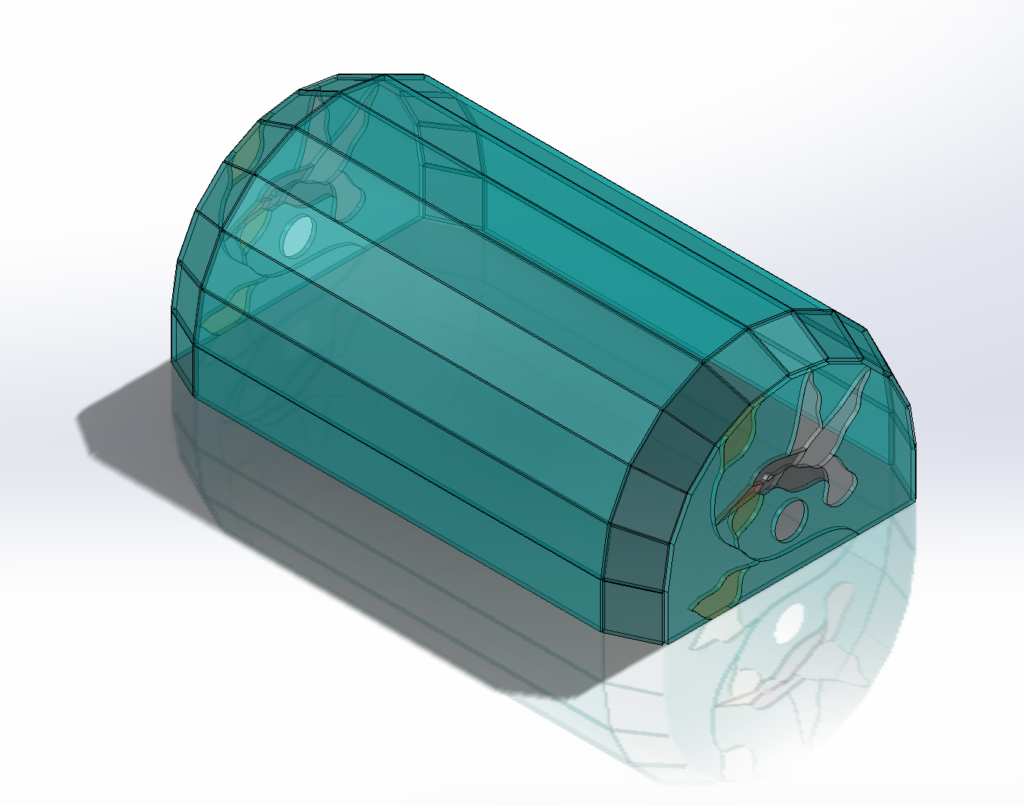
To begin, I created a half circle design which is formed by multiple segments of flat glass. I used CAD to create this shape, paying close attention to the size of the glass and the thickness of the copper foil tape used to solder the pieces into a rigid assembly. If I had cut these pieces by hand, my design would have changed due to minor changes in the shape of the assembly and variations in the actual pieces themselves. Again, the inherent accuracy of my design and cutting on the WAZER allowed me to use a single precut end panel, increasing the rigidity of the lamp shade, and providing a very professional look to the piece.
Speaking of the end panel, I wanted to incorporate some sort of “motion” into the otherwise stationary shade, and my hummingbird in flight was the perfect way to accomplish this. As it was part of my design, I knew all of the various pieces of the bird would fit perfectly together, and then that assembly would fit perfectly into the end panel. While I know glass artists do this sort of thing everyday, it was reassuring for a novice such as myself to know everything would fit together without issue. It was also nice to know exactly what my design would look like before I cut a single piece of glass. This way, when I started to cut, there was no glass wasted or “making do” going from my vision to the final piece.
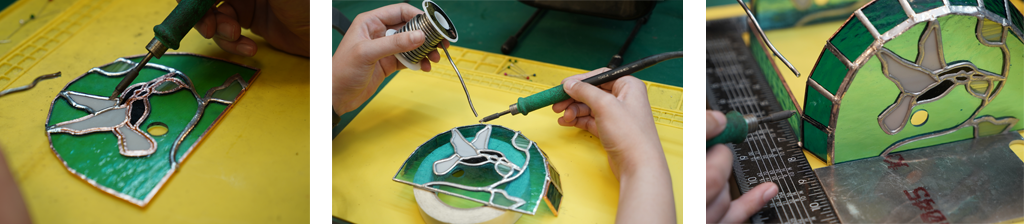
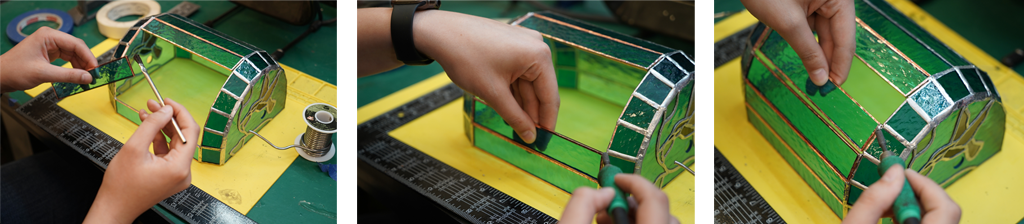
The assembly itself was fairly straightforward glass work, using the copper tape and solder to assemble the cut pieces into a shade. This was followed by painting a patina solution over the copper tape to darken it, and to tie it all together. Then a quick assembly, and I had a unique lamp for my desk that I could proudly say “I made this” to anyone who asked about it. I’m sure after reading this you could make something just as nice, and I would love to see what you come up with.