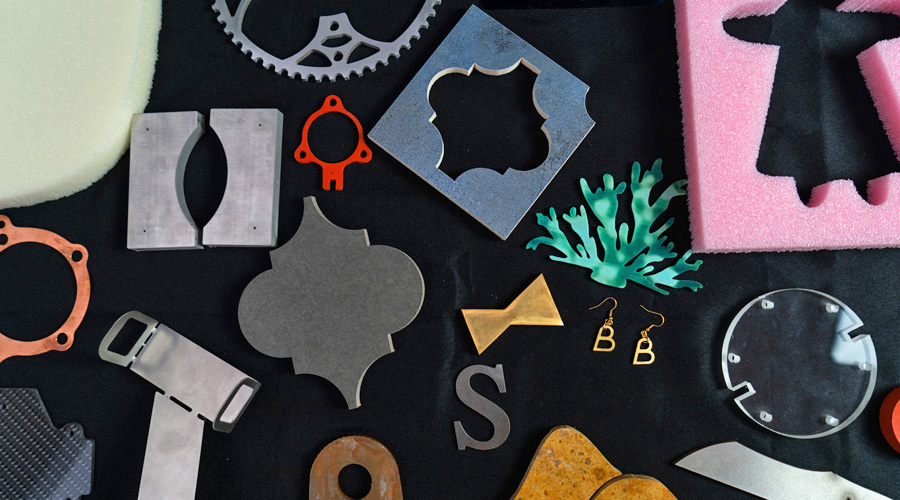
If you want to use WAZER but don’t know how to create digital designs, this is for you. The video above and the article below both demonstrate a reliable method for producing designs files compatible with WAZER waterjets when all you have is a hand-drawn sketch or an image sourced online.
What are vector graphics?
WAZER, and most other CNC equipment, require digital files to create toolpaths. These toolpaths act as instructions, guiding the water jet to cut the desired part or design. WAZER is compatible with two vector graphic file types: DXF and SVG. Vector graphics are defined by mathematical equations connecting points and lines to make an image or design. Unlike standard line drawings which are made of pixels, vector graphics allow for scalable high quality graphics without the need to have very large file sizes.
Inkscape

Traditionally, glass artwork is drawn or traced on a sheet of glass which is later scored and broken into shape. Using a WAZER waterjet to make precise, automated cuts in glass requires a compatible vector file, but it does not mean you must be an expert in digital design. This guide aims to show a simple, reliable method for converting a hand-drawn sketch or a downloaded image to a vector file that can be used to cut with WAZER. Inkscape is a free, open-source graphics editor, making it a great introductory tool to vector graphic design work.
Single Shape vs. Mosaics
A lot of the glass artists are looking to use WAZER waterjets for repeat precuts of a single shape or for intricate mosaics. We will cover several methods for each type of use case and how to handle the source of the design with Inkscape.
Single Shapes
Three Sources for an Image File
Whether you’ve found a design online that you’d like to cut or have hand-drawn one yourself, there is a specific methodology to follow for both when preparing files for a water jet cutter. We will now go over how to input the three common image files that we can input into Inkscape and successfully generate SVG files.
1. Outline – Image File
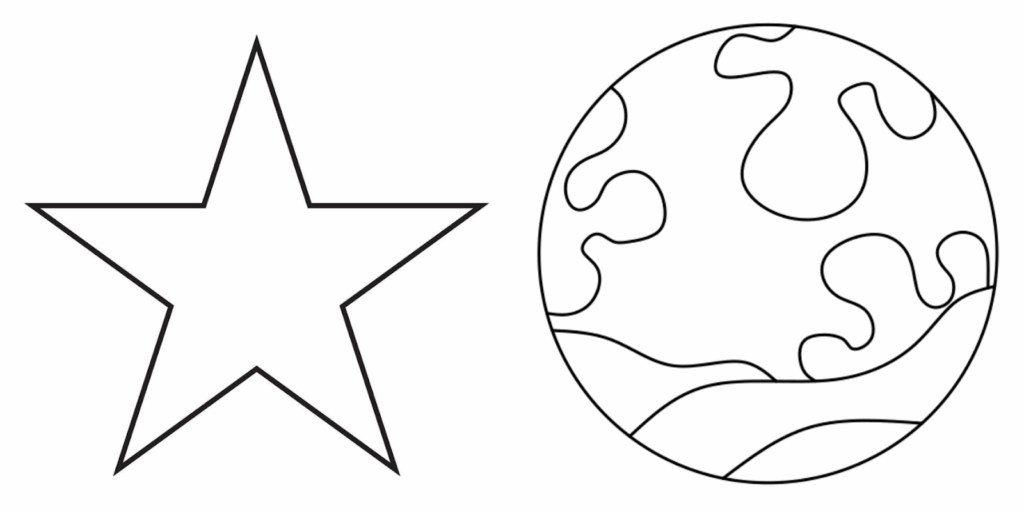
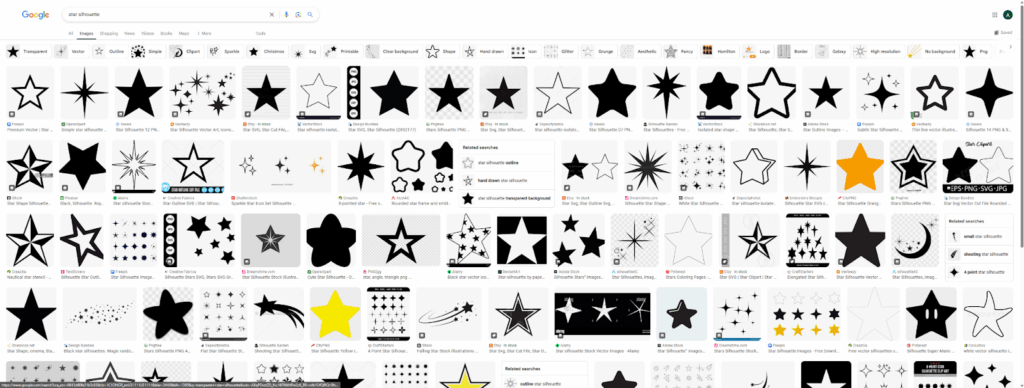
The first method we’ll explore is finding an image outline. The initial step in this process involves sourcing an appropriate image from the internet. “Outline” is one of the key terms to remember when searching for images that can be easily digitized or used as a base for vector graphics. This search term will typically return images that consist primarily of lines and shapes, without complex color gradients or textures, making them ideal for tracing and converting into vector format.
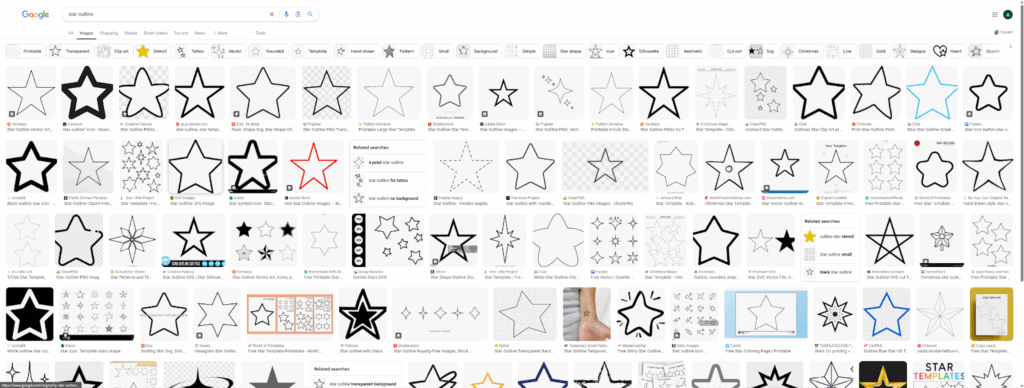
You can pick whichever design works best for what you are looking to do. Generally, the key to success is finding an image with a clear, black outline on a white background with no watermarks. Something like this:

Step 1.1
Copy the selected image into Inkscape.

Step 1.2
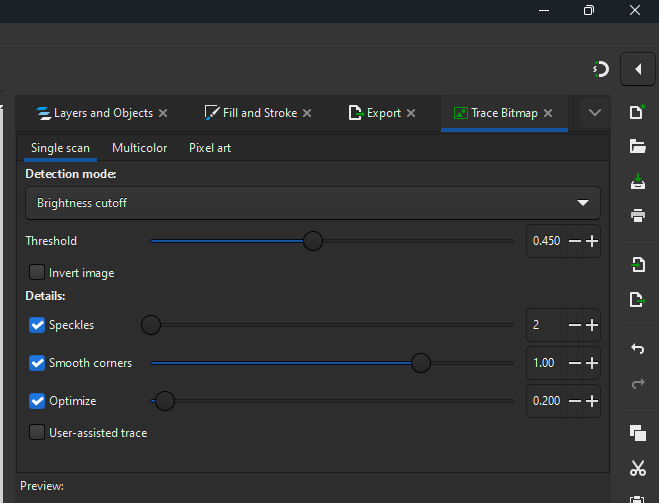
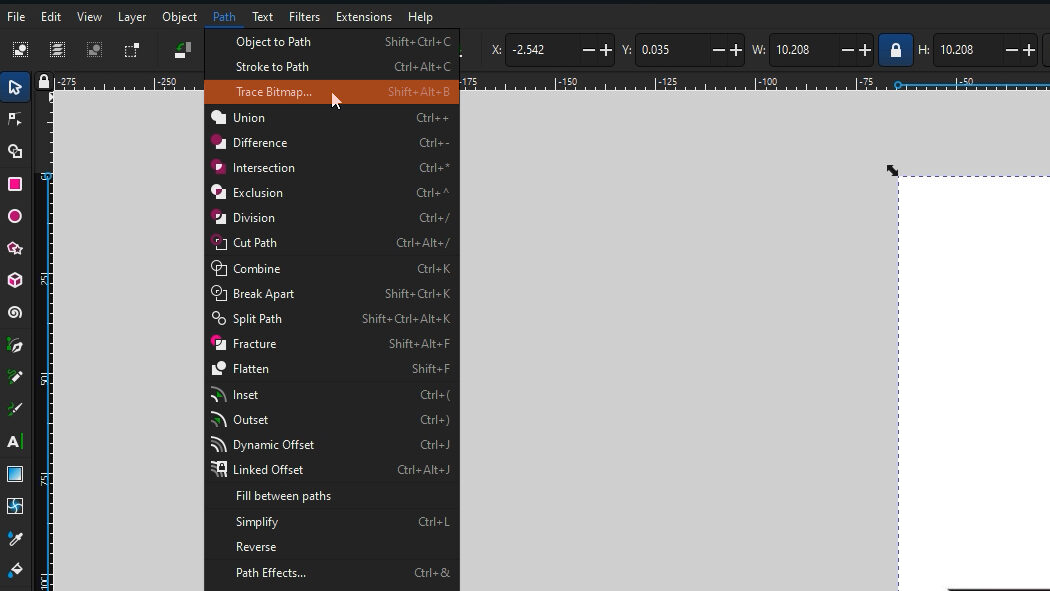
Locate the “Path” option on the top left and scroll to select the “Trace Bitmap” tool.
Step 1.3
Select “Brightness Cutoff” and click on “Apply” to generate the trace.
Step 1.4
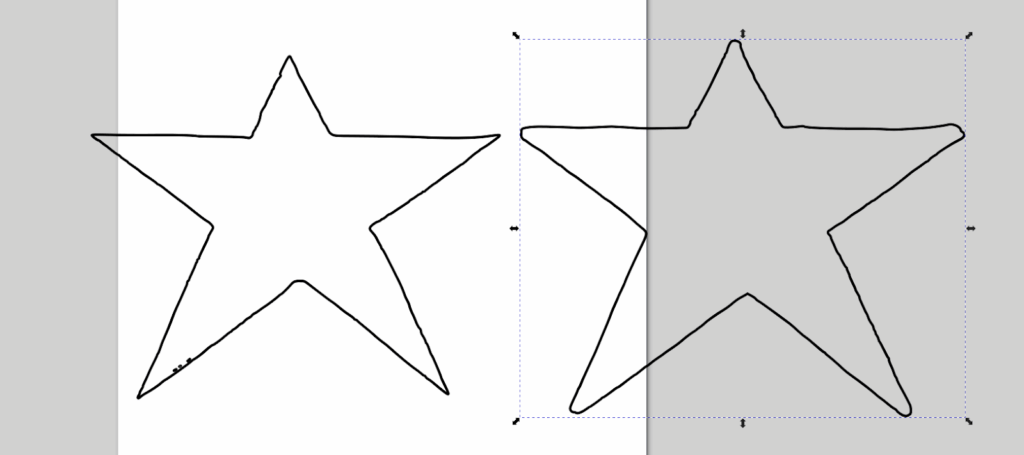
Select the “Fill and Stroke” menu to adjust the “Fill” of the trace to “No Paint” and adjust the “Stroke” to “Flat Colour”. This will allow you to better visualize the vector lines created from the trace. Inkscape is tracing on the boundaries of the white background and black lines therefore it creates one vector line on the inside of the outline and a vector line on the outside.
Step 1.5
To select our desired vector line, we need to separate the trace. To do that, we will go back to “Path” on the top left and scroll to select “Break Apart”. This will allow you to delete or modify both traced vector lines of the outline.
Step 1.6
Before exporting the file for WAM, make sure the size of the shape is right! To do that, navigate to the middle top of the window where the “Width” and “Height” dimensions are. Make sure to adjust units accordingly and make sure to lock the aspect ratio so that any editing will keep the original proportions of the image. Adjust the dimensions to your desire!
Step 1.7
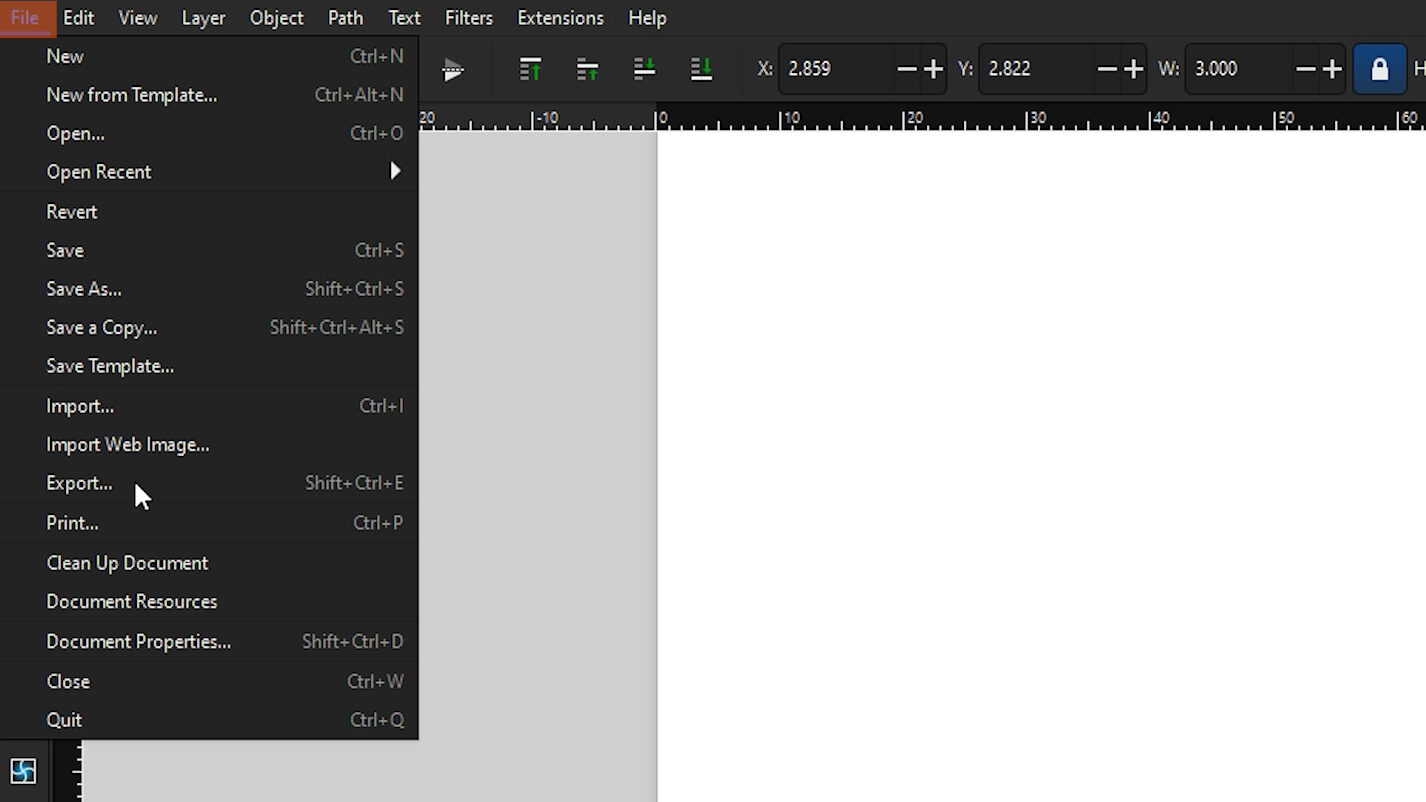
Navigate to the top left and find the “File” menu. Select the “Export” option which will open up a small window on the right of the screen. Make sure to select “Inkscape SVG” to export the dimensions of the design! (the dimensions of this star are 3” x 3”)

2. Silhouette – Image File
Another key term for google searching for the shape you want is by using the term “silhouette”. Again, the key is to find an image that consists of clear black and white boundaries, without complex color gradients or textures, making them ideal for tracing or converting into vector format.
You can pick whichever design works best for what you are looking to do. Generally, the key to success is finding an image with no water marks. Something like this:

Step 2.1
Copy the design into Inkscape.
Step 2.2
Repeat steps 1.1 to 1.7 above to get the SVG file. One difference to note between the traces outline and the traces silhouette is that since the trace is taking the boundaries of the black and white, for the outline we had to delete the extra vector path from the inside of the line but with the silhouette, we don’t need to do that since only one vector path will be created.
Step 2.3
Export the final design into an Inkscape SVG. Make sure everything is sized correctly!
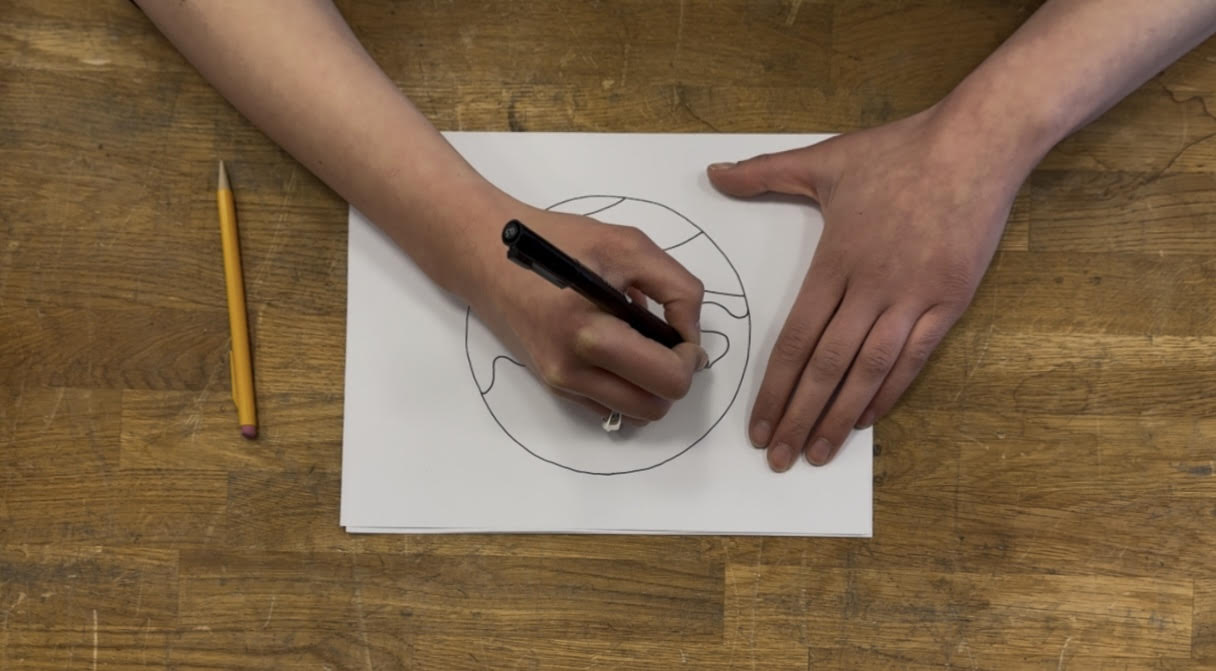
3. Hand-drawn – Image File
What if you want to draw your own shape on paper?
Step 3.1
Draw your design using a pen of your choice. The goal is to have clear black lines on the white paper to help make it easier for Inkscape to create a clean trace.

Step 3.2
Using a scanner or phone scanning application, create a clean scan of the design and save it as a JPG or PDF that can be later imported into Inkscape. A scanner or phone scanning application is preferred as a simple image will contain discolorations and imperfections which are typically removed when scanning the image and adjusting the contrast to get the white and black colours.
Step 3.3
Once we have a digital image of the hand drawing we can repeat the same steps for tracing and path editing (steps 1.1 to 1.5 above) to get the vector path of choice.
Step 3.4
After breaking apart the design, choose the path (inside or outside) that you want and that’s closest to the design you are looking to cut.
Step 3.5
Double click on the path. It will expose the nodes that make up the design. Each of these nodes can be fully manipulated and can adjust the curvature of the design.
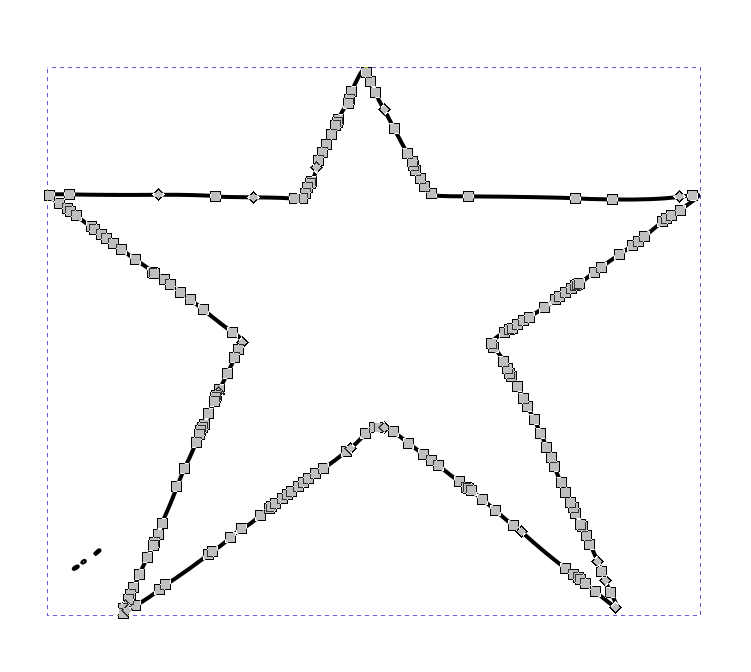
Looking closely at the nodes on each of the straight segments, there are many unnecessary points that can be removed to eliminate random curvatures. Deleting nodes will not open the path. To delete nodes simply select them by clicking on the node and hitting the delete button.
Example:
16 nodes |
2 nodes |
Step 3.6
Export the final design into an Inkscape SVG. Make sure everything is sized correctly!
Importing the 3 different SVG’s into WAM
After creating SVG files, they can be imported into WAM, WAZER’s CAM software, to apply suitable cut settings for glass. Remember that WAM does not allow editing of imported SVG features, so ensure your design is complete in Inkscape before importing.
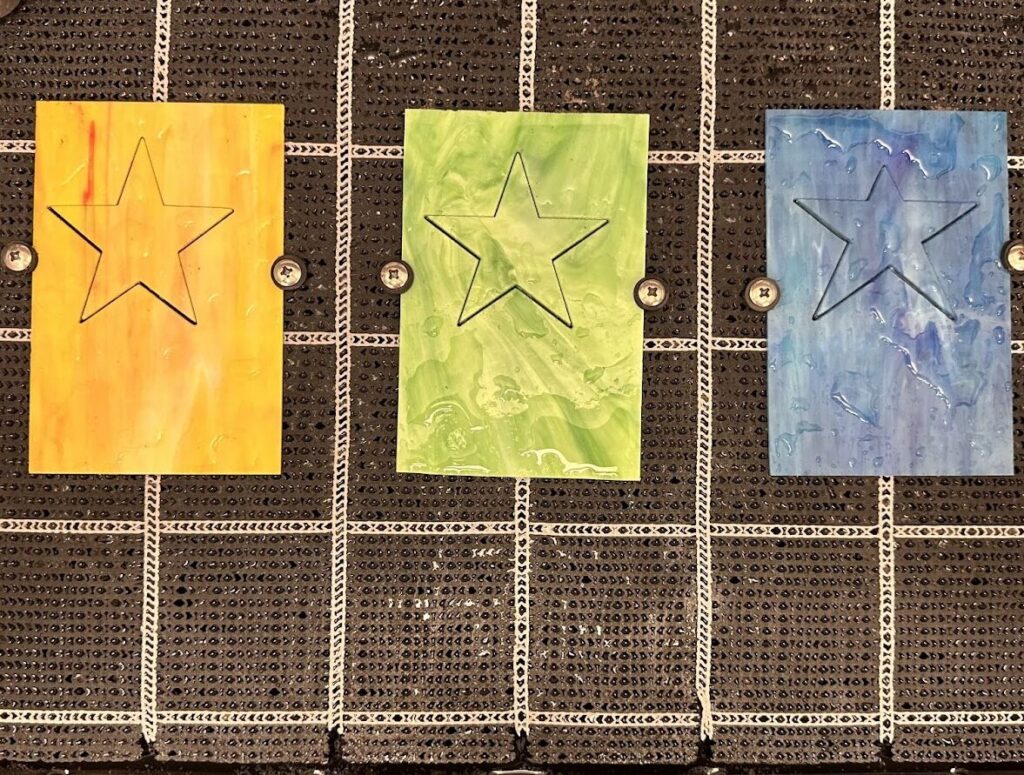
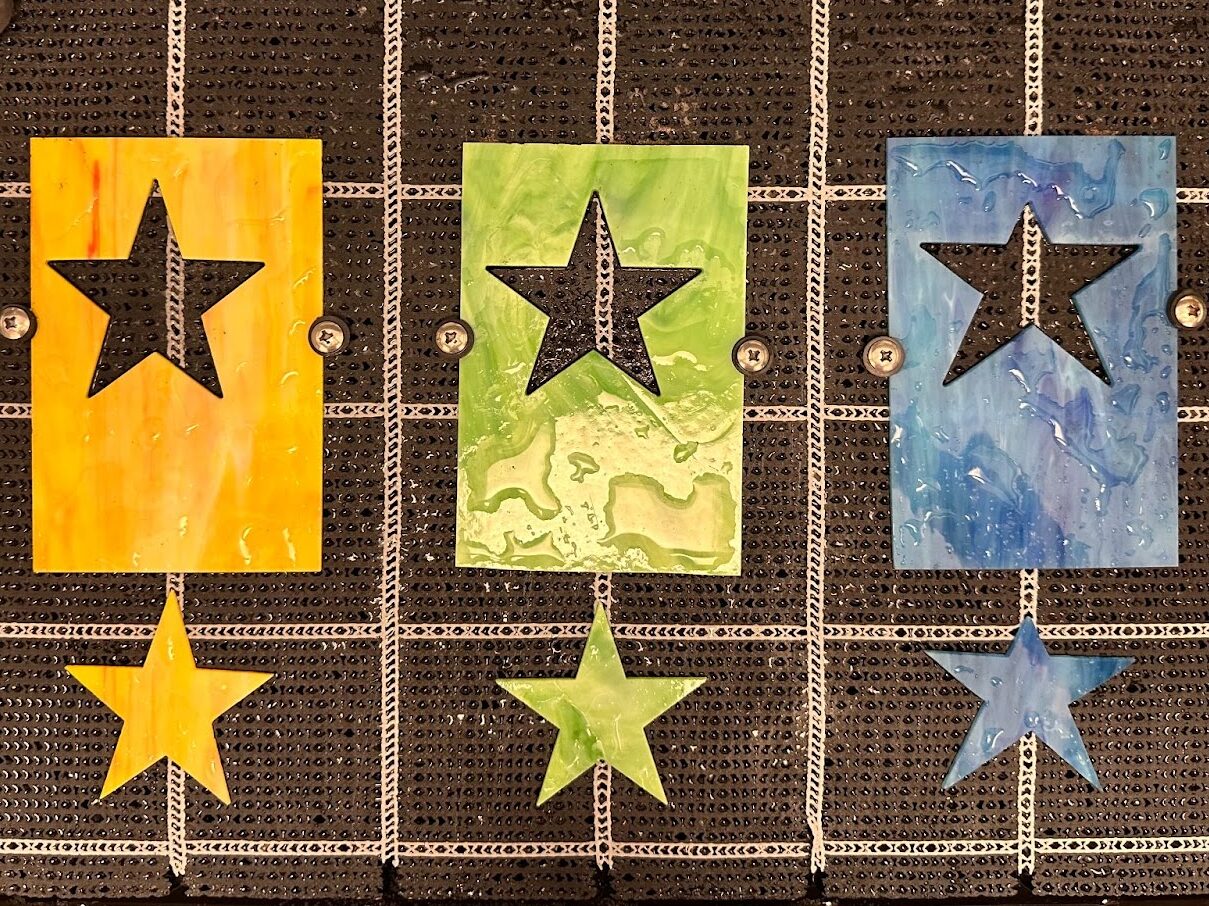
Once the Gcode file was created, three different colours of glass were used to cut each star. They were arranged on the cut bed grid based on the layout in WAM. The Gcode file cut all three pieces successfully!
Mosaics
What if there were multiple pieces coming together in a mosaic? Whether it is hand drawn or a pattern that was found online or in a book, here is the process to create a SVG file that WAZER can cut.
Stained glass mosaic patterns
Like with single shapes, we follow the same method of copy-pasting the pattern into Inkscape followed by the procedure of tracing over the image to create the vector paths. Knowing that with any outline Inkscape creates a path on the inside of the black lines and another path on the outside, we can use this to our advantage in order to get each individual shape that we need to make this mosaic. Furthermore, the gap that is created from the black line will be perfect to account for the solder.
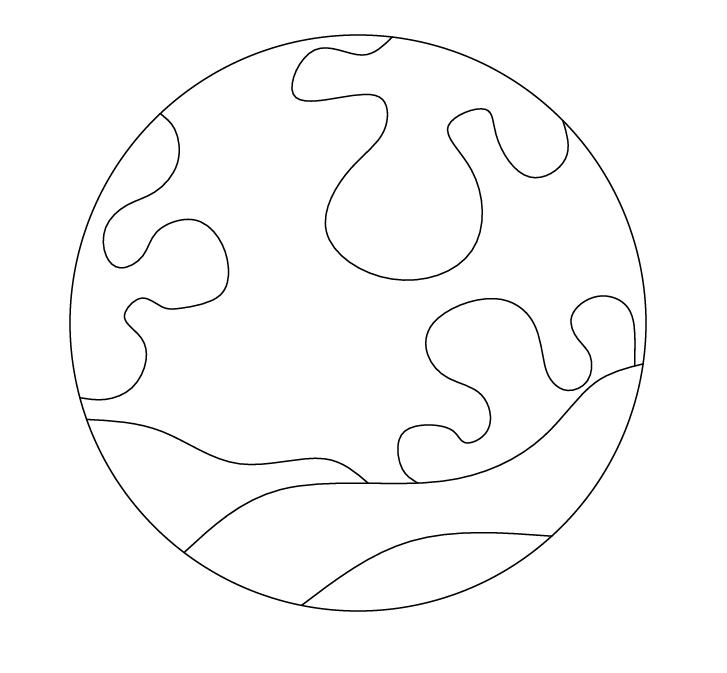
Here is a simple example of a mosaic pattern found online.
Step 4.1
Copy the image of the mosaic pattern into Inkscape.
Step 4.2
Repeat the steps for tracing the image (steps 1.1 to 1.6 above) as this is essentially treated the same way. Make sure you scale the overall design before breaking apart each piece. This is to make sure that everything will fit together after the cut.
Step 4.3
After breaking apart the design, we will be able to delete the unwanted lines which in this case is the circle vector path.
Step 4.4 (optional)
To prepare for cutting in the water jet, you can separate the pieces based on the colours of glass you are going to cut the part from. It is recommended that each piece is put in a new Inkscape file labeled with the correct colour to later process in WAM and create the Gcode.
Step 4.5
Export the final design into an Inkscape SVG.
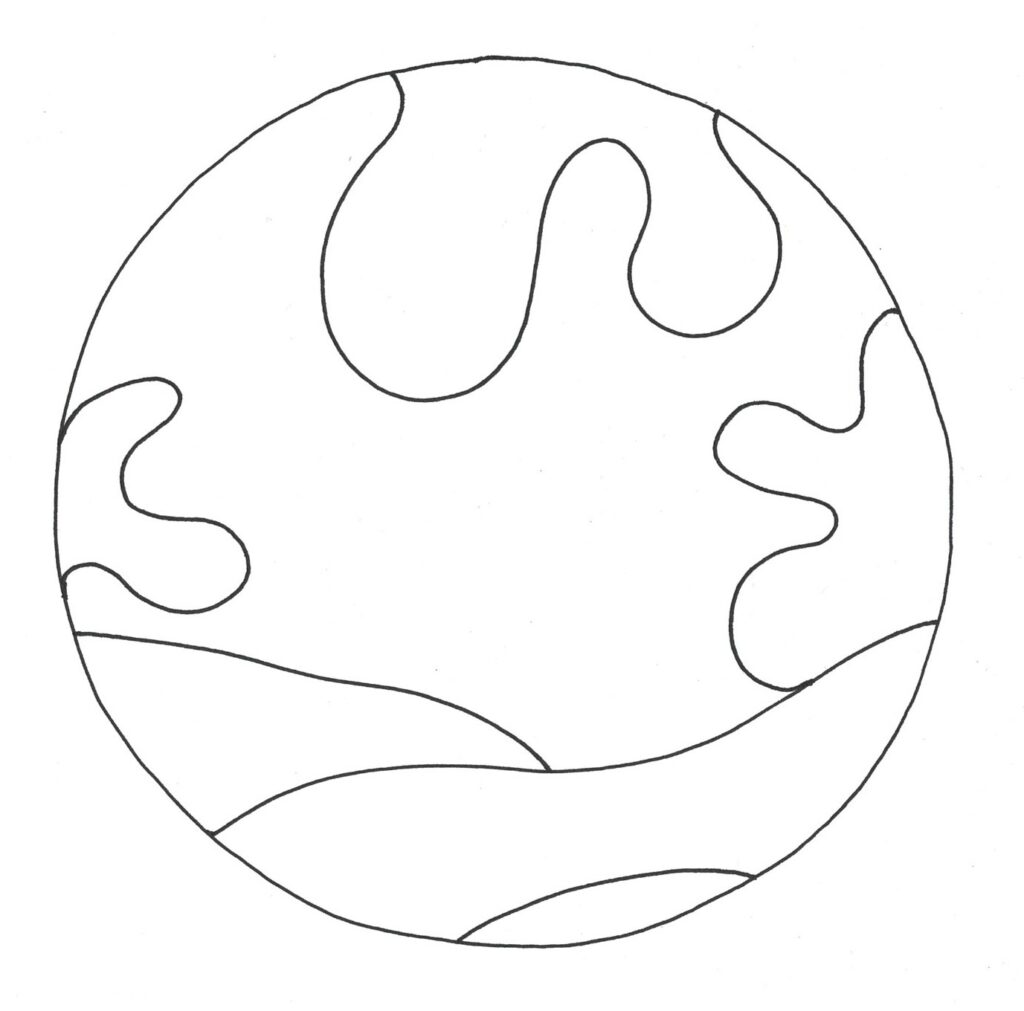
Hand-drawn mosaic patterns
Here is the process if you are hand-drawing your own mosaic pattern to cut out of glass.
Step 5.1
Draw the mosaic with a black pen on white paper. In this example we used a drawing pen with a 0.5mm line size, which we find gives us the right amount of gap between the pieces of the mosaic for the solder. Experiment with thicker or thinner pens to achieve the amount of gap you desire.
Step 5.2
Scan the paper drawing into the computer using either a phone scanning app or a scanner.
Step 5.3
Follow the steps for tracing the image (steps 1.1 to 1.6) used to generate the vector paths and similarly to the patterned mosaic above, break apart and delete the circle path created by the trace (steps 4.3 to 4.4).
Step 5.4
Export the final design into an Inkscape SVG.
Preparing the mosaics for cutting on WAZER
Since both mosaics would be cut with the same colours on the respective pieces, we decided to separate and create individual files for the pieces being cut from the same colour. 7 different Inkscape SVG files containing 2 pieces were created. They contained one piece from the internet/patterned mosaic and one piece from the hand drawn mosaic.
The appropriate cut settings were applied to each of the 7 files and the gcode was run on the machine for each colour of glass.
Before soldering everything together, let’s check the glass fitment to the image and to the hand sketch!
Conclusion

Transitioning from traditional glass artwork to digital design may seem daunting at first, but with the right tools and a step-by-step approach, it becomes a creative and rewarding process. Whether you’re working with simple shapes or intricate mosaics, hand-drawn sketches or designs you find online, Inkscape offers a flexible way to convert your ideas into precise vector files ready for the WAZER waterjet. By following the methods outlined above, you’ll be able to confidently prepare cut-ready designs and bring your glass art to life with digital precision.