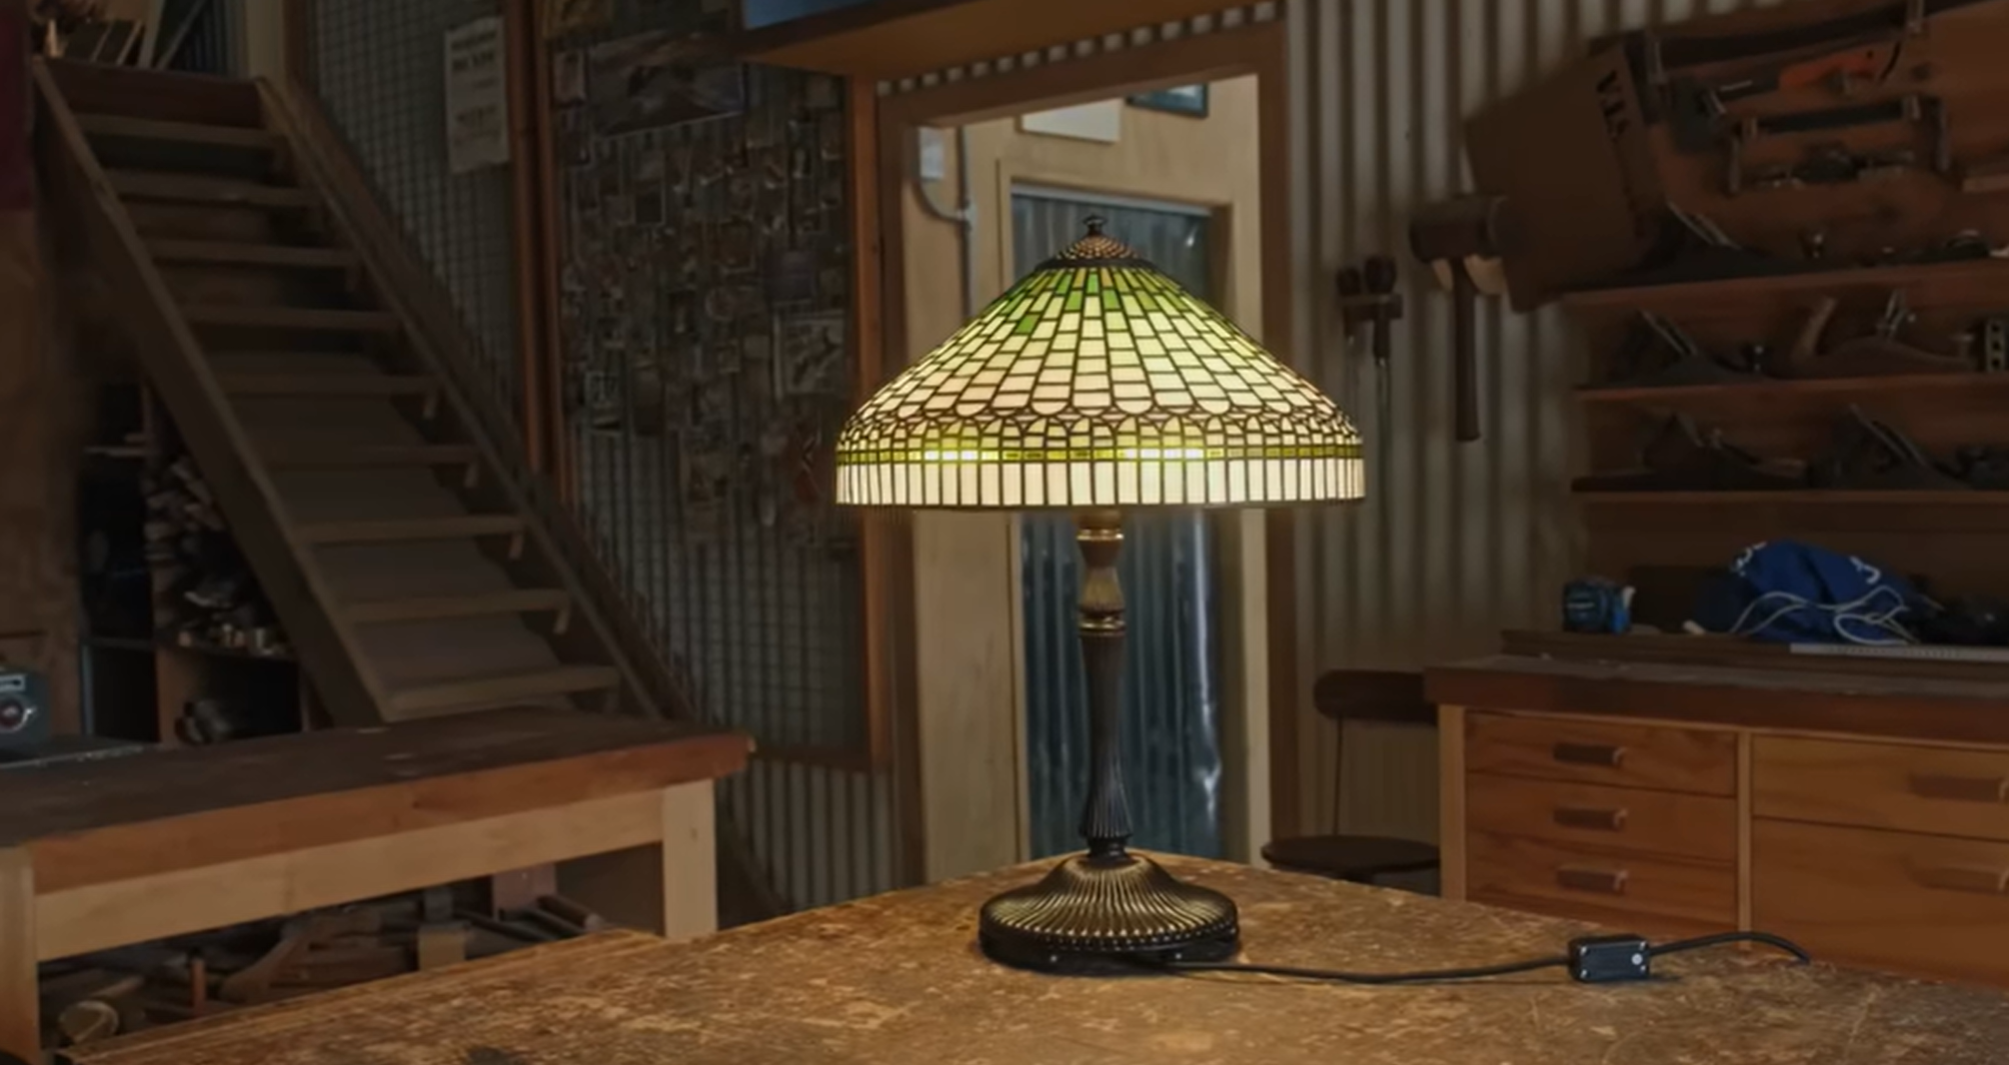
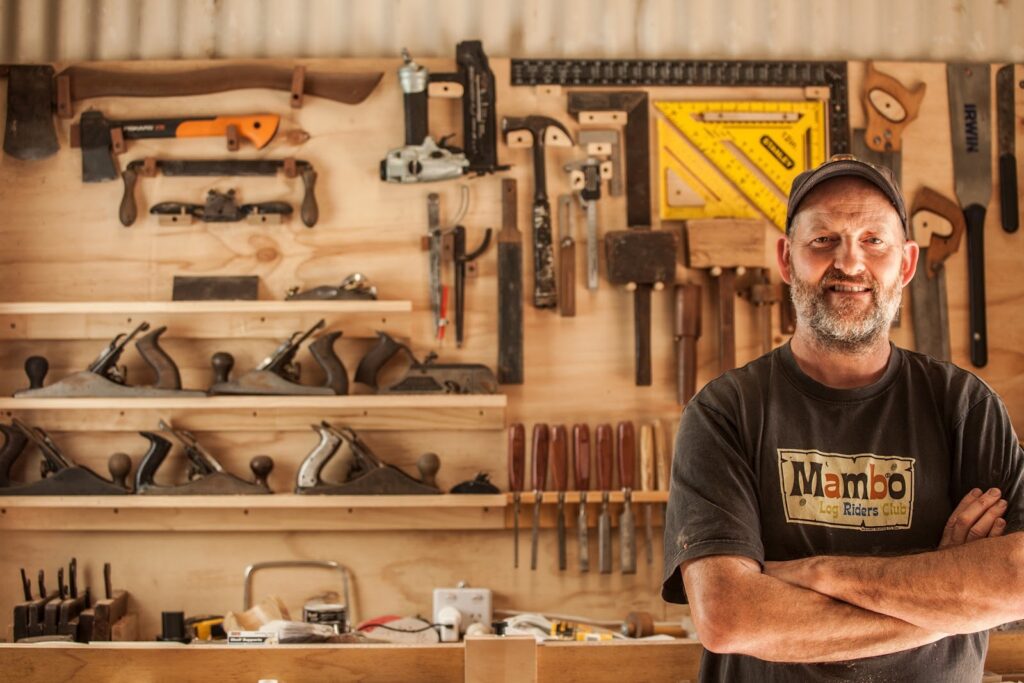
Pask Makes is known for taking on long, detail-heavy builds that sit somewhere between fine craft and mechanical problem-solving. His past projects range from precision metalwork and furniture builds to tooling, jigs, and one-off experiments that often involve teaching himself an unfamiliar process from scratch. In this case, he opens the project by stating plainly,
“I haven’t worked with stained glass before and I barely know anything about it,”.
For someone who had never worked with stained glass before, taking on a Tiffany Lamp is a very bold first choice. But Pask has never shied away from a challenge.
A Brief Background on Tiffany Lamps
The lamps that inspired the project were originally produced by Louis Comfort Tiffany in New York in the late nineteenth and early twentieth centuries, with original production ending around 1930. Pask notes that while researching, he found himself “a bit obsessed” after seeing listings on the Christie’s auction site, where original Tiffany lamps sell for hundreds of thousands, and in some cases millions, of dollars.
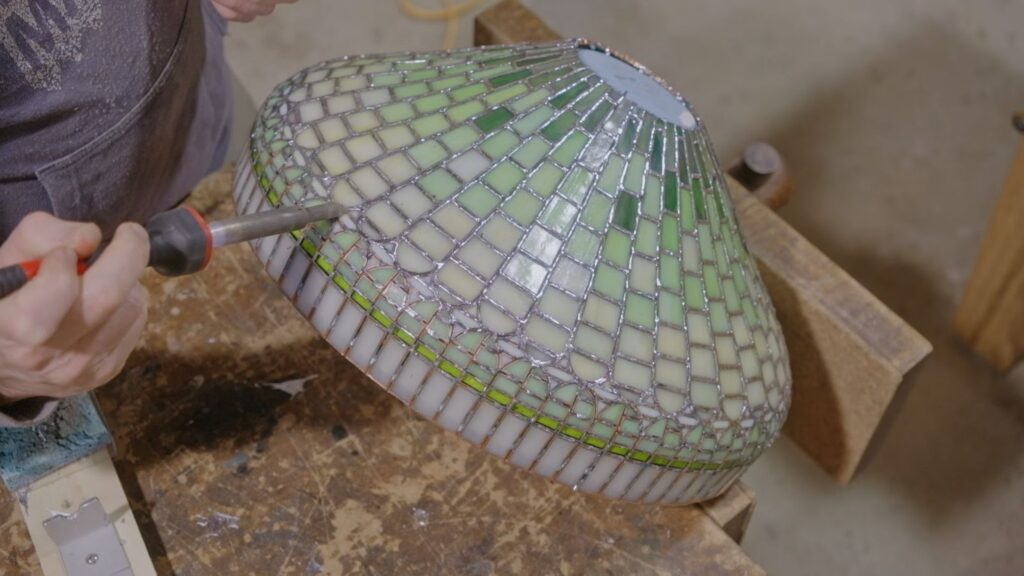
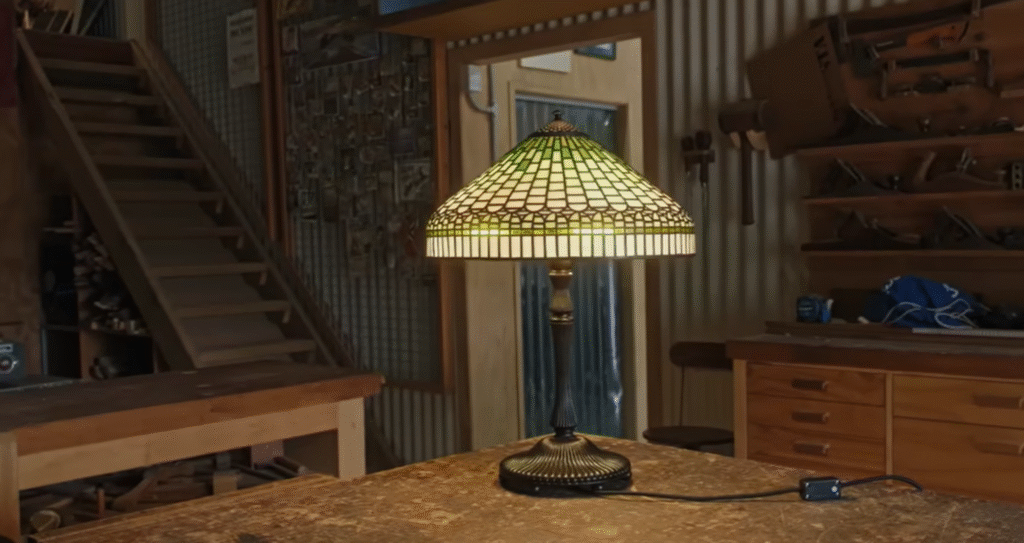
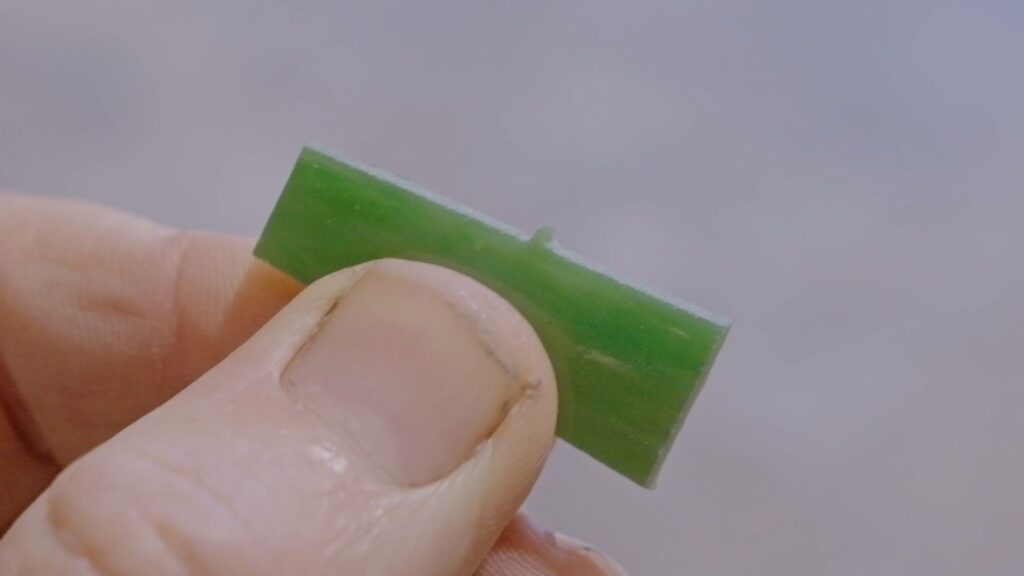
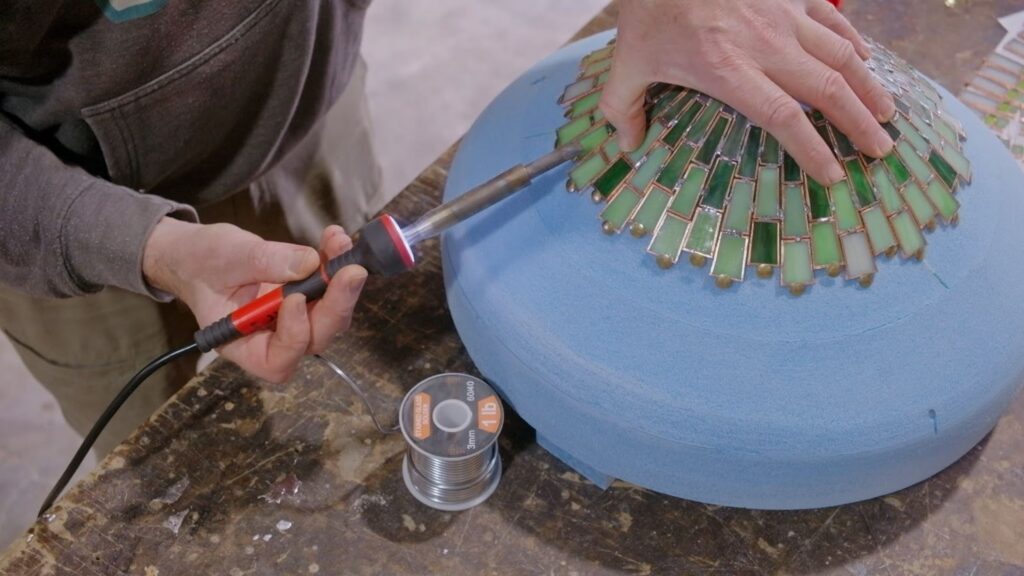
What makes these lamps especially challenging is not just their sculptural form, but the sheer number of small, individually shaped glass pieces that must fit together over a compound curve. Each piece must be cut, shaped, foiled, and soldered with enough accuracy that the geometry resolves cleanly at full scale.
Designing the Lamp Shade
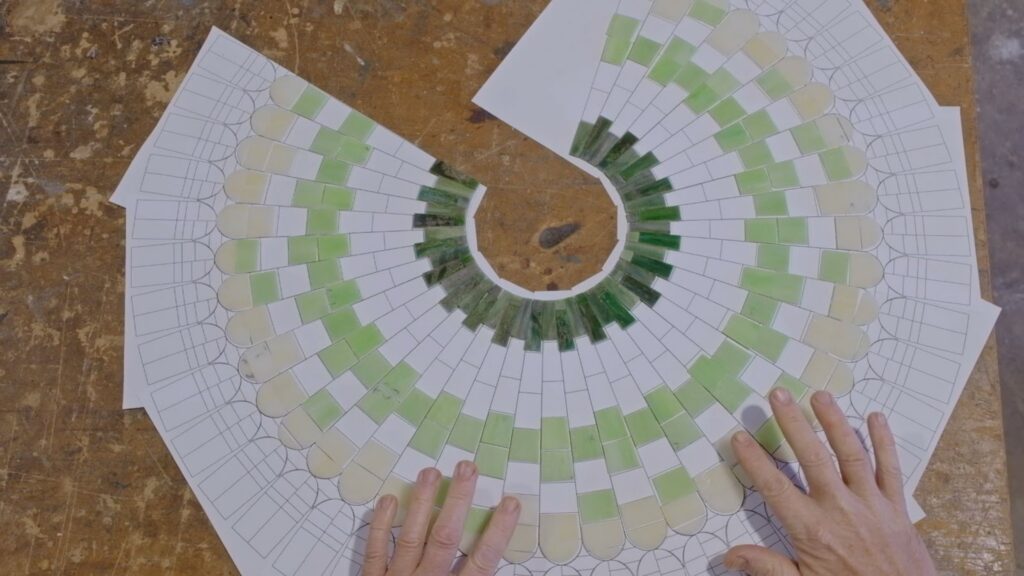
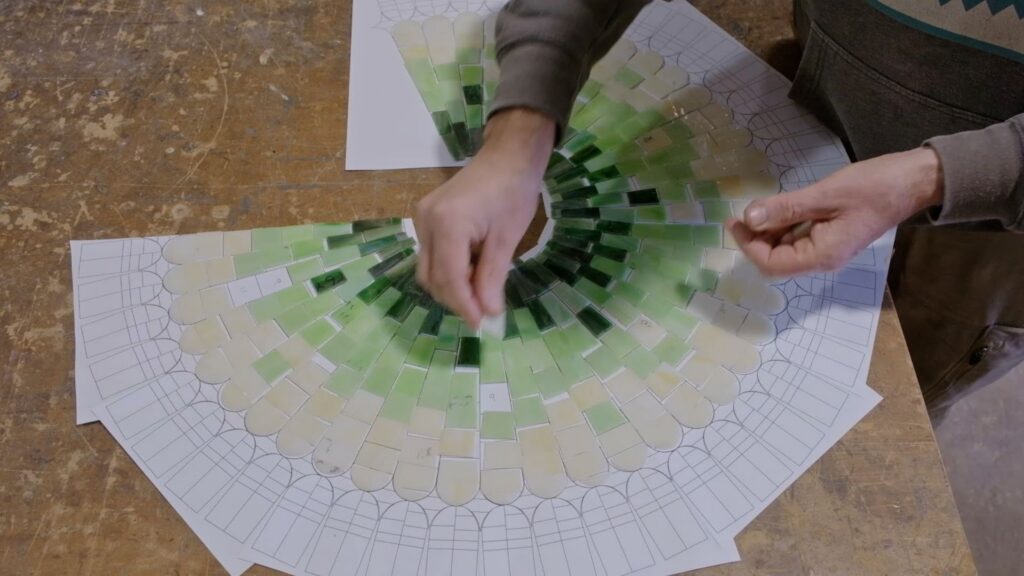
Rather than copying a floral Tiffany design, Pask gravitated toward more geometric patterns, explaining that he was drawn to their structure while still acknowledging that “they’re all made up of a crazy amount of tiny pieces of glass”.
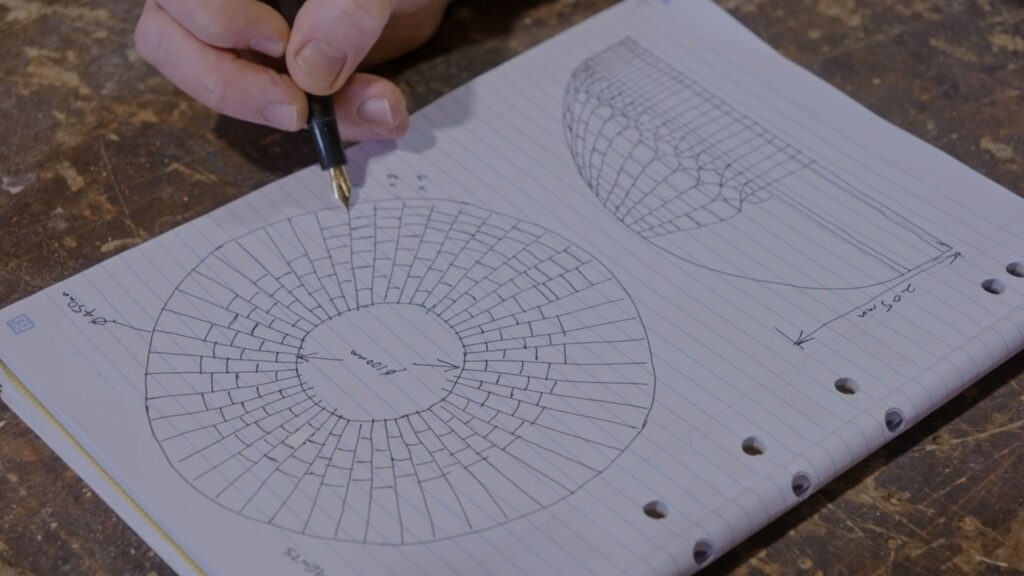
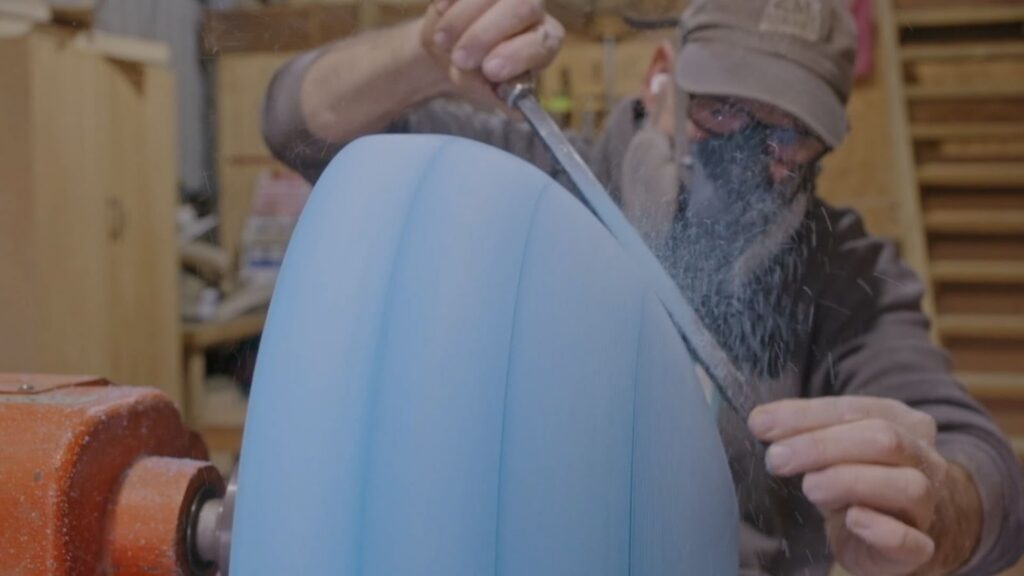
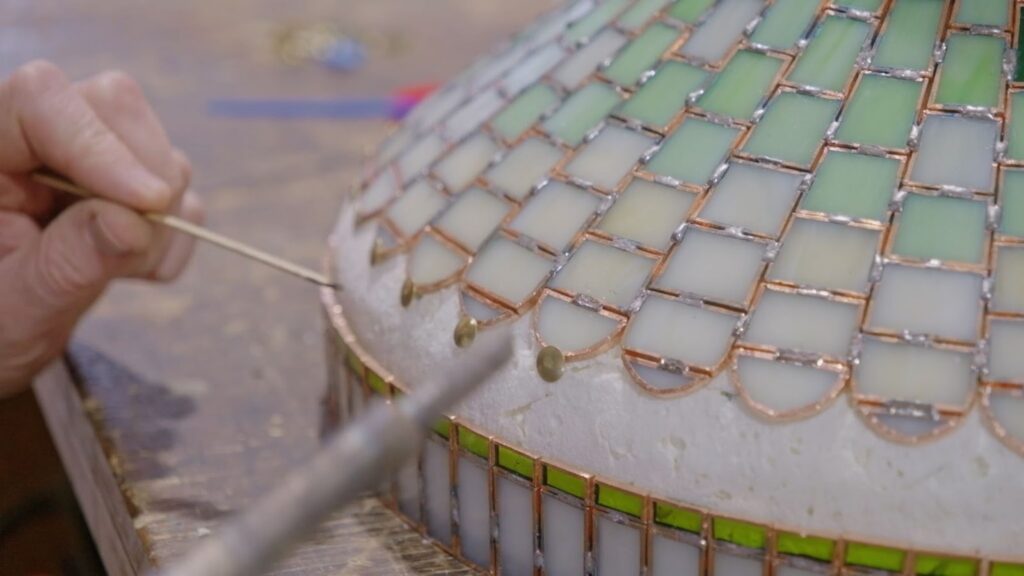
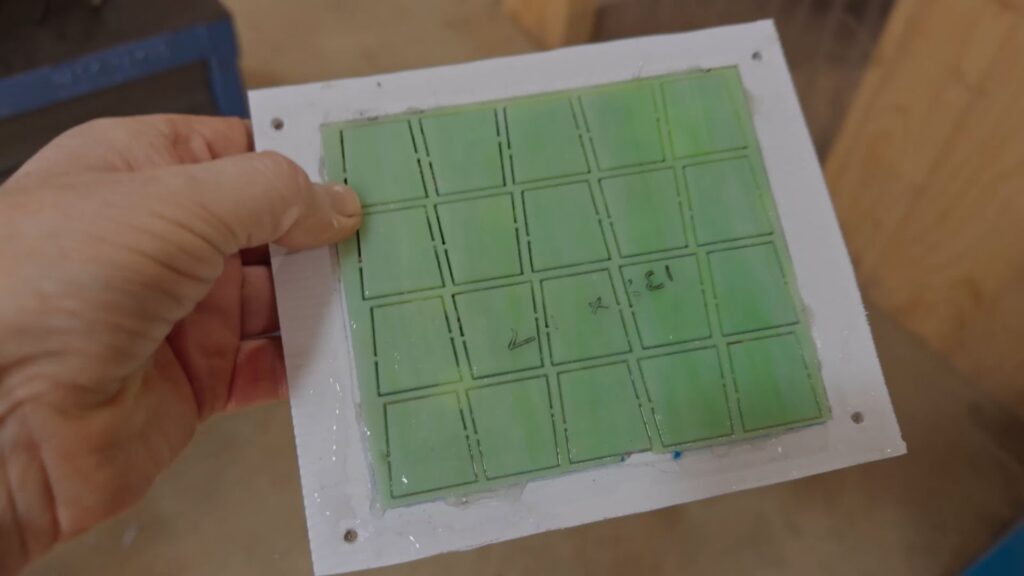
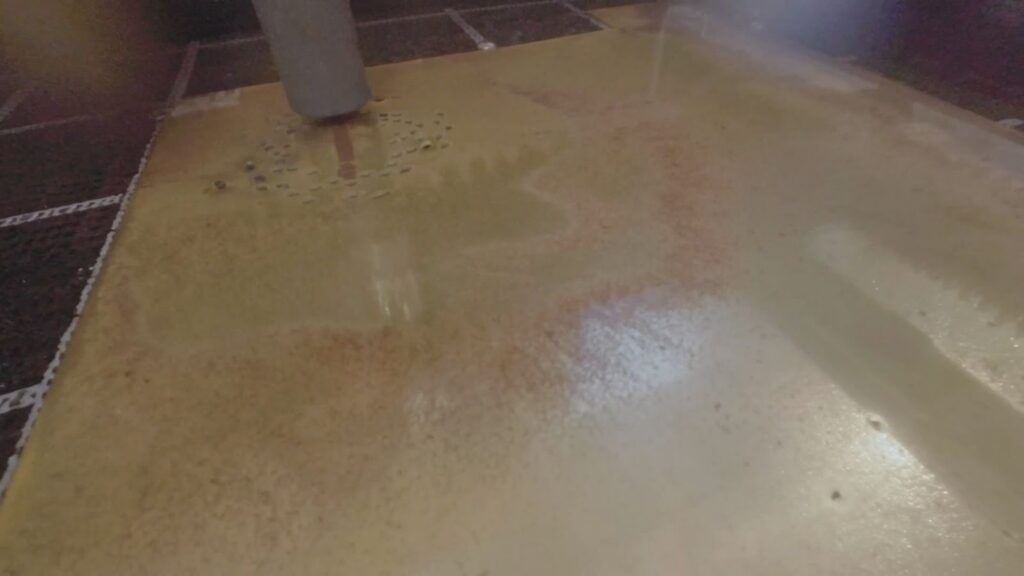
He began by shaping a foam mold on the lathe, later coating it in plaster to prevent heat damage during soldering and to provide a stable surface for marking the pattern. The design was laid out directly on the form, transferred to paper, and refined into repeatable tile shapes. At this stage, the scale of the project became clear when he counted approximately 820 individual glass tiles in the full design, all of which would eventually need edge grinding and copper foil.
Comparing His Process to Traditional Stained Glass
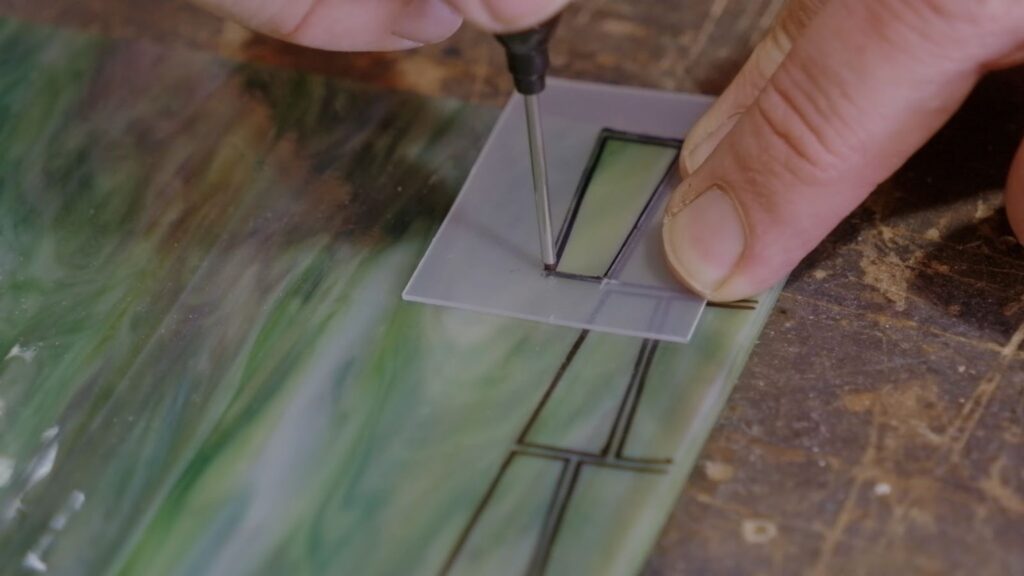
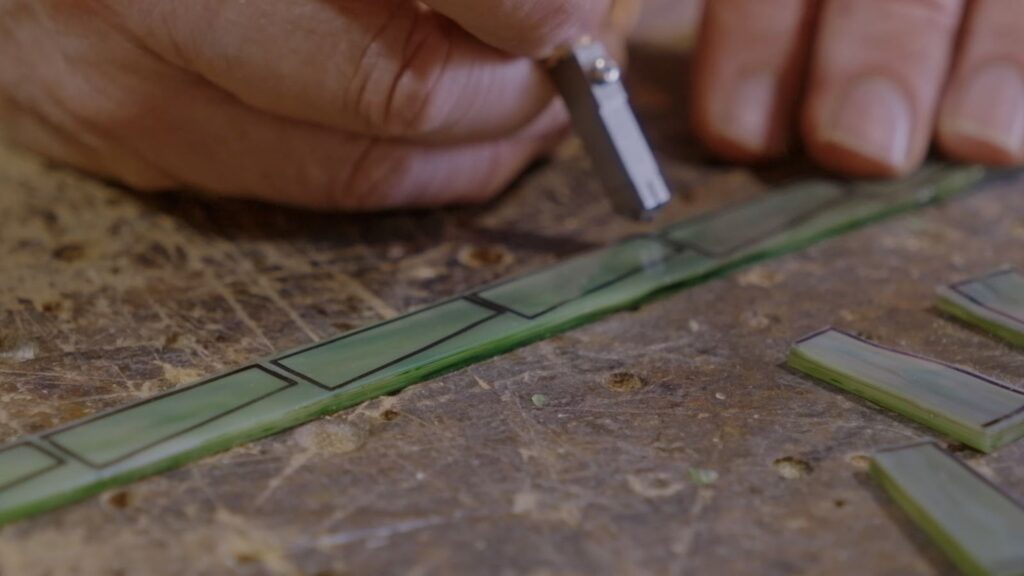
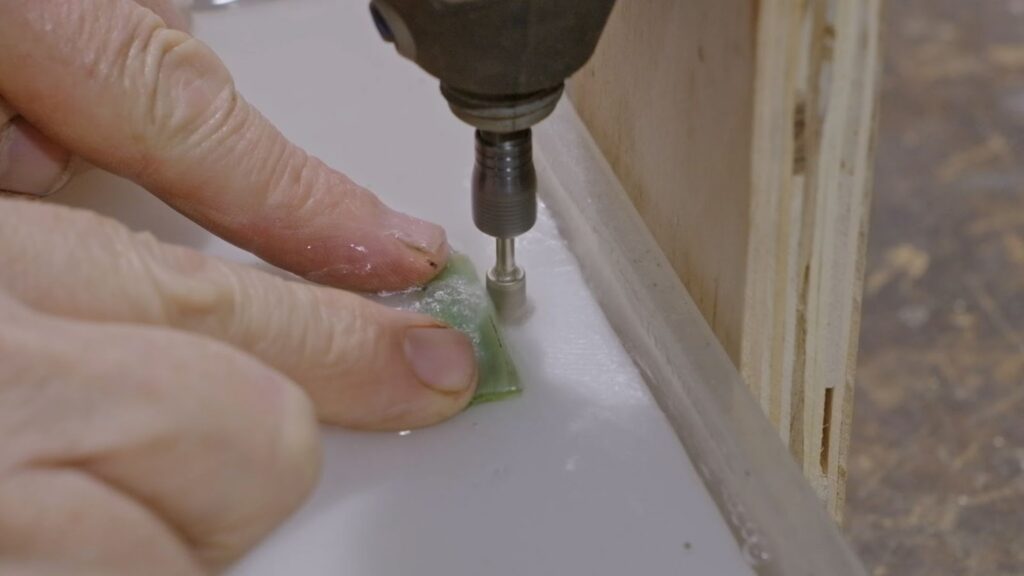
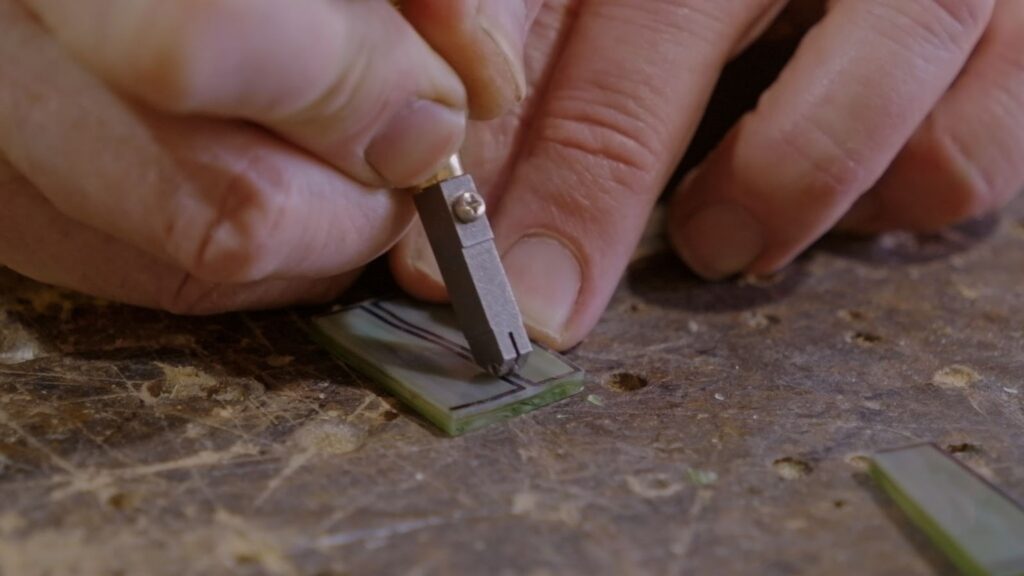
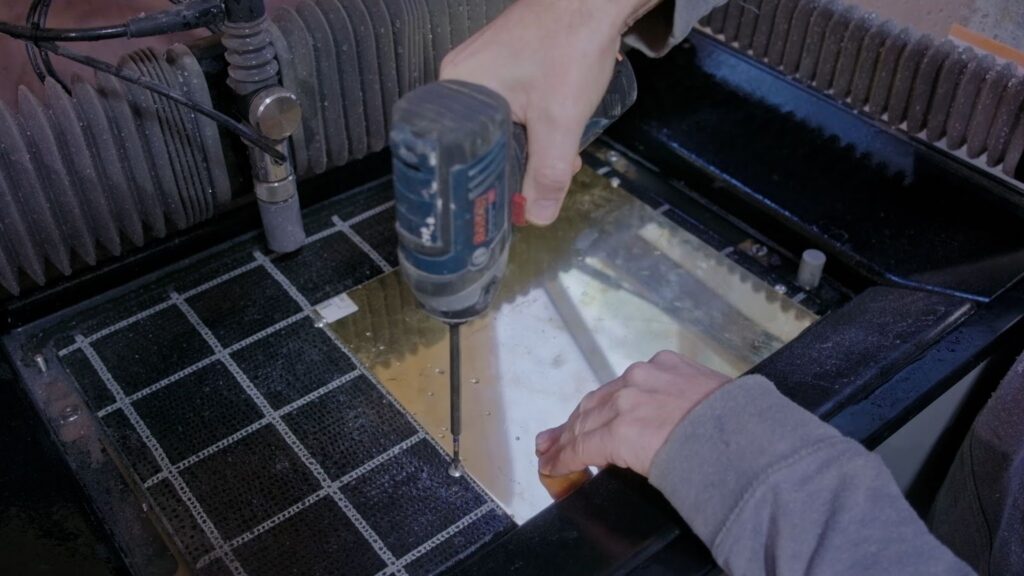
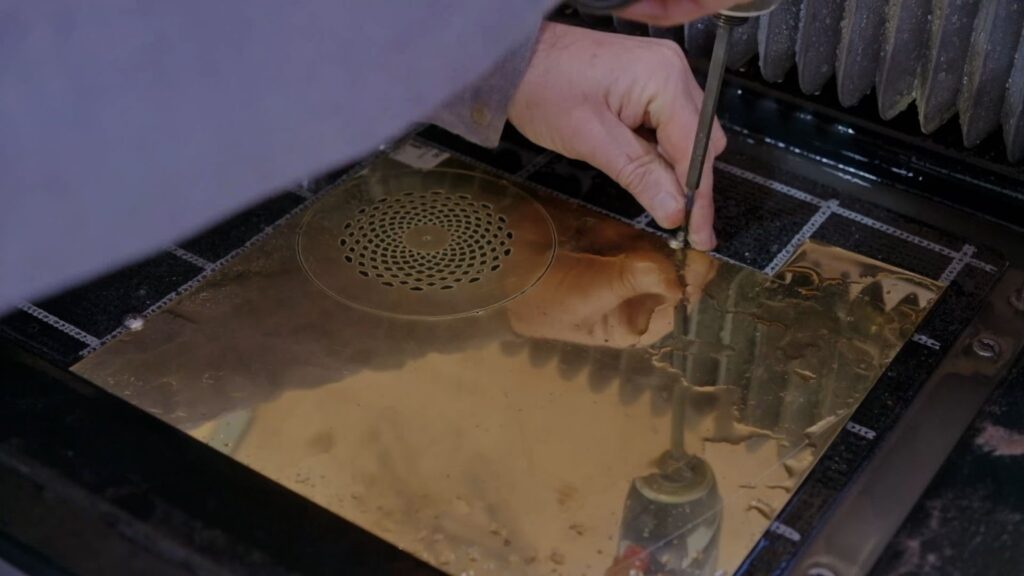
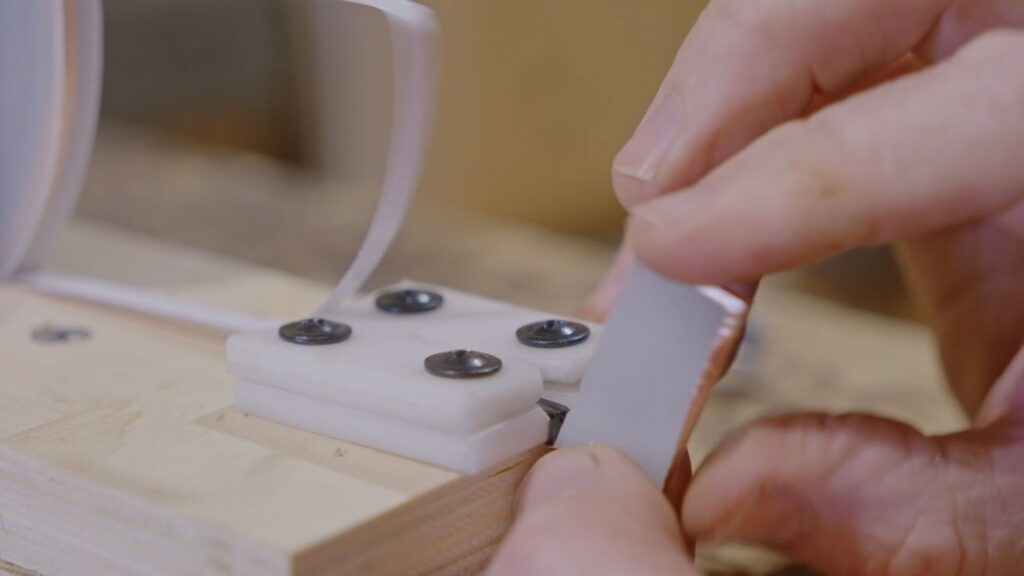
In a traditional stained glass workflow, each piece is typically scored and cracked by hand, refined on a grinder, and adjusted repeatedly until it fits within the pattern. Pask began this way, building a simple water-cooled grinding setup with a rotary tool and diamond bit. While effective, he quickly acknowledged that “although it works well, I wouldn’t say that it’s a quick process”
This manual test highlights the time cost inherent in hand production when hundreds of near-identical parts are required, especially when consistency across rows and columns directly affects how the shade assembles later.
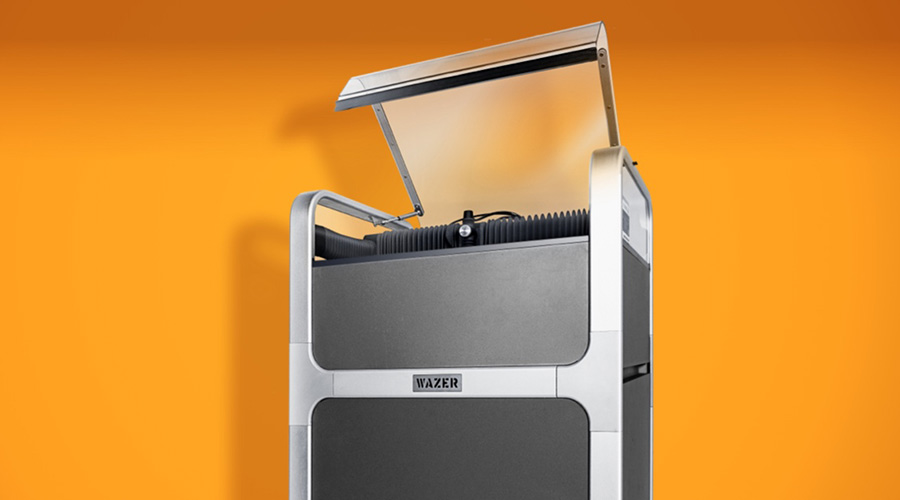
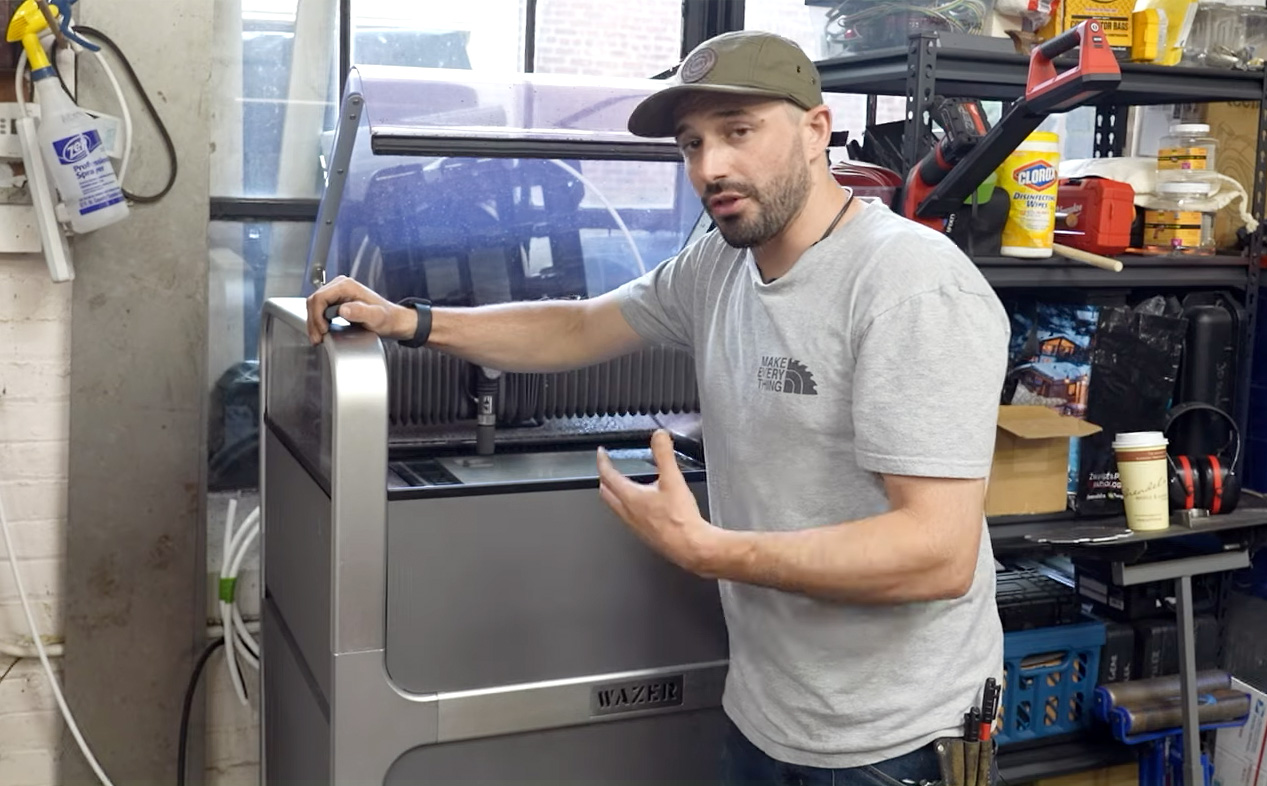
How WAZER Pro Changed the Cutting Process
Faced with weeks of repetitive cutting, Pask made the decision to shift the remaining tiles to WAZER Pro. He scanned his hand-drawn templates, manually traced them into digital files, and prepared each tile as its own cut path. He explains,
“I think it’s pretty cool that the digital files do come from a handmade template,”
emphasizing that the waterjet step didn’t replace the design work, but rather compressed the production phase.
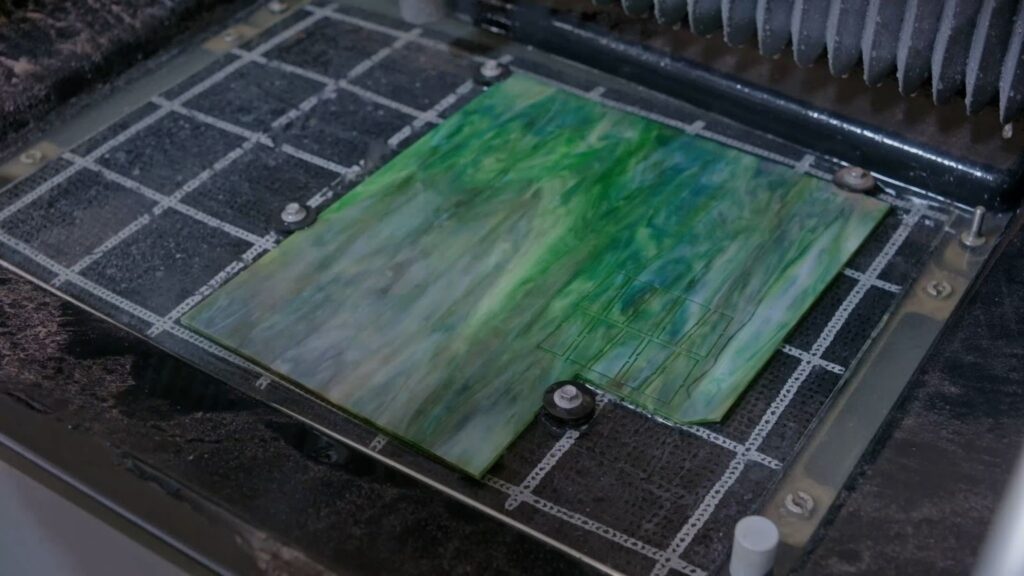
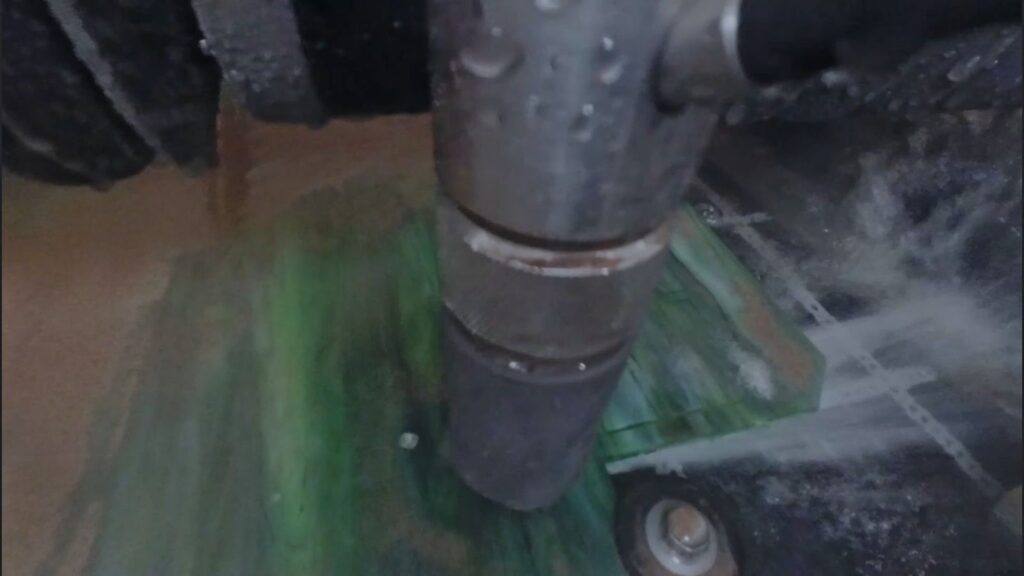
Time savings became immediately measurable when he noted that cutting ten glass tiles took “around three minutes,” compared to the extended time required to hand-cut and grind each piece.
That shift made it feasible to tackle hundreds of parts without stalling the entire project for months. The challenge then moved from cutting to fixturing. Because stained glass is brittle and becomes weaker as material is removed, he experimented with standoffs, sacrificial layers, and eventually a method where the glass was hot-glued to core flute, allowing the sheet to be secured to the bed without inducing stress. This iterative fixturing process was essential to making waterjet cutting viable for thin, fragile glass at this scale.
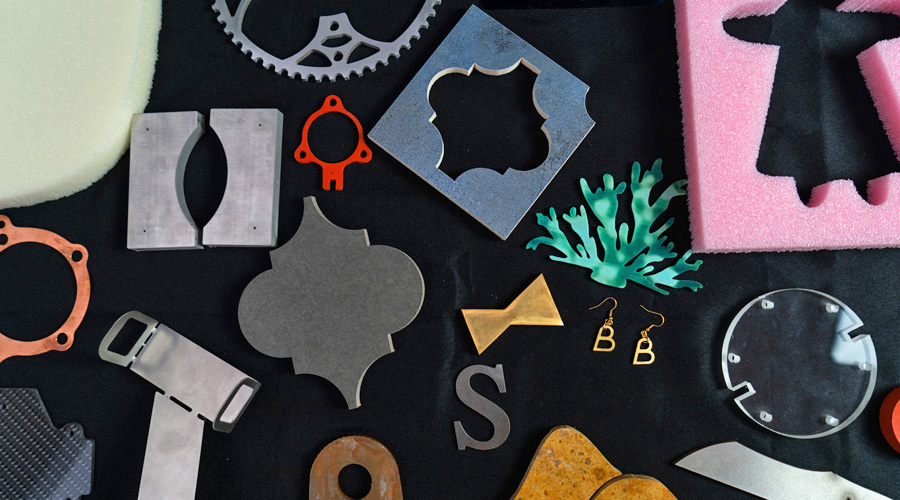
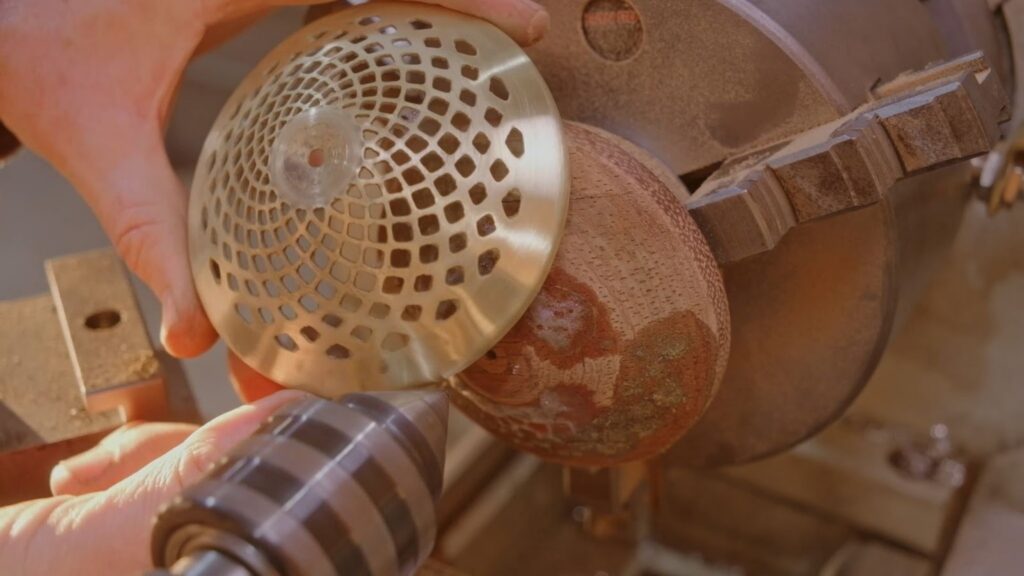
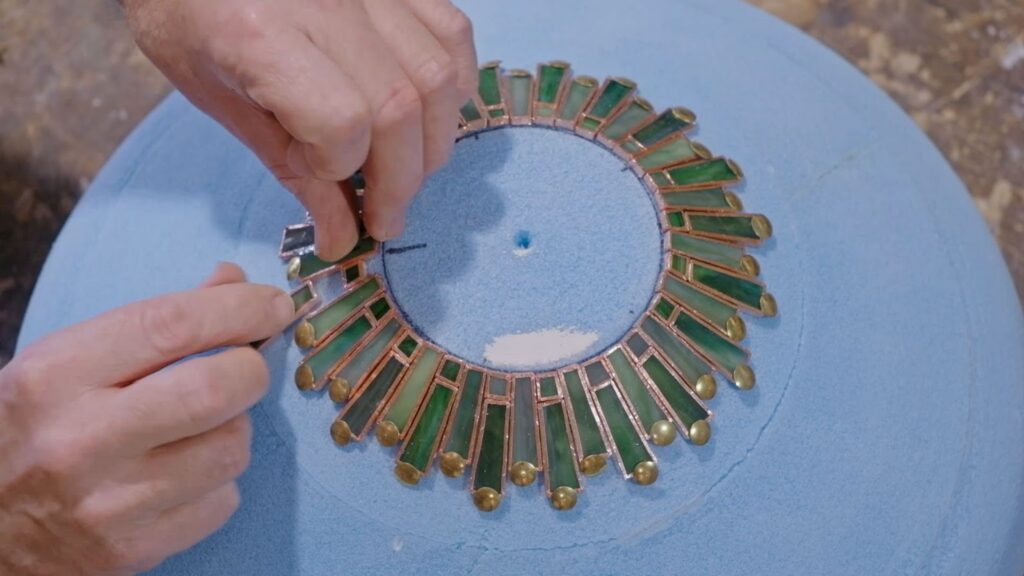
Cutting the Brass Gallery
Beyond glass, the lamp required a structural brass gallery at the top. Pask cut this component from 1mm brass sheet using WAZER Pro, then formed it using custom wooden dies. He remarks simply that
“ WAZER did a great job again,”
before moving on to annealing and pressing the part into shape
While a purchased gallery would have been faster, making it in-house allowed him to control the fit and keep the project fully original, even when the forming process required additional cleanup and manual adjustment.
Progress, Scale, and What Made It Possible
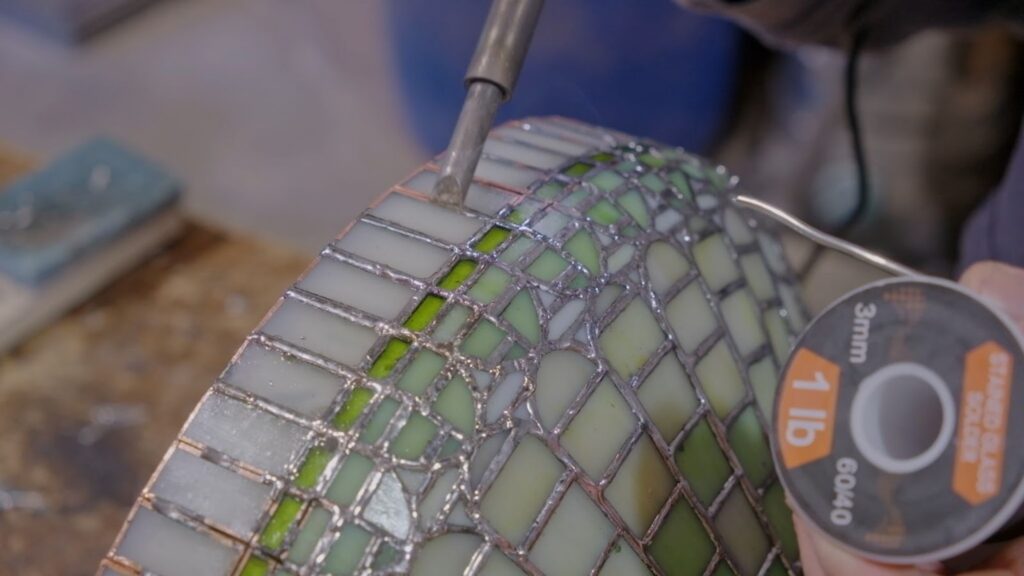
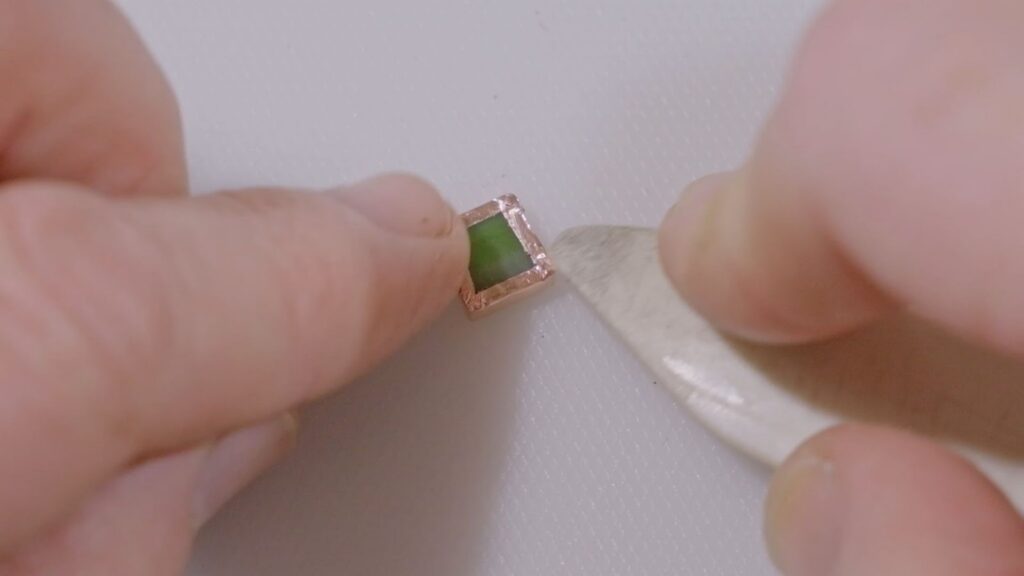
By the time soldering began, the scale of the project was evident not only in the number of parts, but in the cumulative labor. Pask estimates five to six days just to foil all the glass pieces, even after the cutting process was accelerated
Design revisions, such as resizing tiles and reworking the mold, reinforced how small dimensional decisions compound over hundreds of parts. What WAZER Pro enabled in this context was not a shortcut around craftsmanship, but a way to make an otherwise overwhelming project achievable within a reasonable timeframe. Without compressing the cutting stage, the lamp would likely have taken “five or six weeks” longer to complete, a delay he explicitly connects to staying motivated and actually finishing the build.