When transporting fragile products, making sure that the item is safely secured is always a top priority. I wanted to test the WAZER waterjet’s ability to quickly and precisely cut foam packaging so I ordered a small wooden box specifically for wine bottles, and started brainstorming how to safely secure a wine bottle, wine glass, and bottle opener in a presentation case.
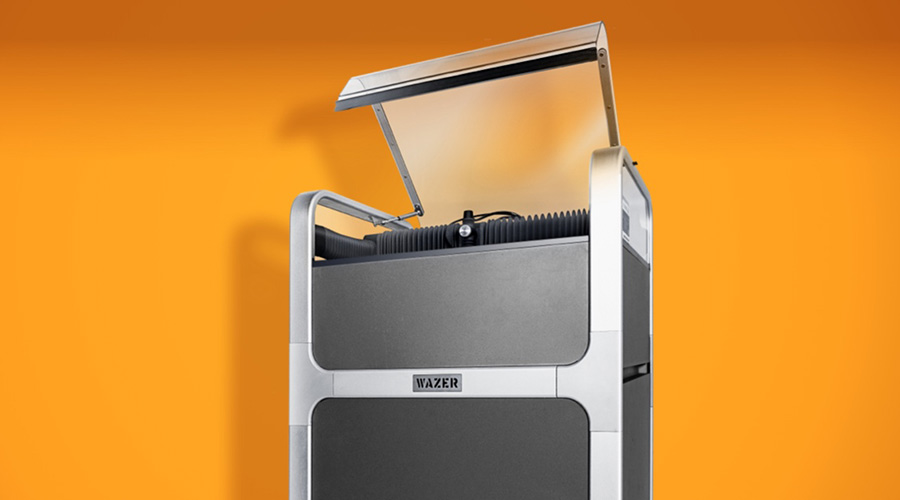
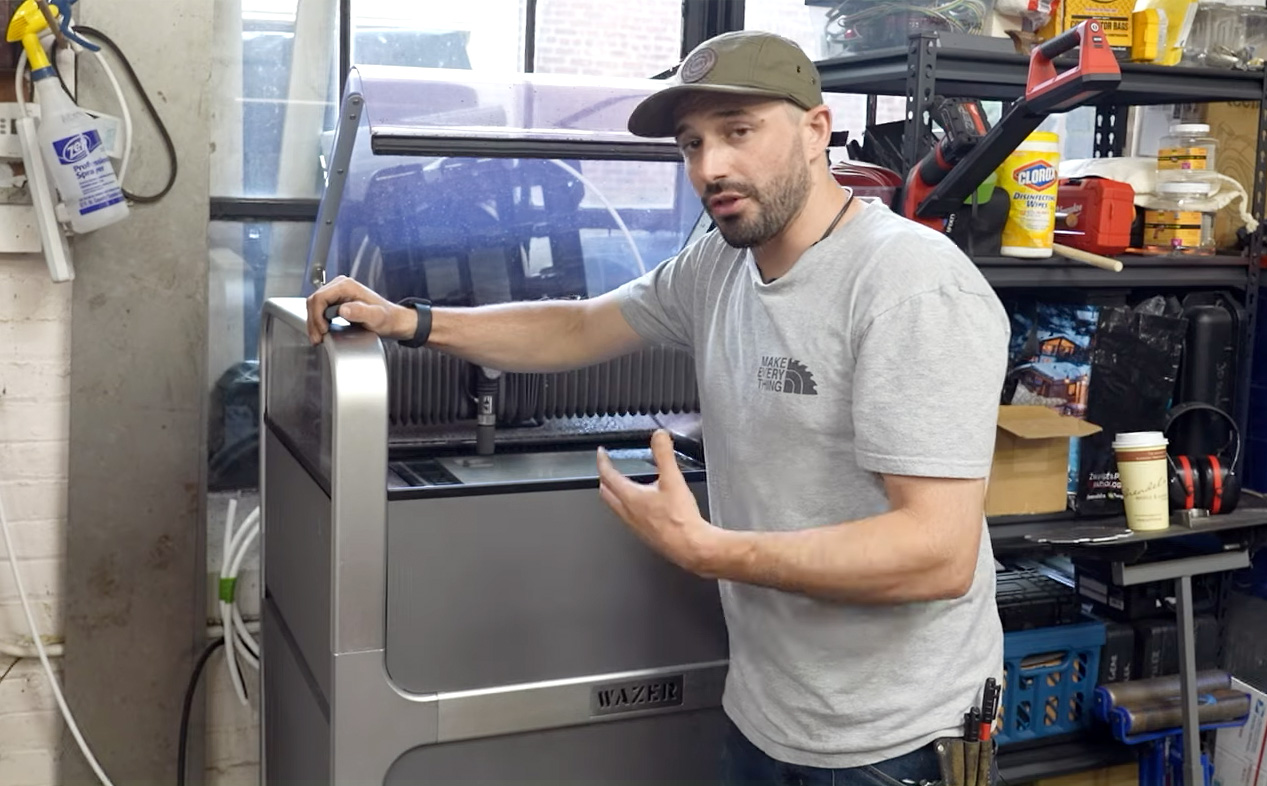
Cutting foam on the CNC WAZER water jet cutter
I decided to outfit the wooden box with multiple custom foam inserts to secure the wine bottle and glass in place. I would use the WAZER to make 2D cuts on different layers of foam and then stack these layers, creating a 3D shape. Given the speed and accuracy that the WAZER cuts foam, I could quickly iterate with shapes and designs, adjusting until the pieces were properly secured.
Design and iterative testing using the WAZER
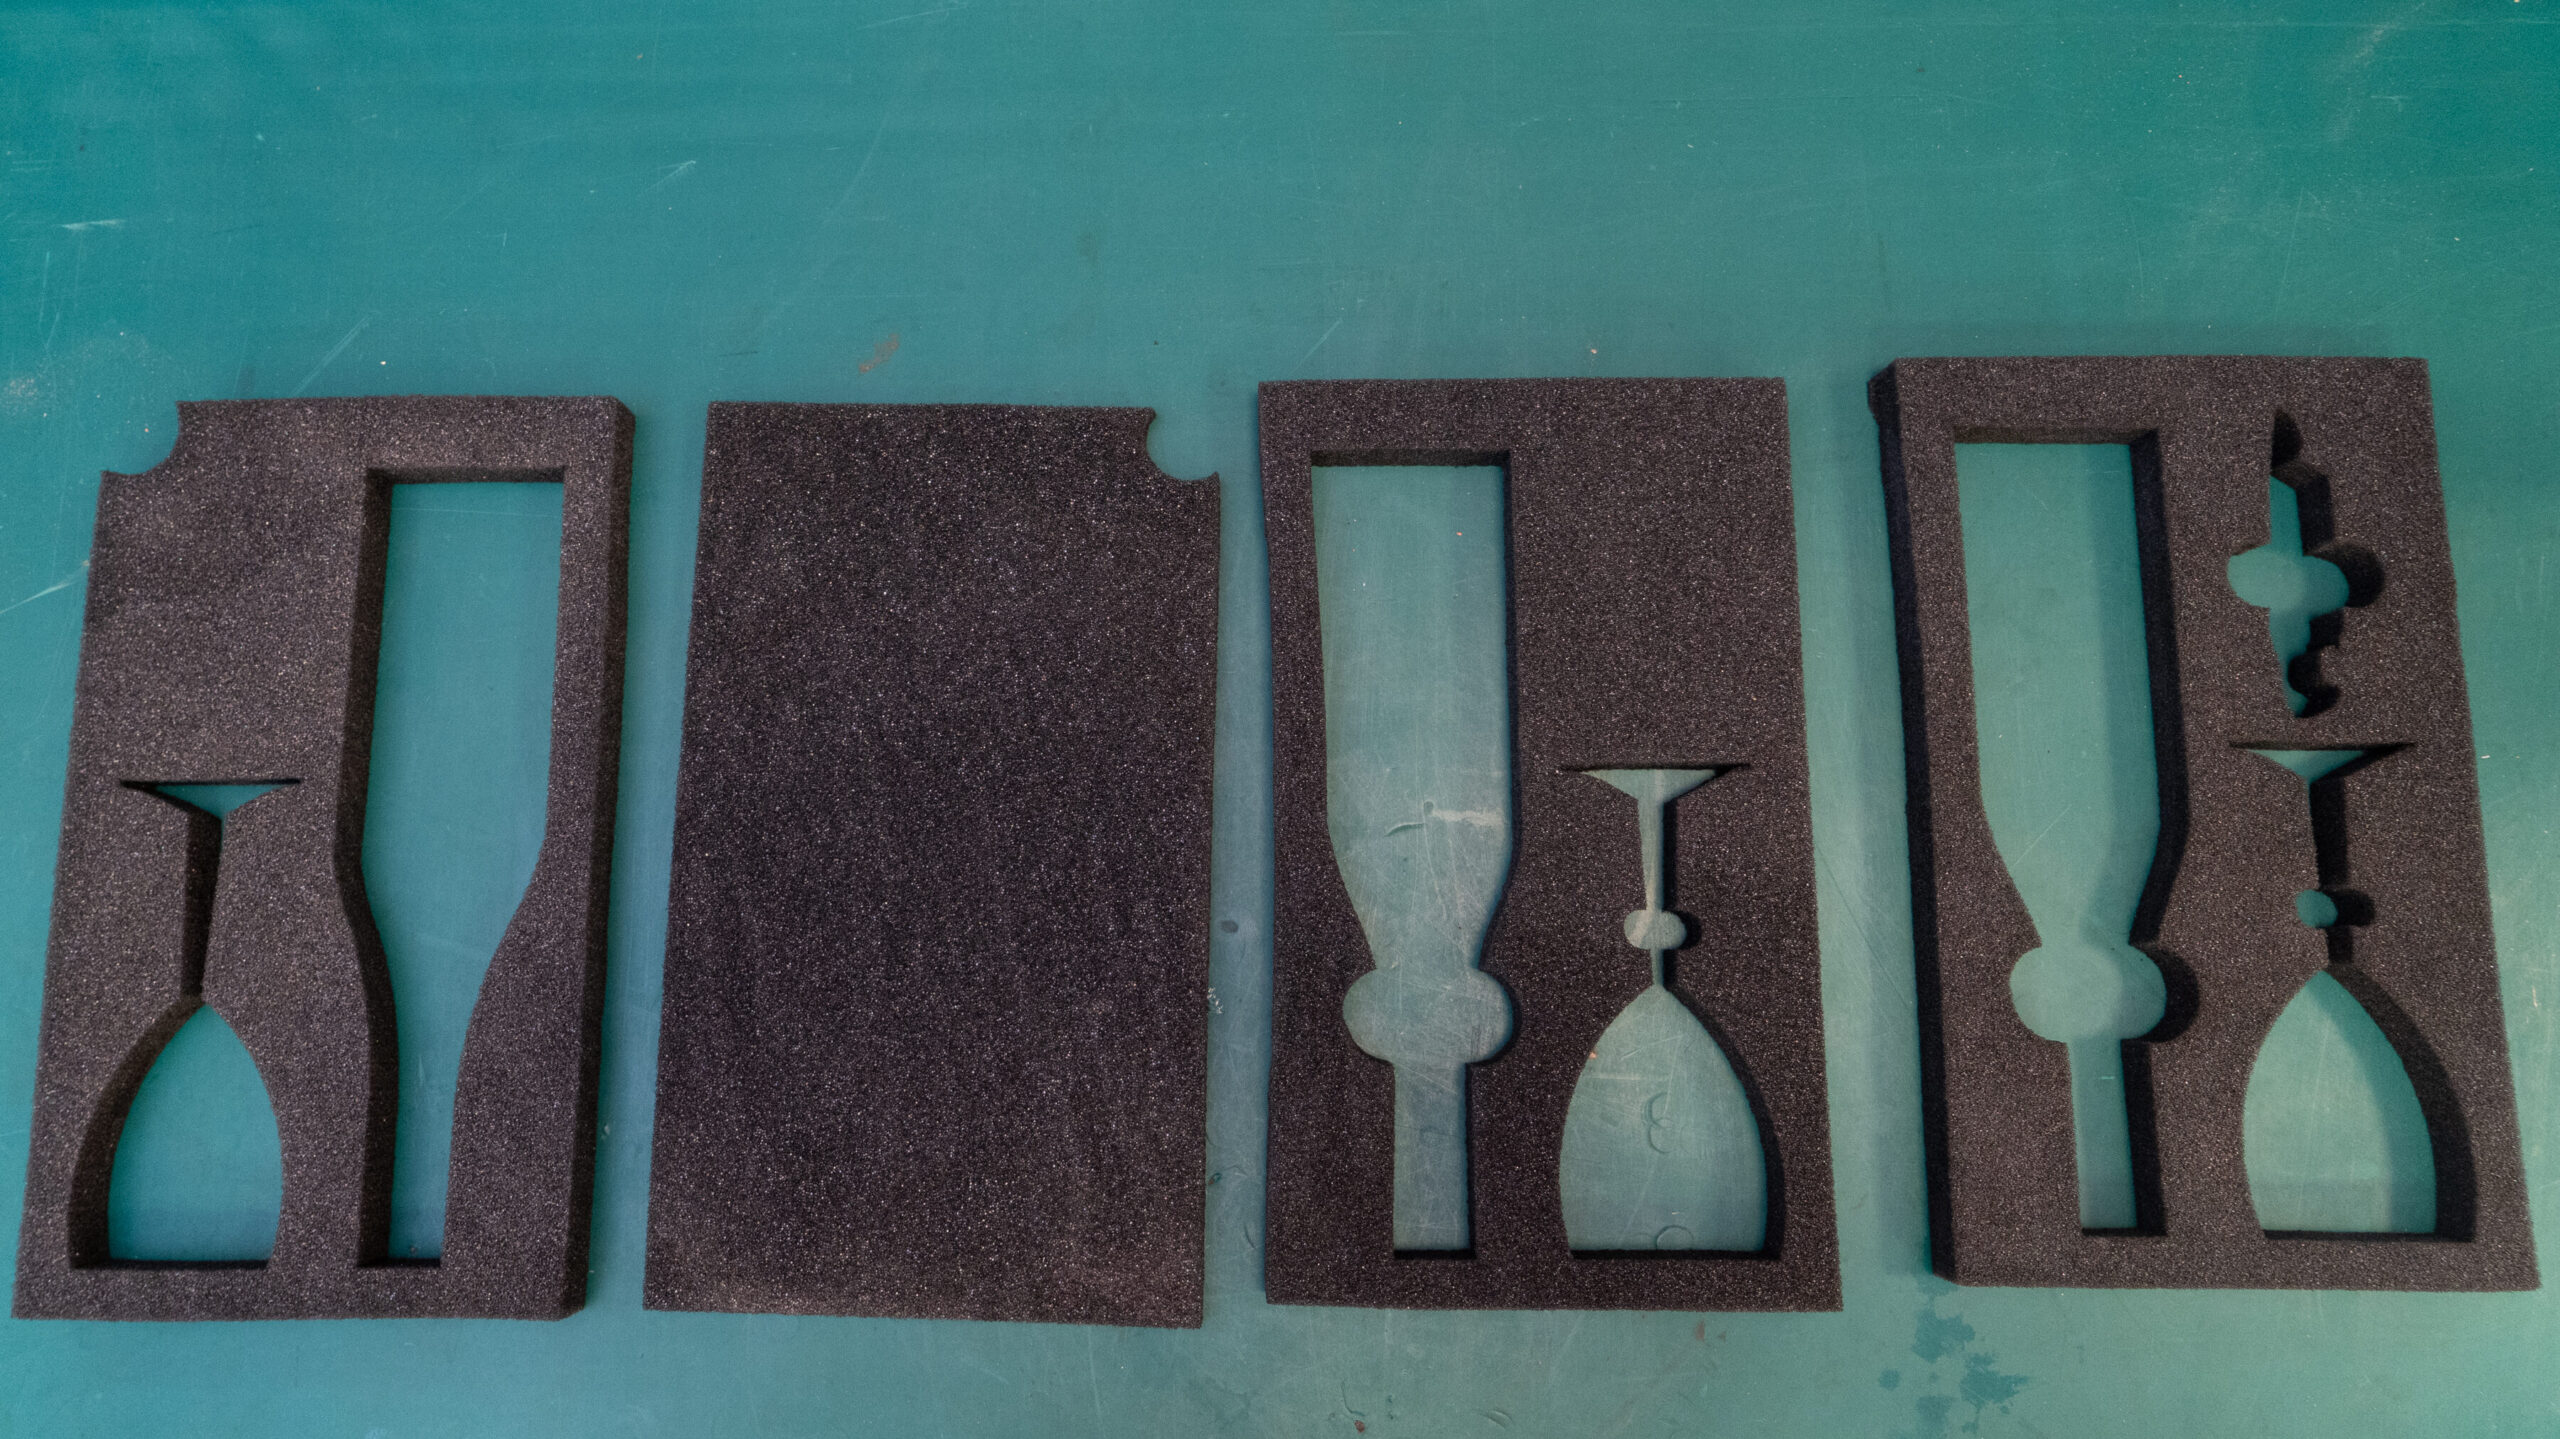
The design would involve cutting five layers of foam. The bottom 3 layers would attach together to form a base that the bottle, glass, and bottle opener could be placed in and the top 2 layers would attach together to form a cover to be placed over these pieces. Together the base and the cover would firmly secure the fragile pieces in place.
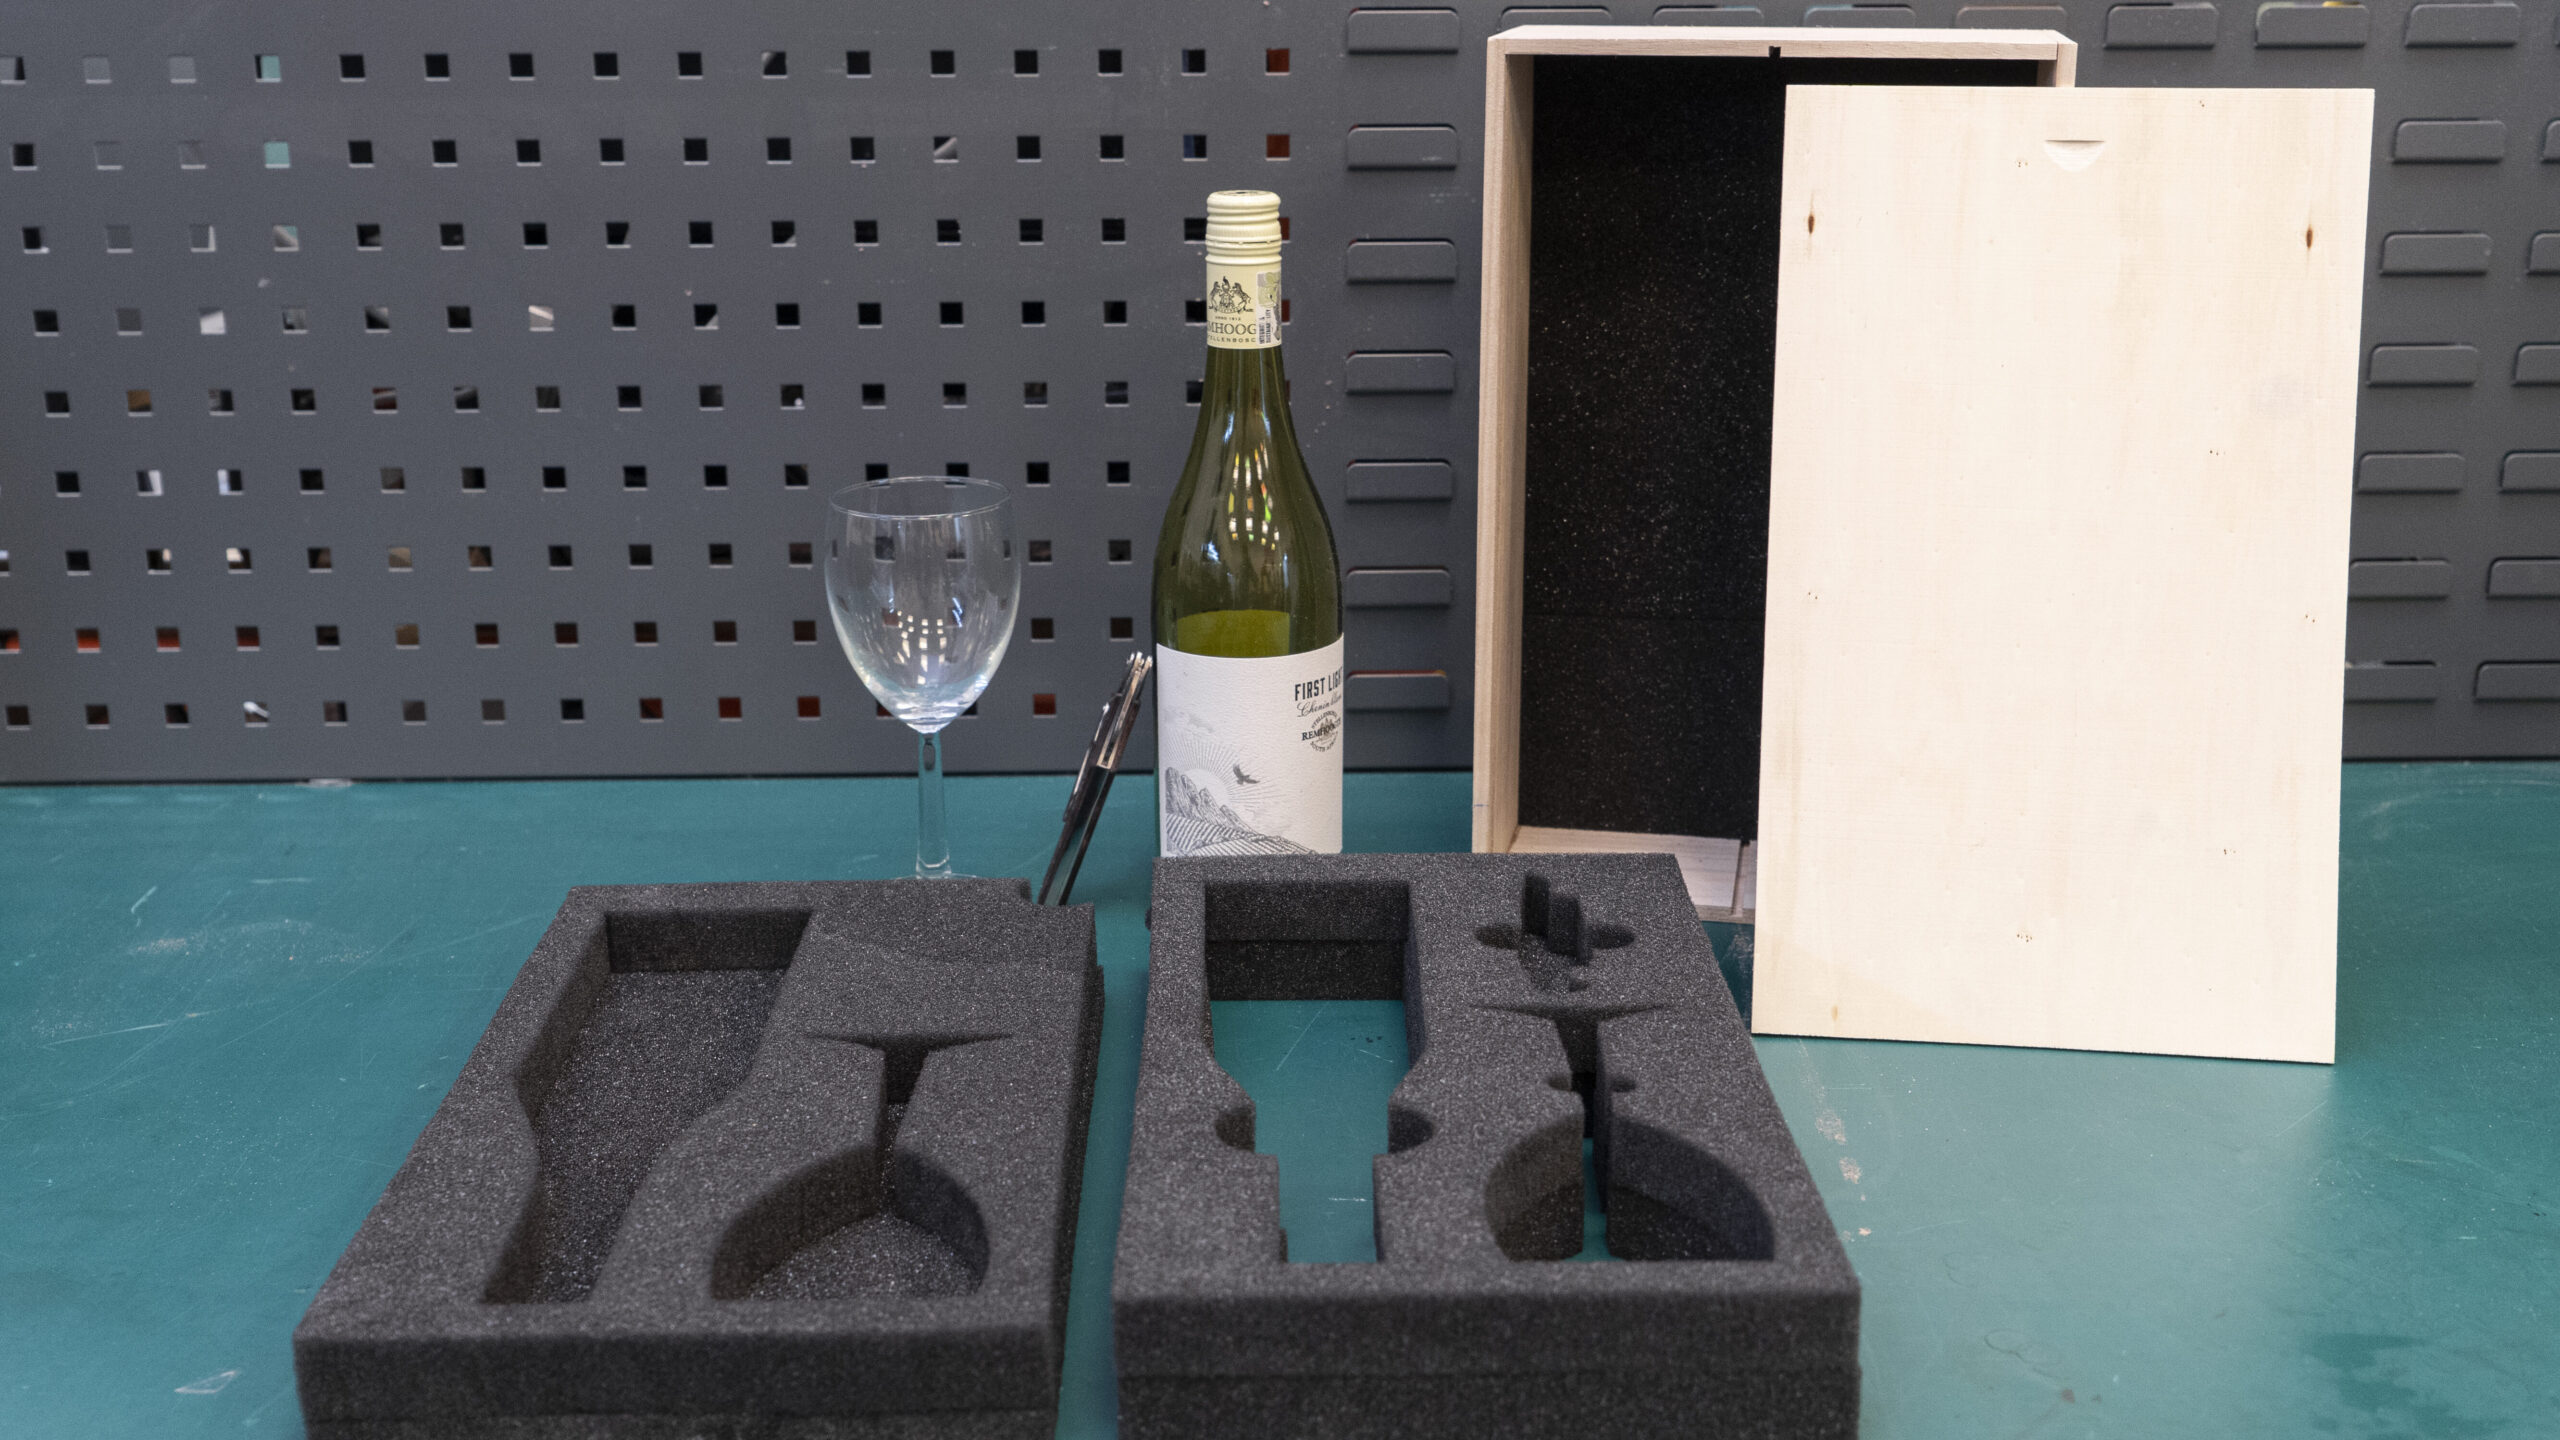
To start, I designed the third foam layer which included the cutouts for the wine bottle, wine glass, and bottle opener. By designing and testing this layer first, I would be able to guarantee the accuracy of all the necessary CAD dimensions. I took pictures of the parts to be secured with the foam, opened the pictures in Solidworks, oriented and scaled them correctly, and then used the sketch tool to sketch over them. I measured the perimeter of the box and then oversized it slightly in the Solidworks design to be 13.725 x 8.18 [in] so it would fit tightly in the wooden box.
I converted this file to a DXF and opened it in WAZER’s WAM software, choosing the cut path as “outside” with an offset so that the cutouts would fit the parts snugly. The cut time of 4 minutes allowed me to quickly perform a test cut so that I could make any necessary adjustments to the cut out sizes before cutting the other layers.
During this test cut, I realized that even though the foam was fixtured onto the WAZER cutbed along its edges, due to its extremely flexible nature, the water that bubbled up from underneath the foam throughout the cut caused it to undulate. Worried about potential inaccuracies in the cut, going forward, I decided to fixture more along the edges and fixture with washers within the cutouts to hold the foam down flat on the inside as well as the perimeter.
The test cut also allowed me to see if the design of the insert would be sufficient in securing the bottle, glass, and bottle opener. I realized that my design was flawed because the wine glass did not fit in the cutout and had been placed too close to the wine bottle. The speed at which the WAZER had performed the cut allowed me to quickly redesign and cut again.
Creating in 3-Dimensions using a 2-axis CNC machine
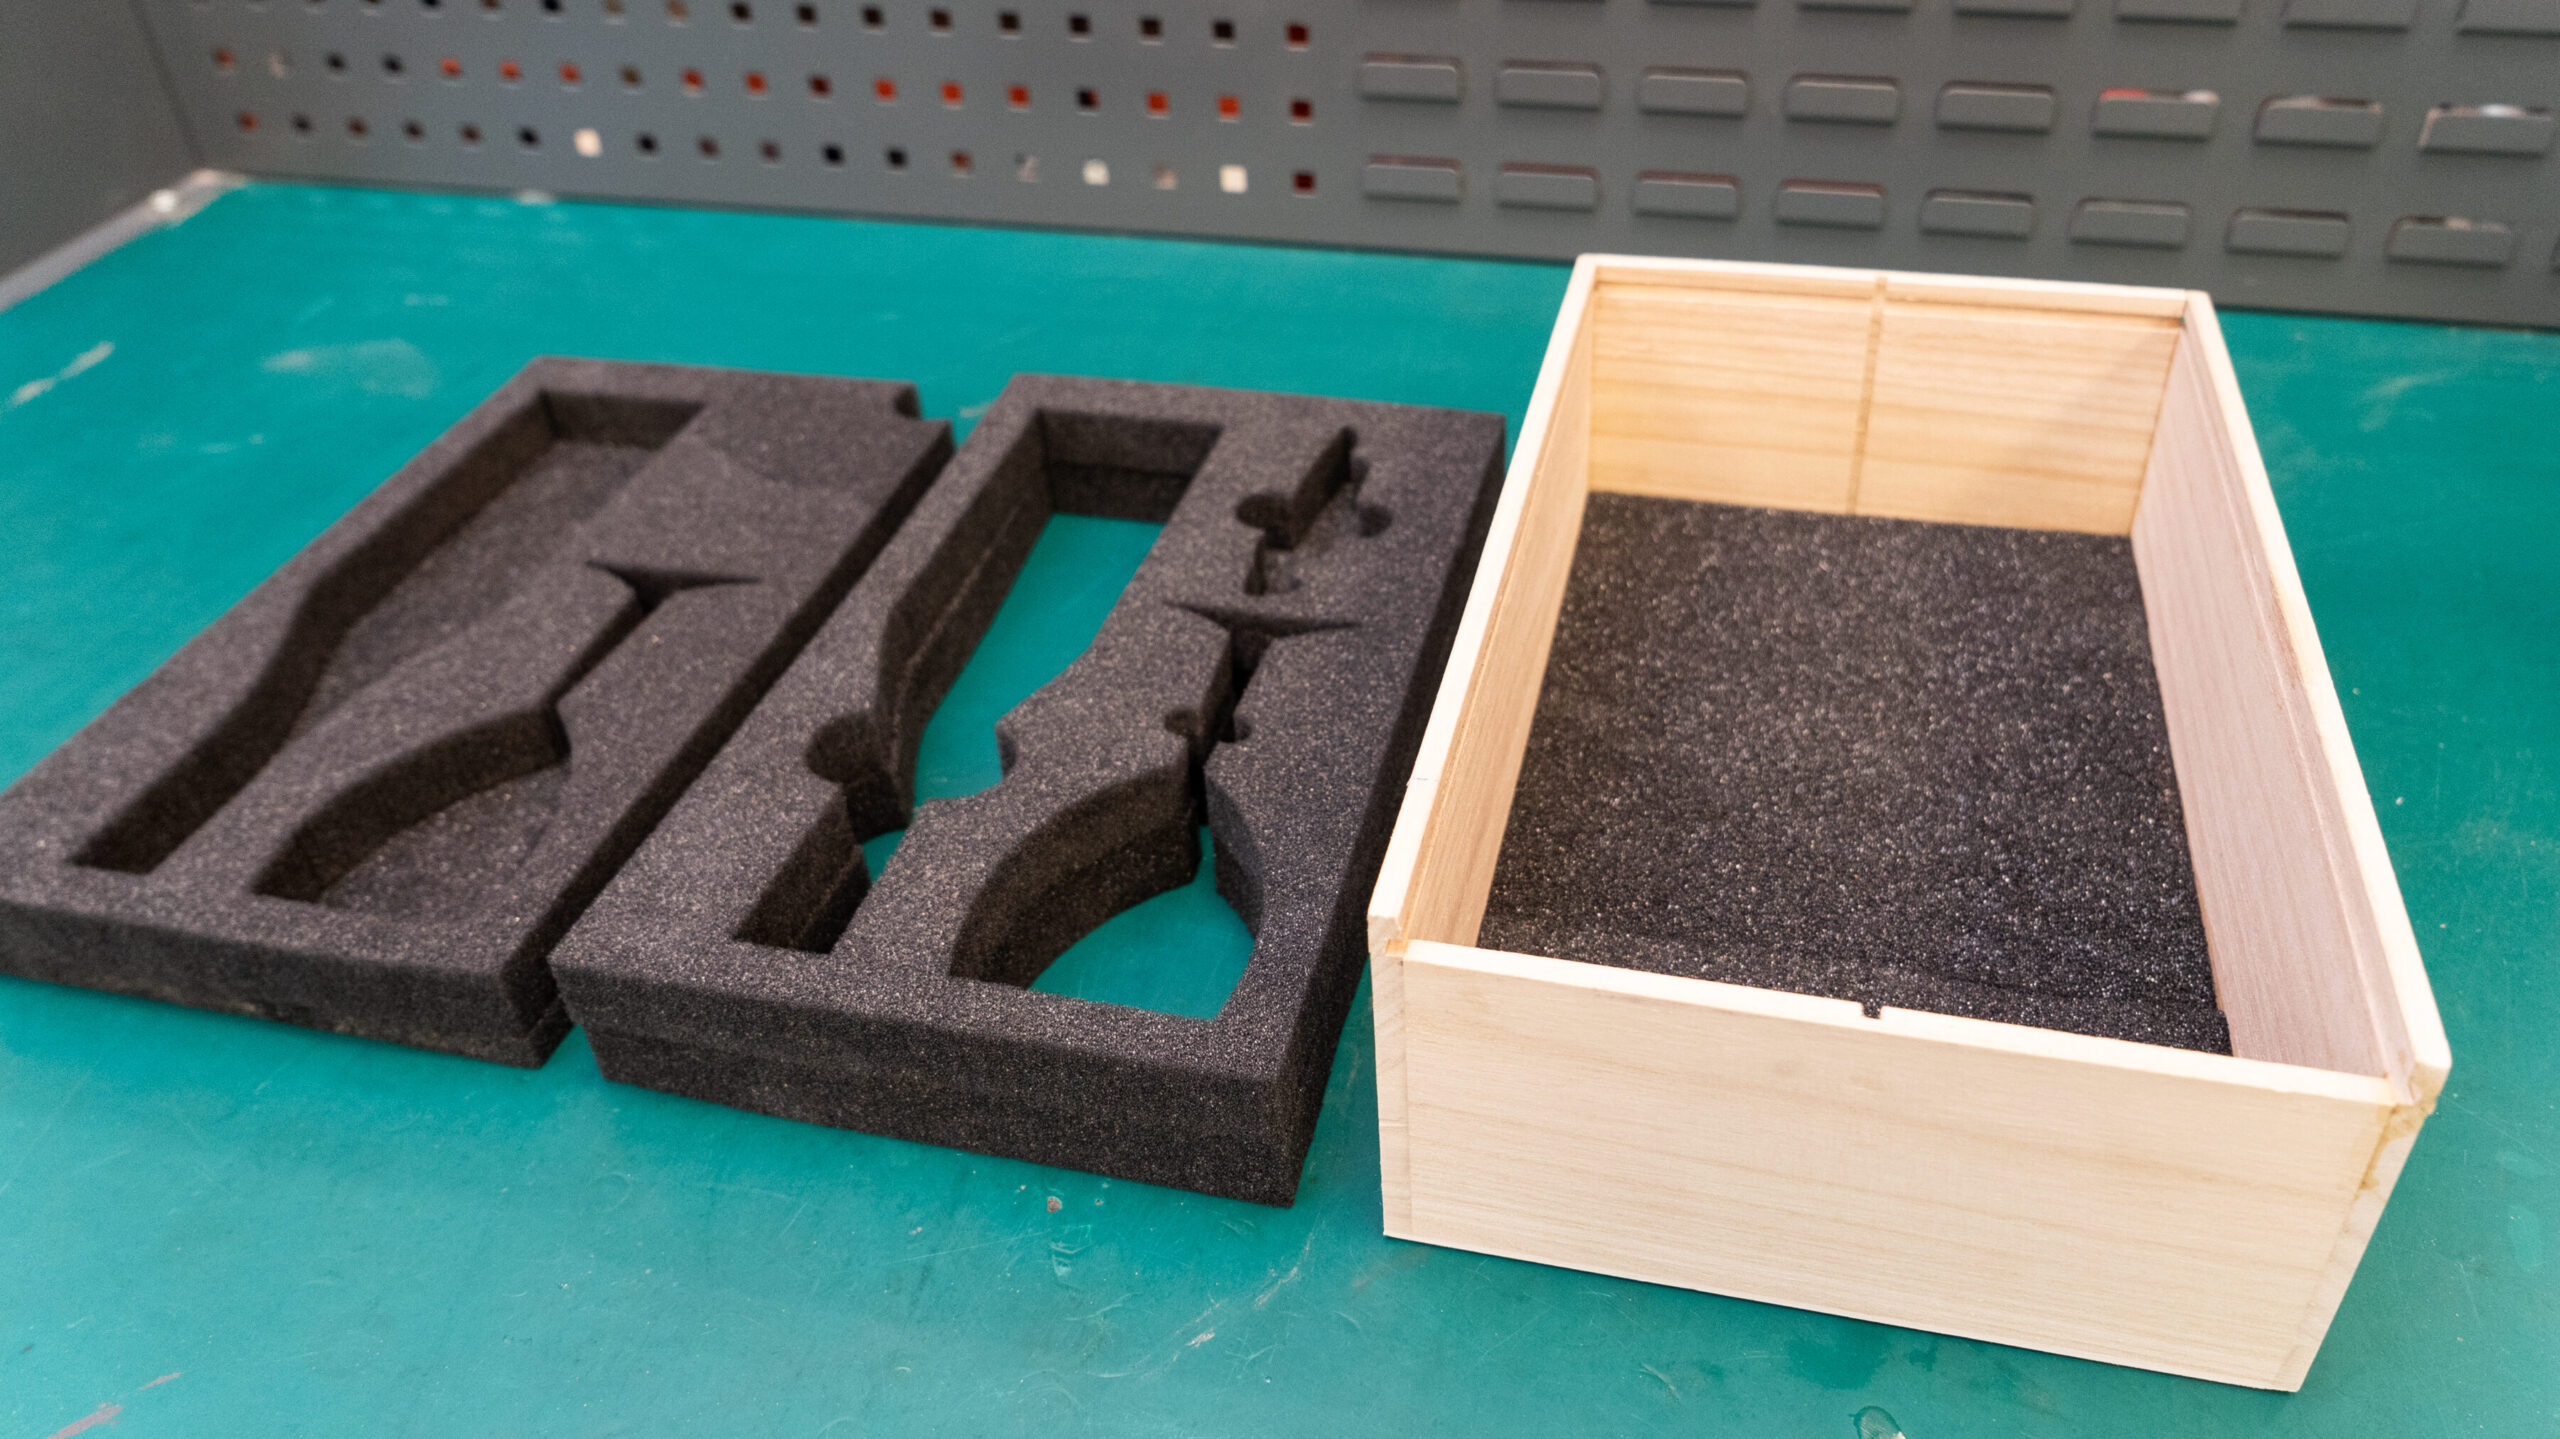
Now that I had each of the cut outs accurately designed and knew how to effectively fixture the layers of foam, I was ready to create a 3D mold for the glass pieces. The first layer of foam that I cut for the box was simply a ½” thick piece that fit the dimensions of the box. This was the bottom layer, meant to provide cushioning beneath the fragile products.
I then cut the second layer which was 1” thick and included the cutouts for the wine bottle and the wine glass.

The third layer was also 1” thick and included the cutouts for the wine bottle, wine glass, and wine bottle opener. Because the wine bottle opener was only about ¾” thick, I only included a cutout for it in the third layer of the bottom piece so that it would nest nicely in the foam and be really easy to remove from the mold when the bottom 3 layers were attached to each other.
Finally, I cut the following designs out of 1” foam and ½” foam respectively to create the 2 layers for the top covering.
Attaching the layers
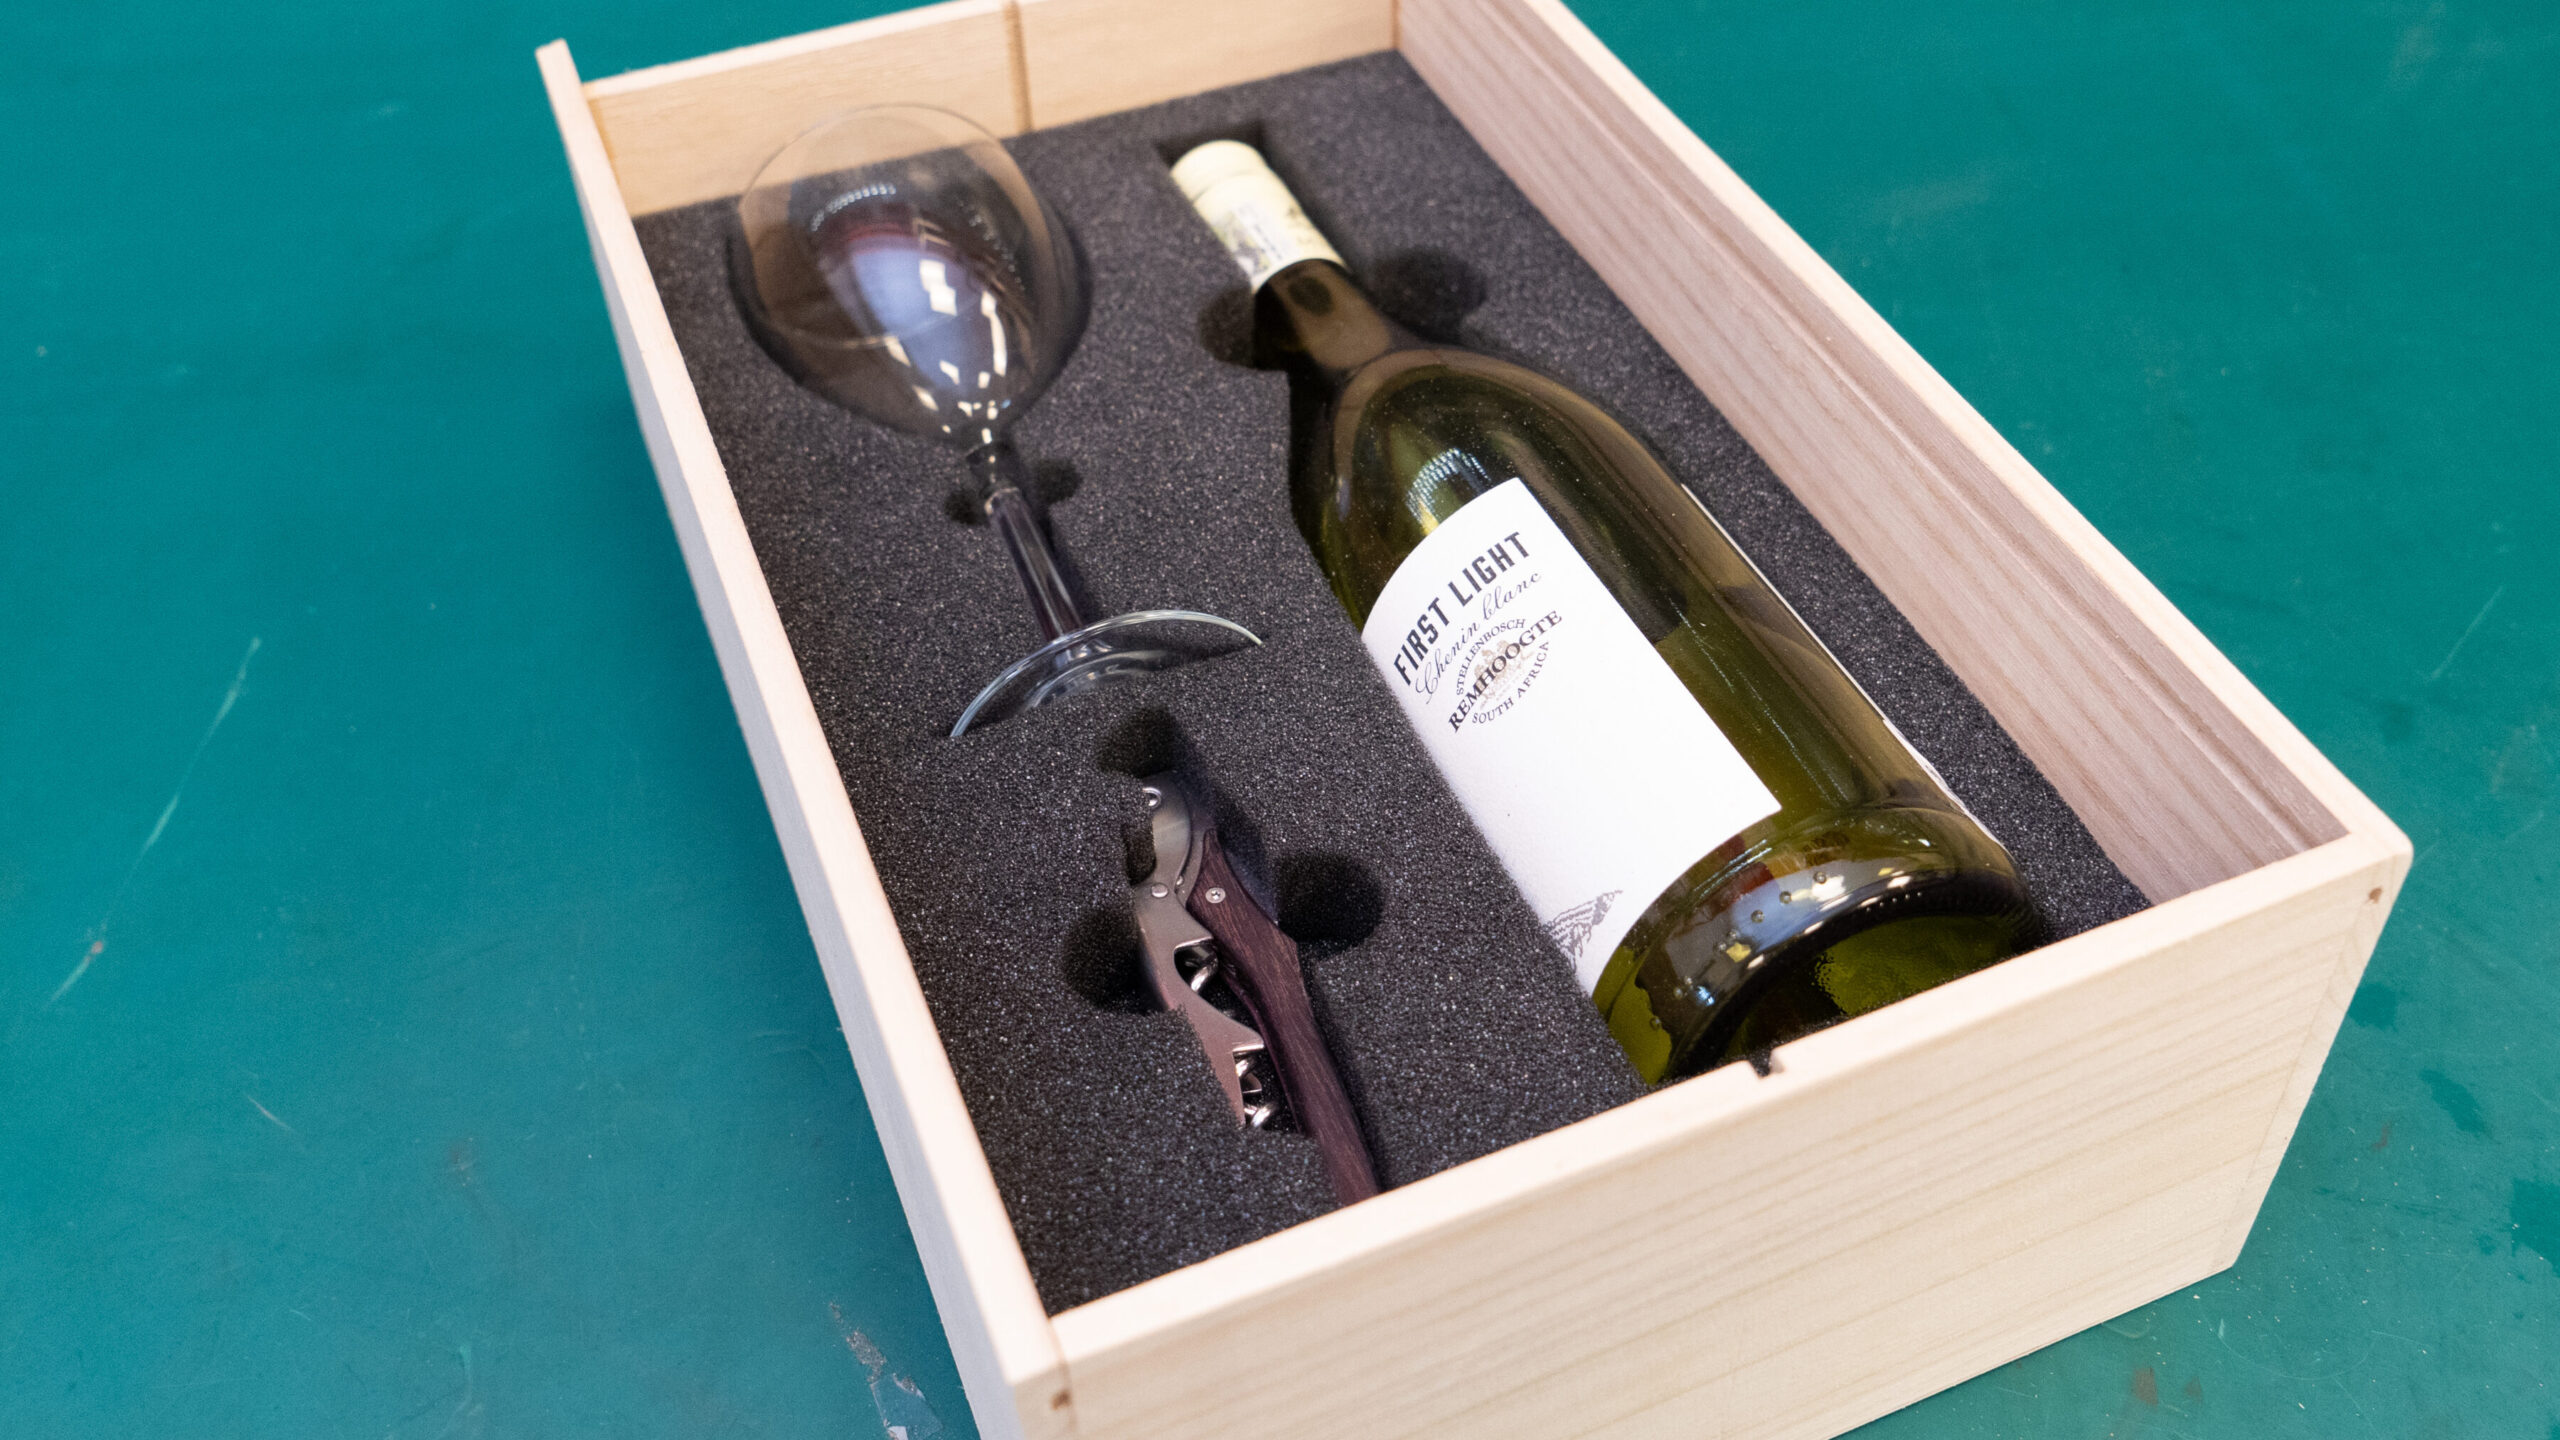
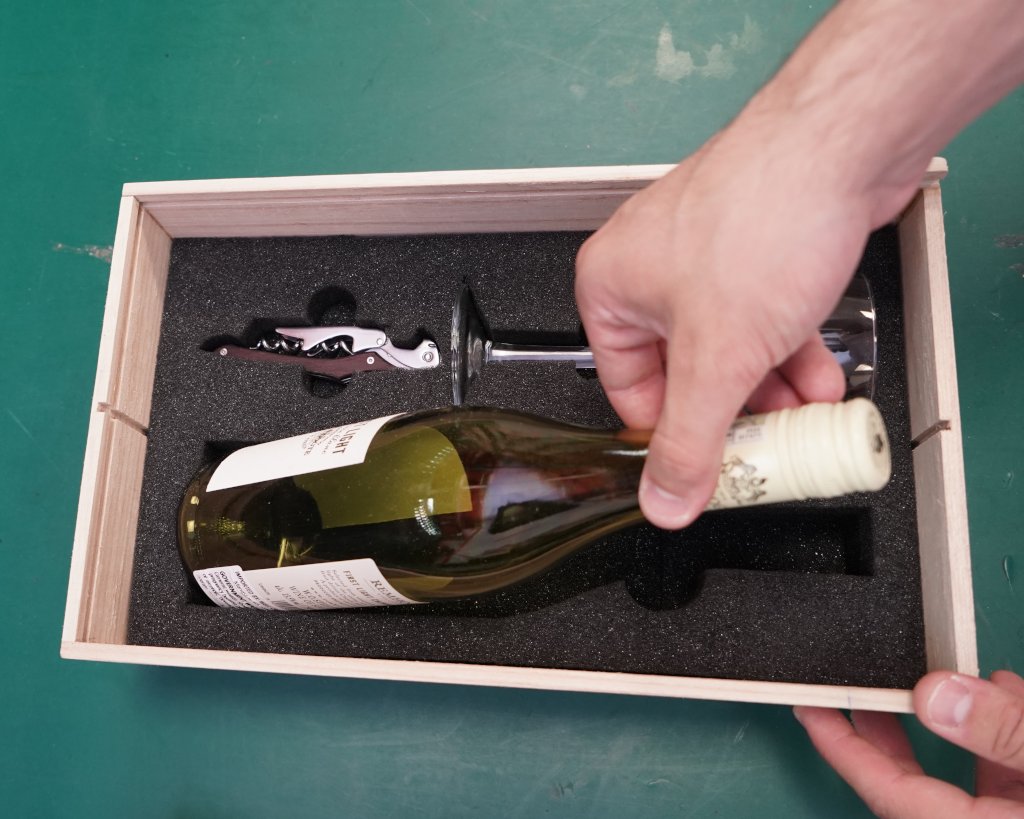
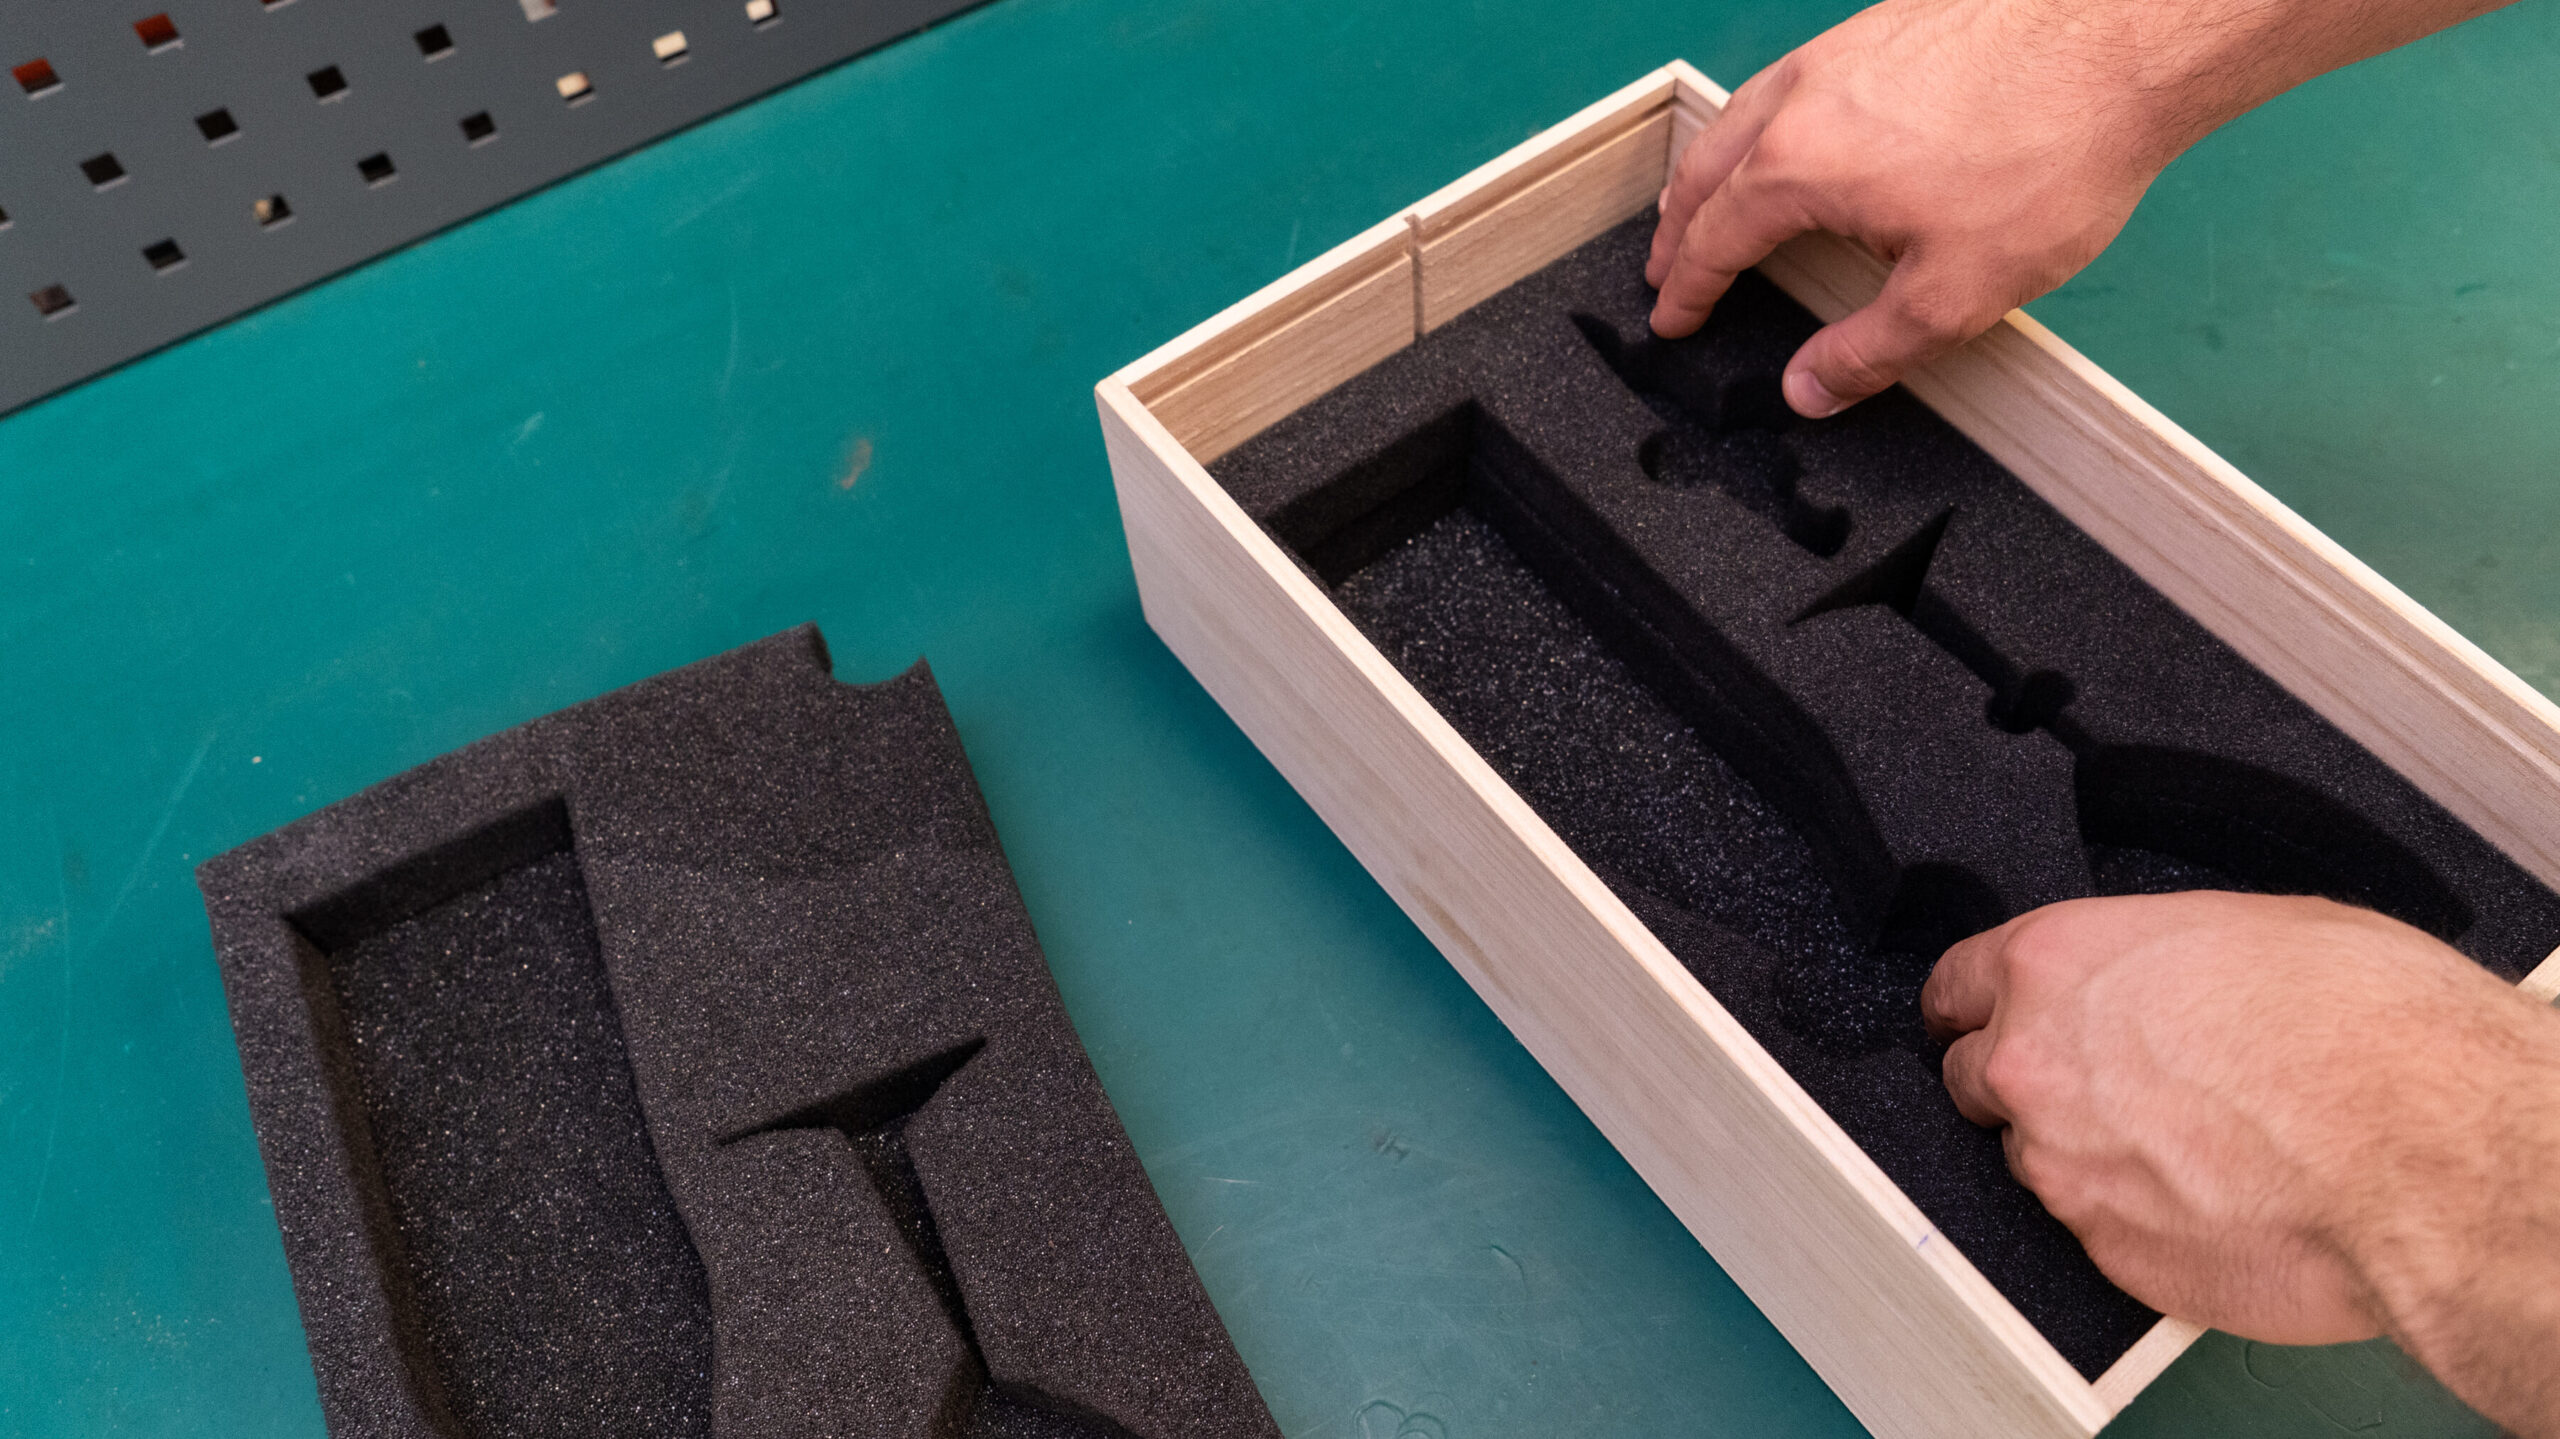
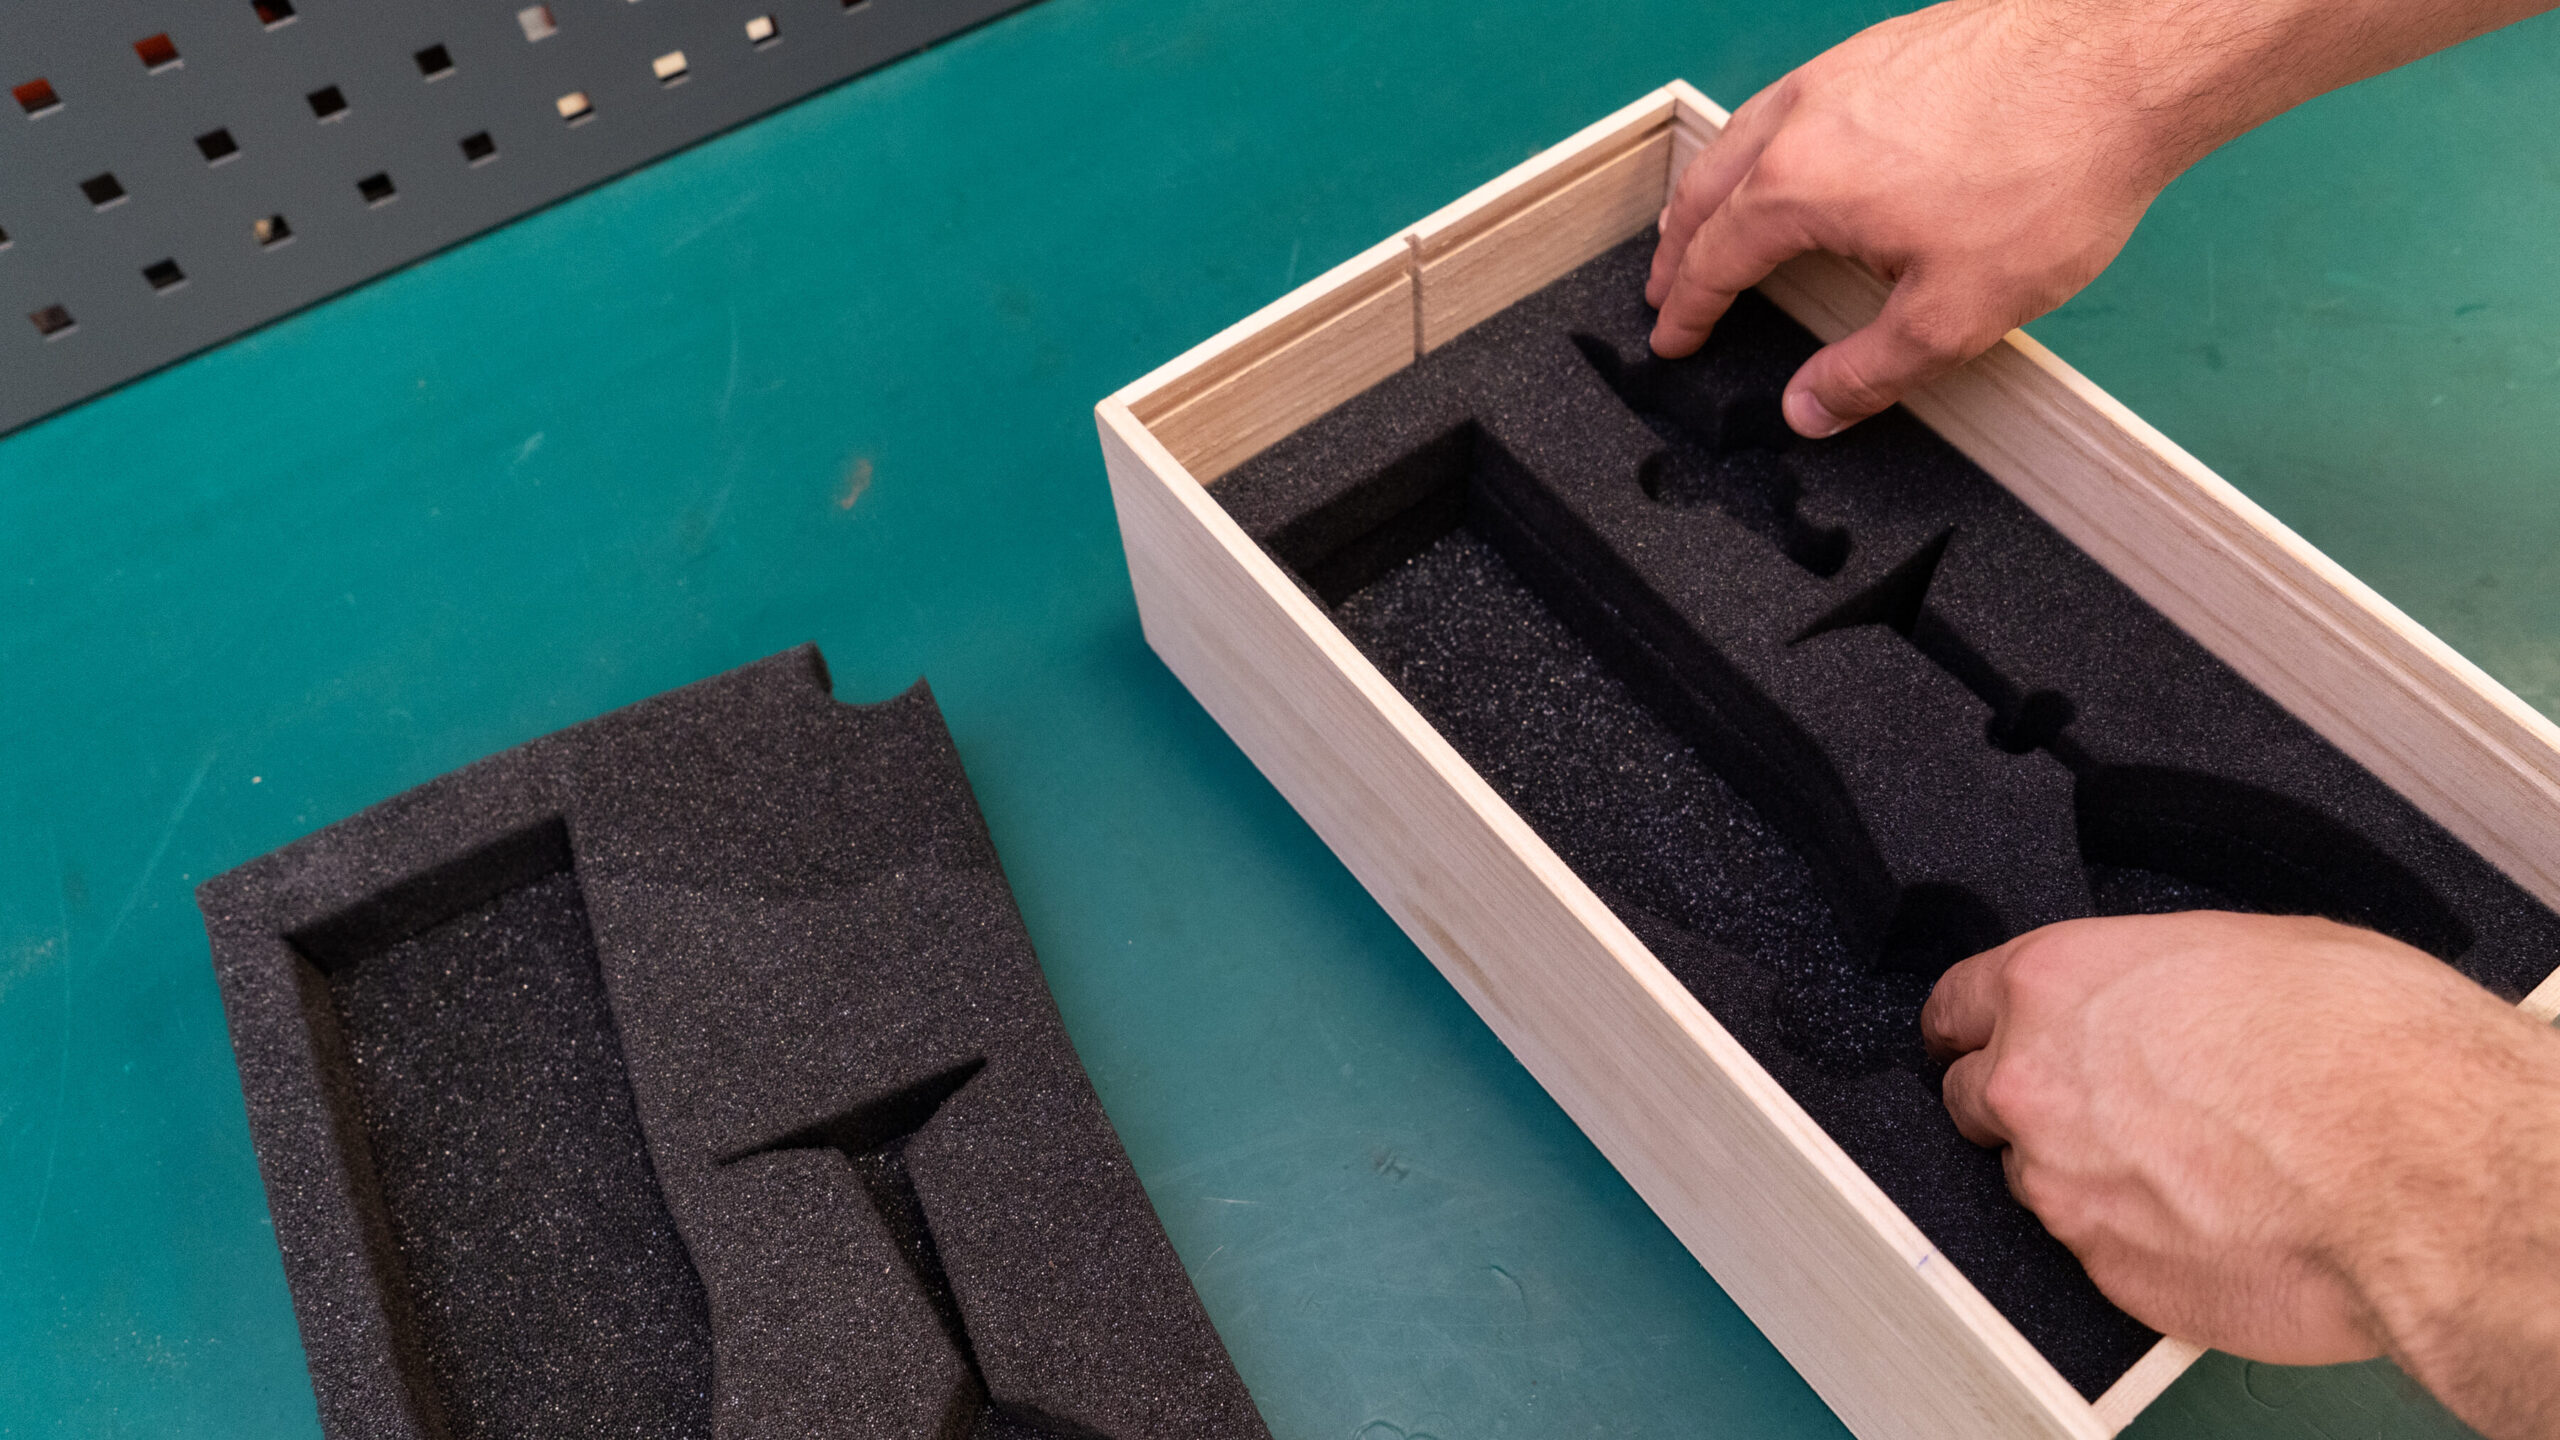
Using spray adhesive, I carefully attached the two top layers together and the three bottom layers together. I put the bottom piece into the wooden box, placed the bottle, glass, and bottle opener inside their respective cut outs, and then covered them with the top piece which left just enough room to slide the wooden cover into place.
End Result
The WAZER only cuts in 2D, but I was able to create a 3D assembly by cutting multiple layers and stacking them in a fashion that created a perfect 3D mold around the parts I wanted to protect. WAZER allowed me to design, test, and redesign quickly and easily until I produced a product that sufficiently fulfilled my needs.